
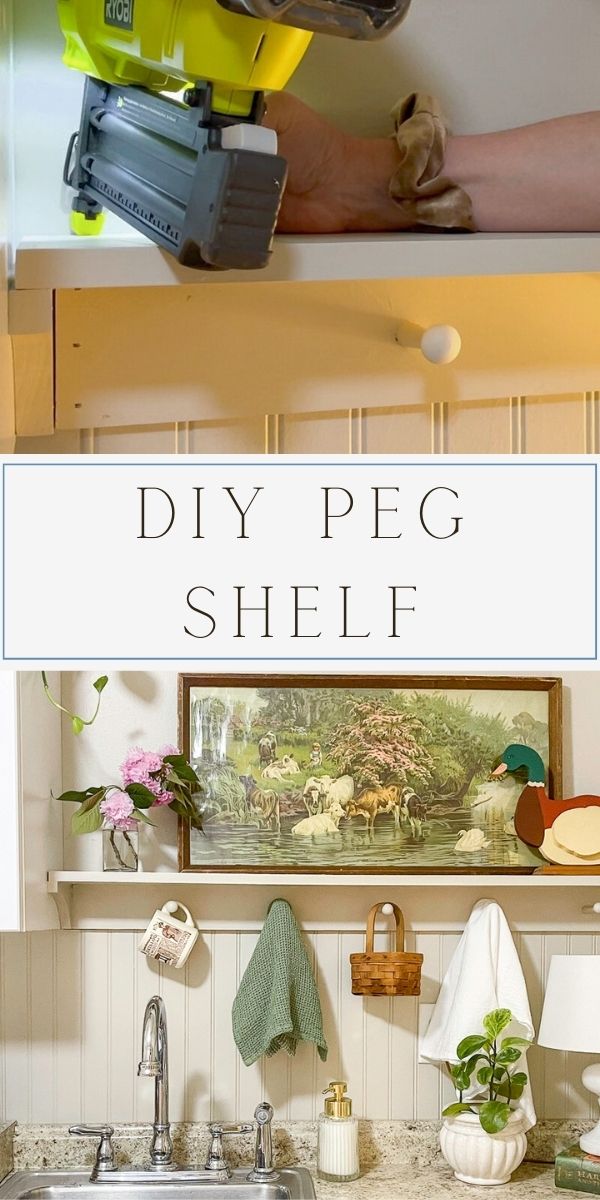
Don't be fooled by the fancy name! Shaker peg shelves are surprisingly easy to make. In this post, we will walk through the entire step-by-step process. Get ready to add a touch of style and organization to any room of your home—all in a single day. Let's dive in and build your very own DIY Peg Shelf.
I have always admired these shaker-style peg rail shelves but thought they would be hard to make, so I procrastinated on making one. However, when Hannah moved into their new house, this niche in her kitchen was begging for one.
So, swallowing my fear, we began planning and went to the store to buy all the parts. Having Home Depot cut all the boards, I felt free to start drilling the shaker pegs. Let me say right now that this was a fun and very easy project. All you need are a few tools, and like magic, you will have a functional peg shelf for any room.
DIY Peg Shelf
For the first step of any project, I recommend going to your local hardware store and collecting all the supplies first after you have figured out the length of the shelf and the number of pegs you will need.
We made a 44″ shelf and placed the pegs about 8″ apart.
Supplies for Peg Rail Shelf
- Shelf board (I bought primed wood)
- Board for Pegs (I bought primed wood)
- Brackets (make sure your brackets are flat on the sides – we ended up making ours)
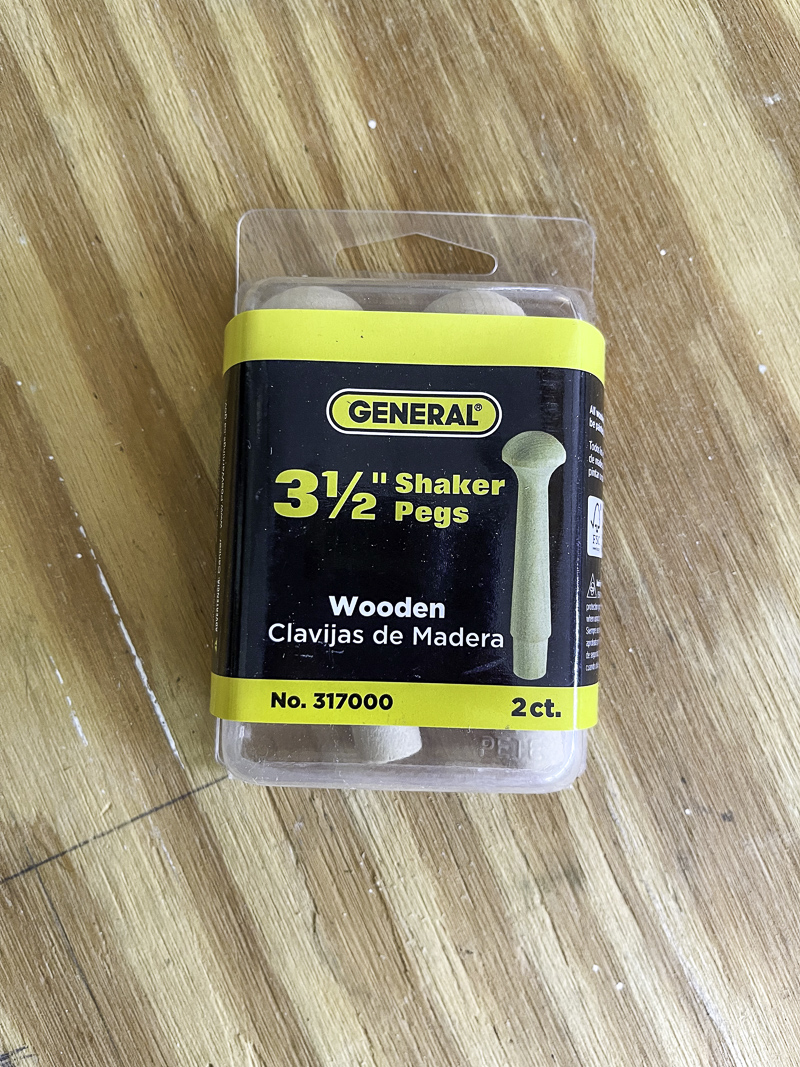
- Wood Pegs (we used traditional pegs with a wood back, but you can also purchase screw-in pegs. They are not as sturdy, but they still work for lighter items)
- Drill with a drill bit for pegs (I used 1/2″ drill bit)
- Nail gun or finishing nails and hammer
- Stud finder
- Mini Level and regular level
- Painters Caulk (I used rapid dry)
- Sandpaper
- Paint – Sherwin Williams Accessible Beige in satin finish
Now that we have all the tools and materials, let's begin making this peg rail.
Lightly Sand and Paint
The first thing I do is lightly sand the already primed wood with fine-grit sandpaper and paint the board. It is a good time to paint now and much easier than when it is on the wall. Also, remember to use a tack cloth or damp, lint-free cloth to wipe up the grit from the sandpaper before you apply the coat of paint.
Last, we used Sherwin Williams Accessible Beige to paint our shelves. The kitchen and bathroom were both bright lime green at the beginning, so we painted the walls, bead board, and peg shelf the same color. Here are more great Sherwin Williams beige paint colors to choose from.
Add Pegs
Next on the list of things to do is add the pegs. This is where I got nervous, but trust me, there was no reason to.
Depending on the pegs you bought will determine this step. If you got a screw-in pegs, then after the next paragraph, you would simply screw in your pegs, but if you got traditional pegs, then keep reading. These are the pegs I bought from Home Depot.
We're going to mark the placement of the pegs. Begin by marking the center point of your cut backing board and deciding on the peg spacing you prefer. I found the center of the board's length and marked the first peg.
Then, I measured from that mark to the end and marked another peg. I kept doing this until enough peg holes were added about 8 inches apart, leaving about 8 inches of space on each end.
Now that all the marks are in place measure the other direction to make sure the marks are centered that way too.
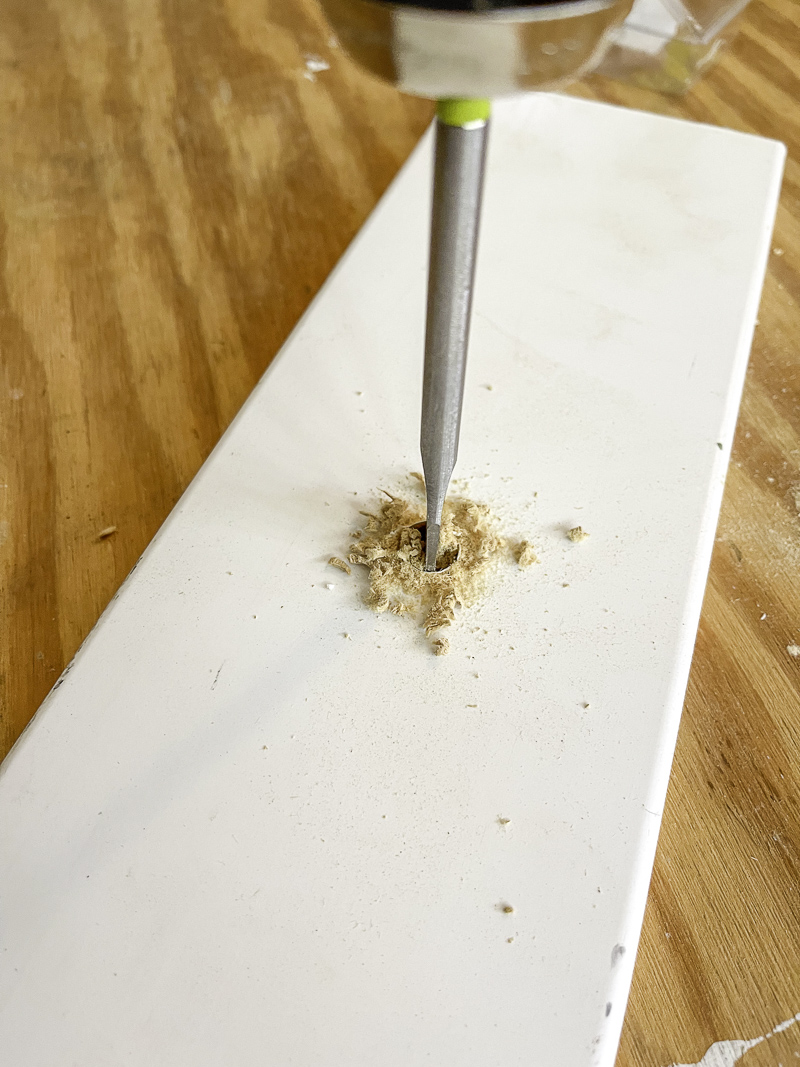
Once all my marks are in place, I select a 1/2″ drill bit that matches the width of the bottom of the peg and drill holes.
The nice thing about pegs is that the end of the peg is slightly smaller than the tip of the piece you have to put into the hole. This allows the peg to fit snugly into place and won't come out unless you pull every hard.
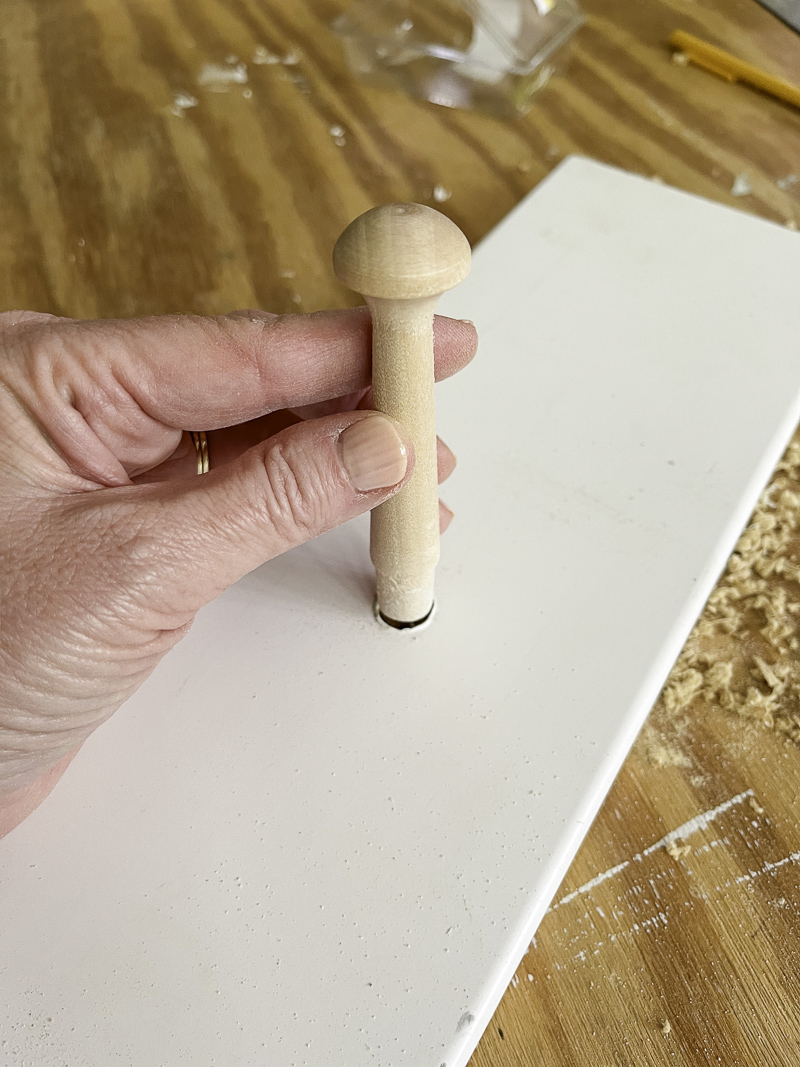
If, for some reason, you drill the hole to big, add a small amount of wood glue for security, wipe off the excess glue, and let it dry. All my wooden pegs were tight, so I didn't need to add wood glue.
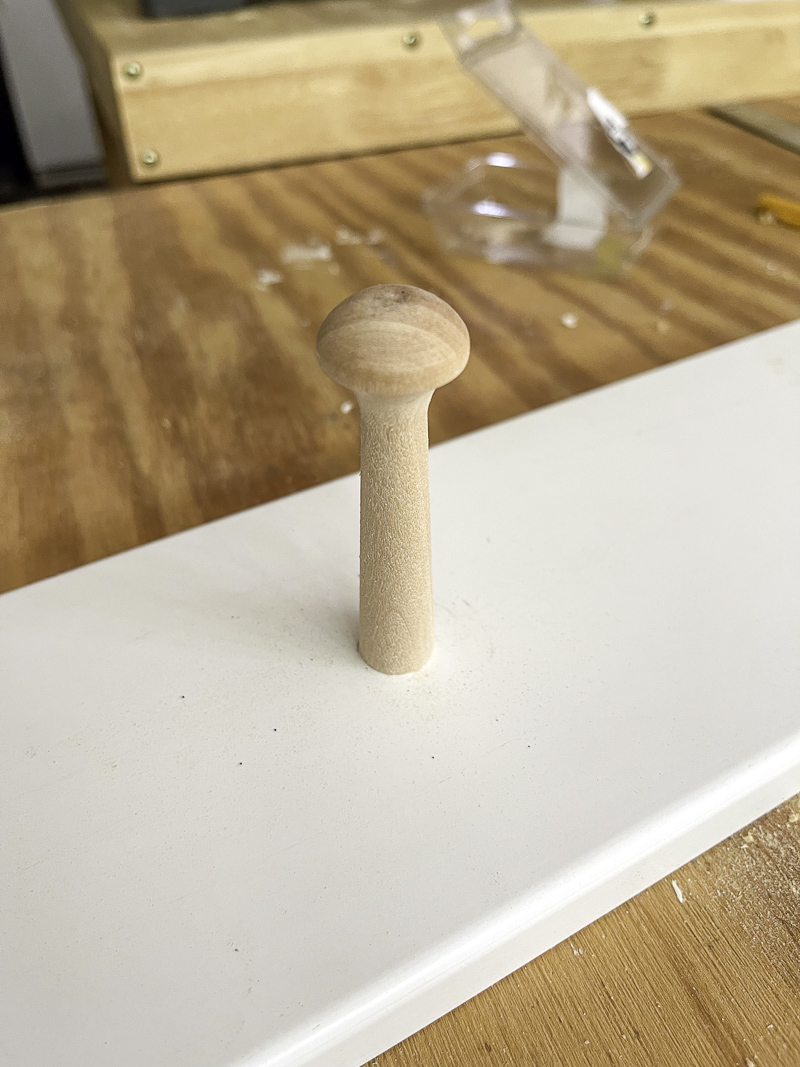
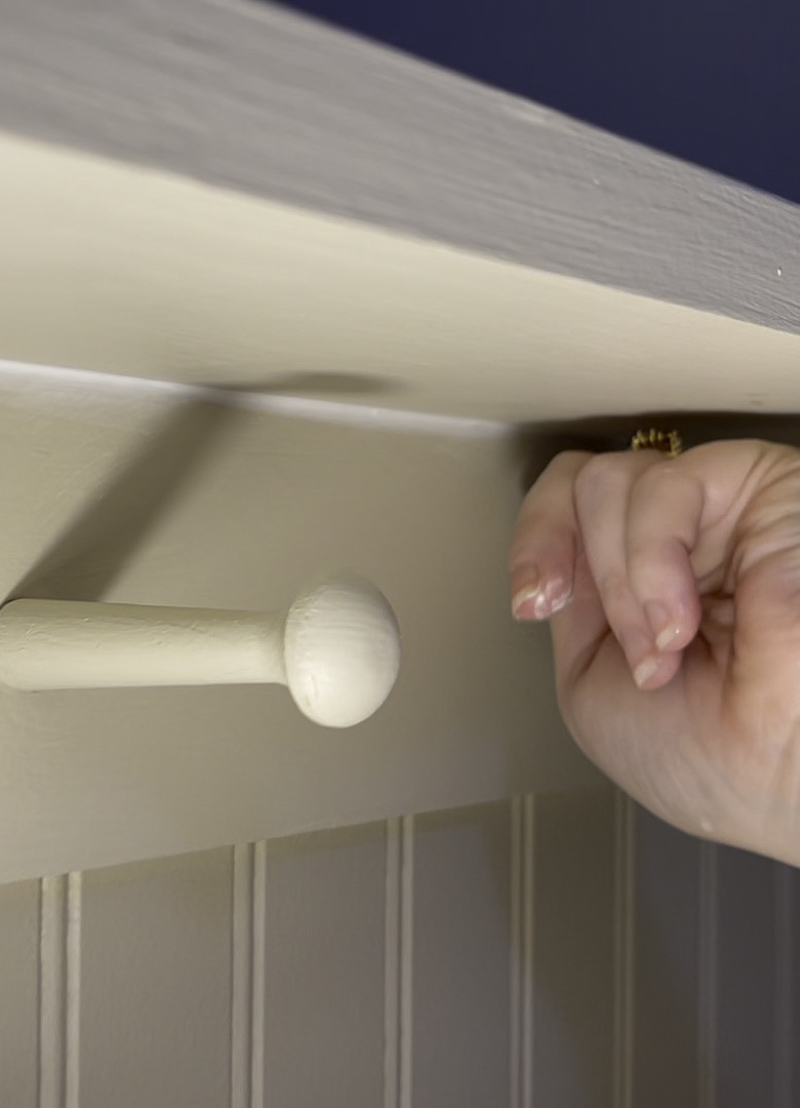
Push the peg all the way down into the hole until it won't go any further, and then you are finished adding one peg. Repeat this step for all your pegs.
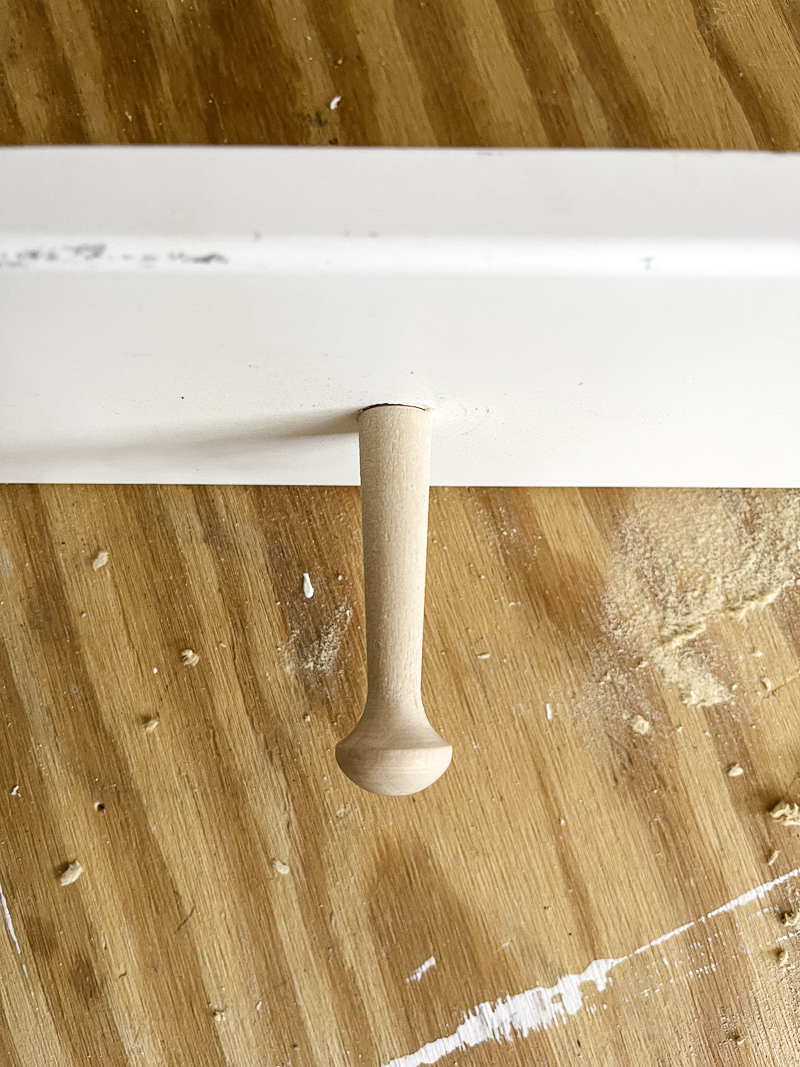
Here is a side view to see how it fits snugly.
Once you've placed your last peg, it's time to start on your shelf bracket.
How to Make a Peg Shelf Bracket
To save money, you can easily make brackets from excess pieces of wood. Because one of our boards was too wide, we ripped it down into a 4-inch board. I used the scrap piece of wood to make brackets and returned the ones we bought, saving on extra cost.
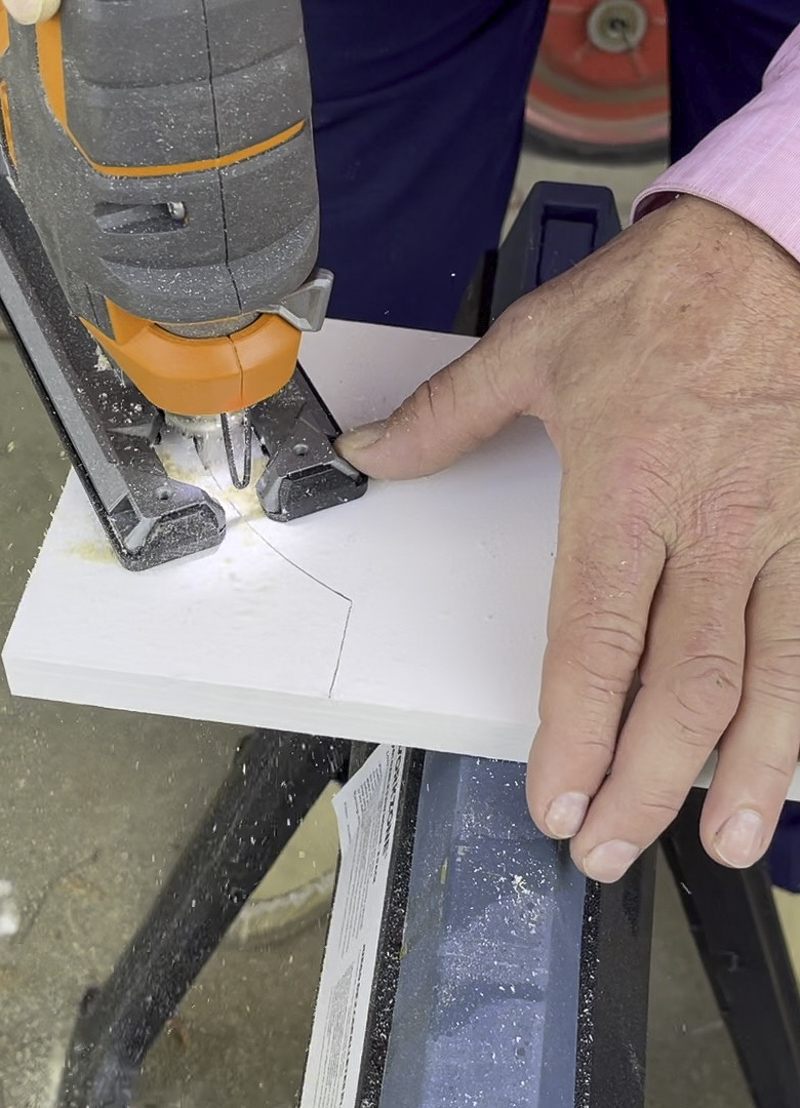
First, I measured the board at a 90-degree angle with 4″ on each side. Then I measured an inch down from those marks. Last, I used a dinner plate and placed it on the end of the 1″ marks and made a curve.
After the design was made, we cut the bracket with a jig saw.
Attaching the Brackets
If you permanently add your shelf to the wall, follow my steps. If you're making a shelf that is not permanent, skip to the end of the “Adding the Shelf” section.
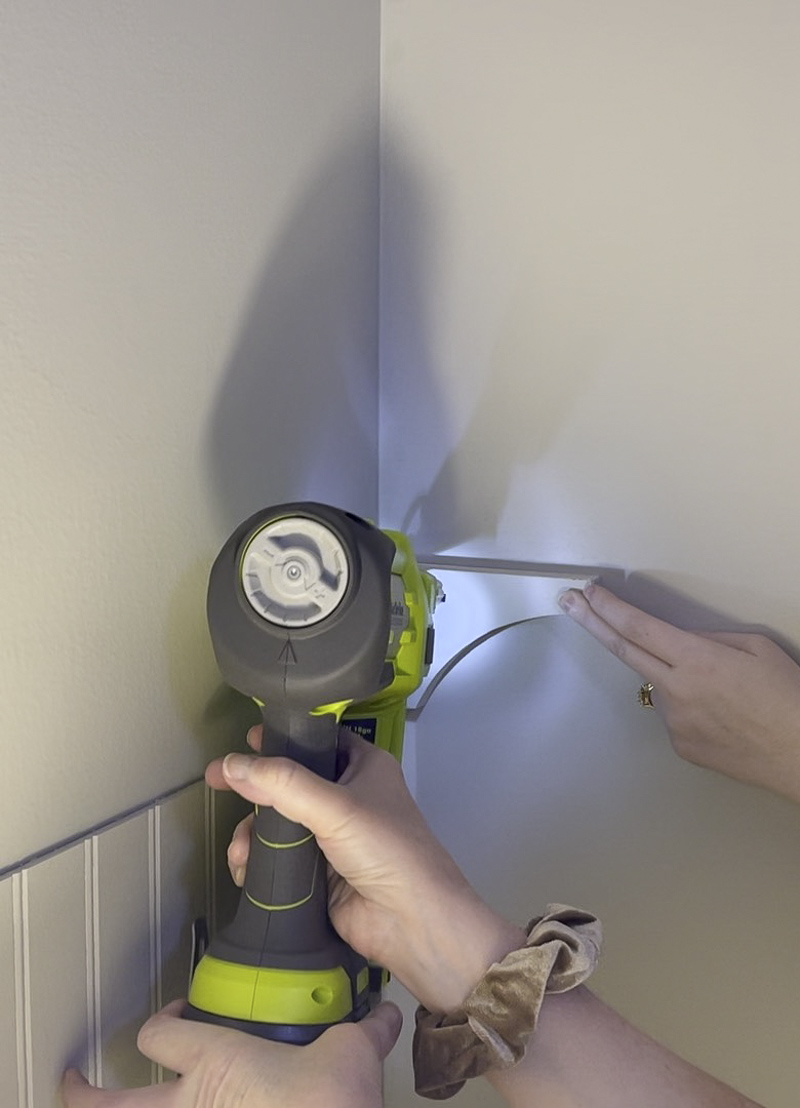
First, nail your brackets into the walls on each side, ensuring they are level using the tiny level and using a nail gun or finishing nails and hammer.
Adding the Peg Board
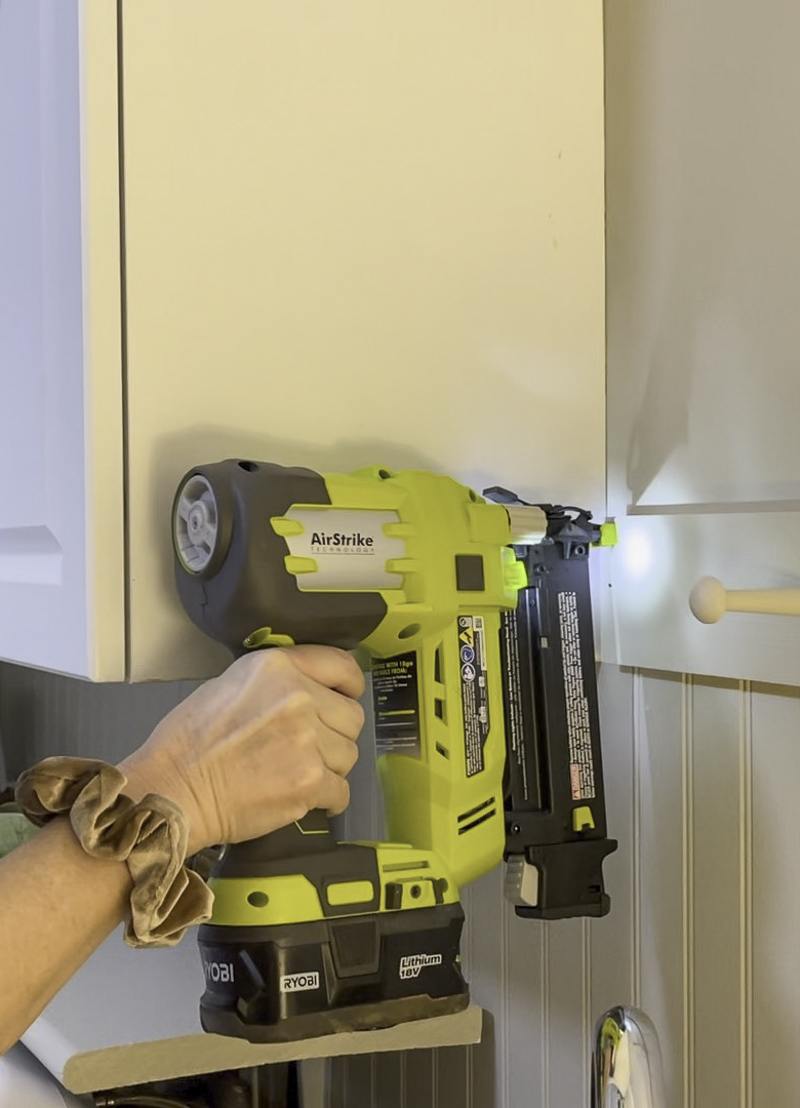
Next, nail the peg board between the brackets into the wall. Make sure to use your stud finder to mark the wall studs so your nails are secure in the wood.
Add the Peg Rail Shelf
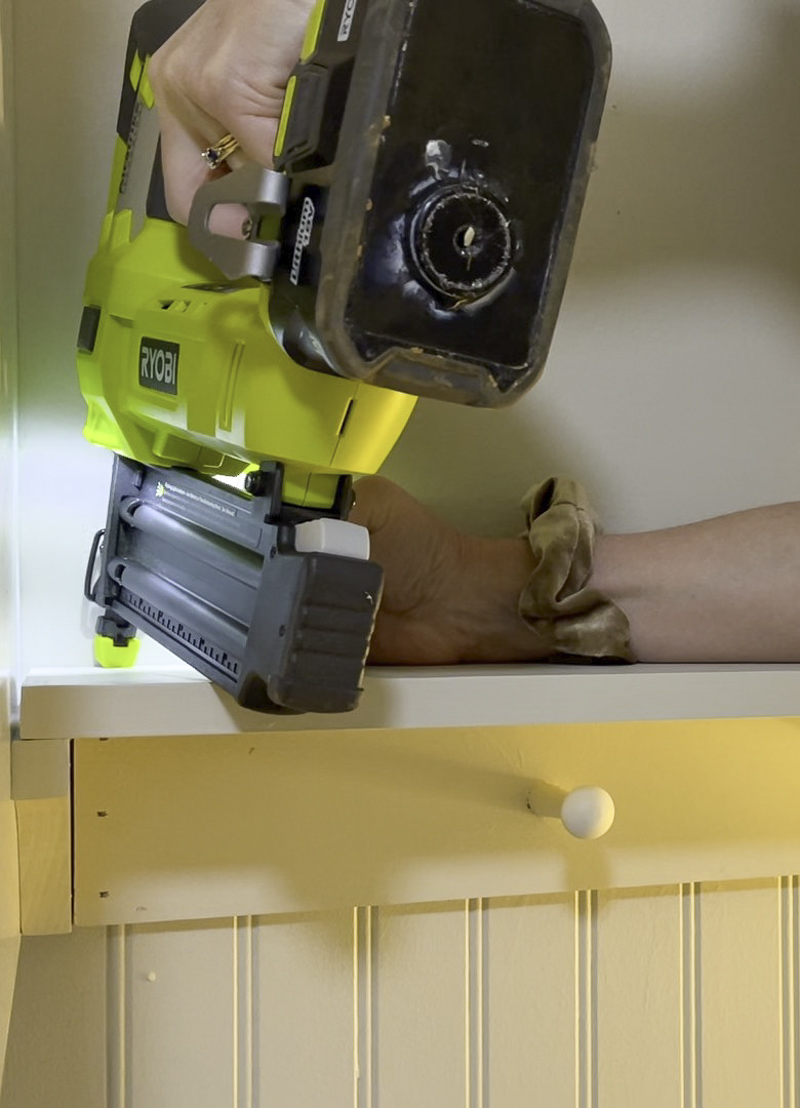
Next, place your shelf on top of the brackets and along the top of the peg rail, then secure it with the nail gun or finishing nails.
Now that all the wood pieces are in place, it is time to caulk.
If you are not attaching your peg shelf permanently, I recommend nailing the brackets into the side of the peg rail and nailing the shelf onto the brackets and peg rail. Once you have it in place, you can hang it anywhere, and if you move, it can come with you.
Caulk All Holes And Joints Of Peg Shelf
We are down to those last finishing touches, and that is caulk. Run a bead of caulk along any joining areas. Use a damp cloth or your wet finger to smooth out the caulk. Then make sure to fill in any nail holes or small gaps with the caulk. You don't need much, just a tiny drop on the tip of your finger.
The cleaner you are with the caulk, the easier the next step will be, so make sure not to overdo it. Now, let's give the caulk about 30 minutes to dry before the next step.
Sand and Paint over Caulk
Everything is dry, so take some sandpaper and lightly sand over the small holes or any place where the caulk needs smoothing out.
For the finishing steps, once sanding is completed, use a small paintbrush to go over it with the same paint color.
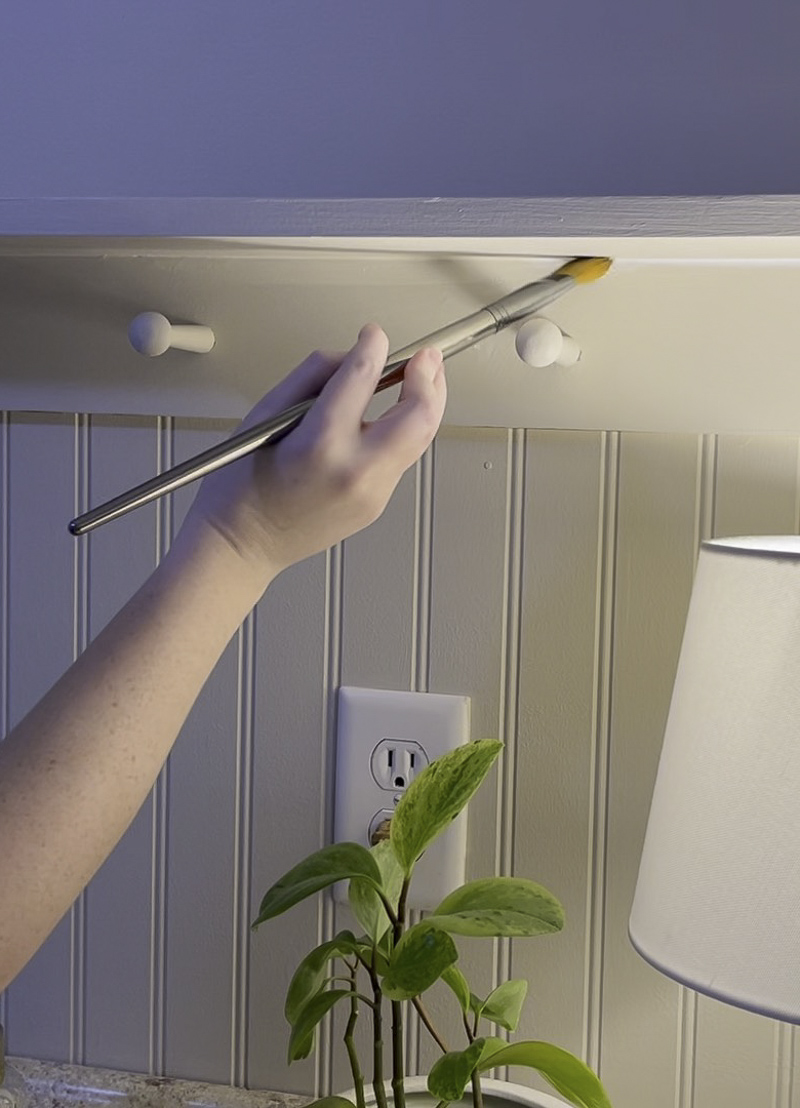
I recommend letting this paint dry for at least 24 hours before adding anything to the shelf or pegs. It is good to let the paint harden first and time is the only way to do that.
Now, guess what? This simple DIY peg shelf project is finished. Can you believe it? This is such a simple project, but I want to make more.
Final Thoughts
Now that you have a cute peg shelf here are some ideas of places to use a peg shelf.
Where to Hang a Peg Shelf?
Farmhouse laundry room, bathroom, closet, entryway, kitchen, dining room, nursery, playroom, home office and the list goes on.
What to Hang on a Peg Shelf
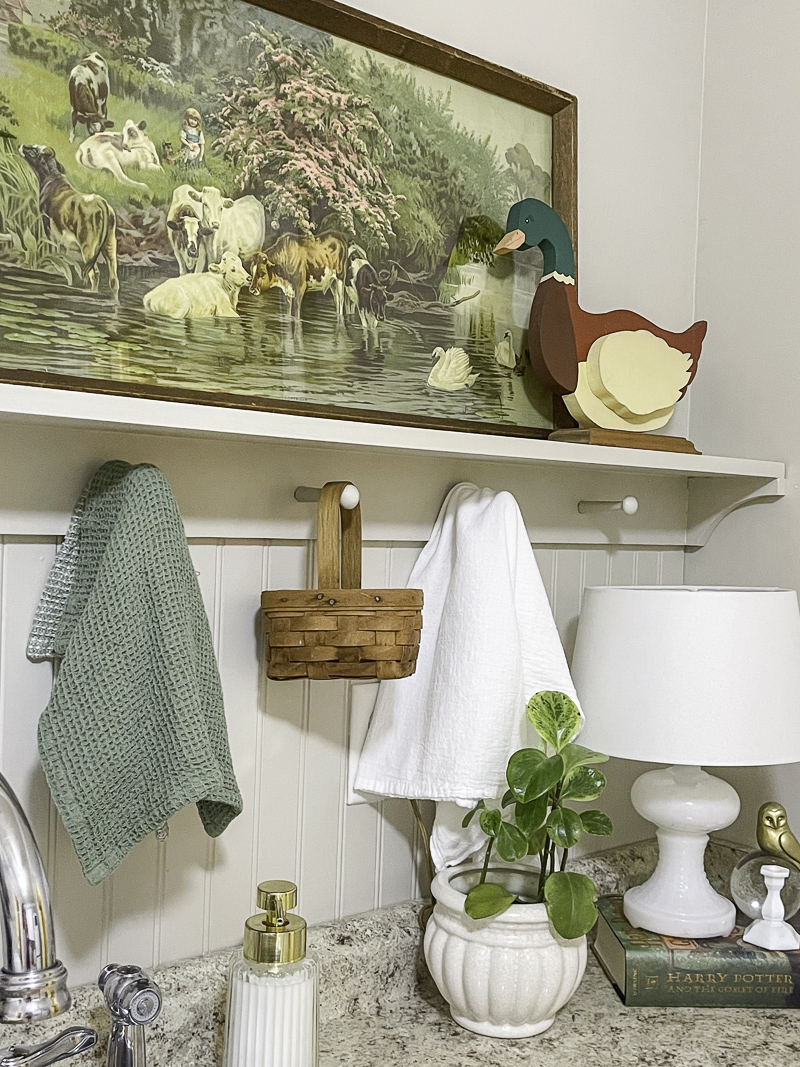
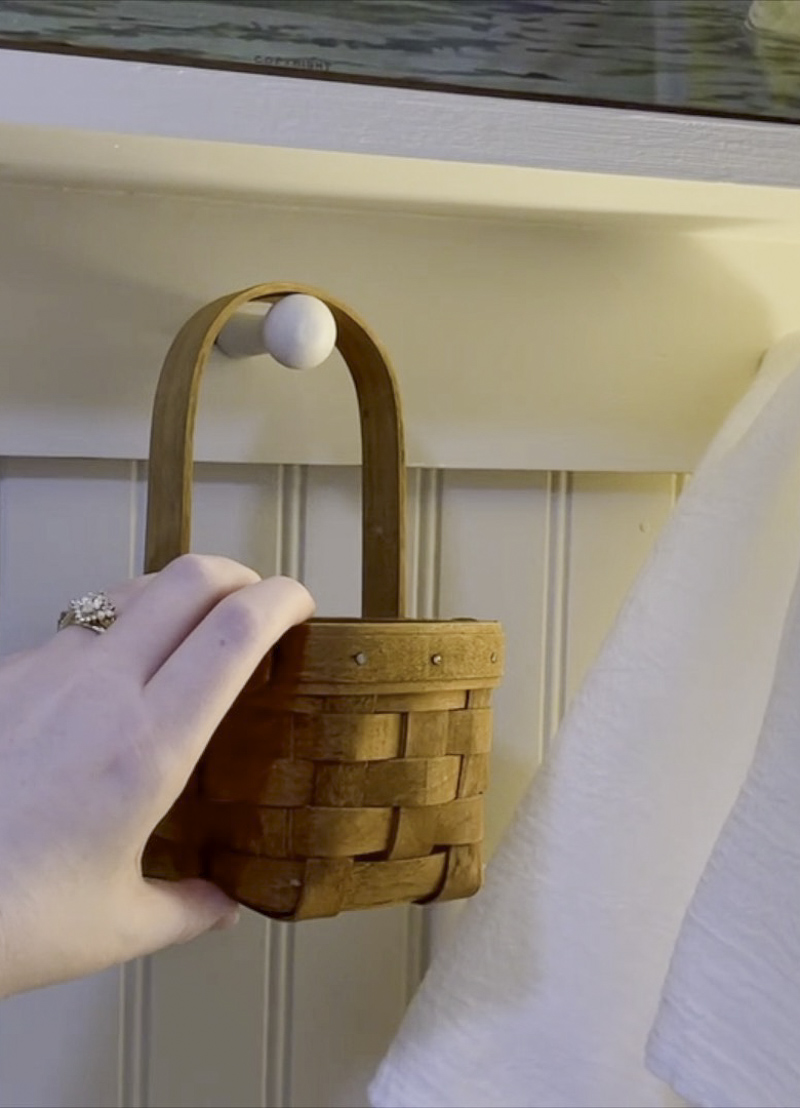
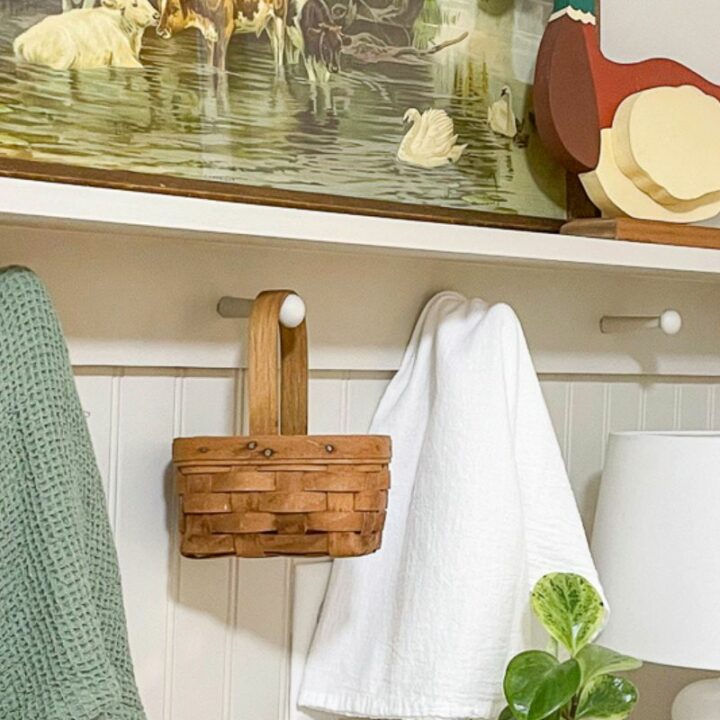
Picking what to hang on your peg shelf is the best part. If you don't plan to use it for functional things and would like to decorate the top of the shelf, here are a few ideas for putting things on your shelf. It's the perfect place for hanging candles, lanterns, coffee mugs, towels, hanging art, dried flowers, baskets, etc. Basically, anything that can be hung will work on your peg shelf.
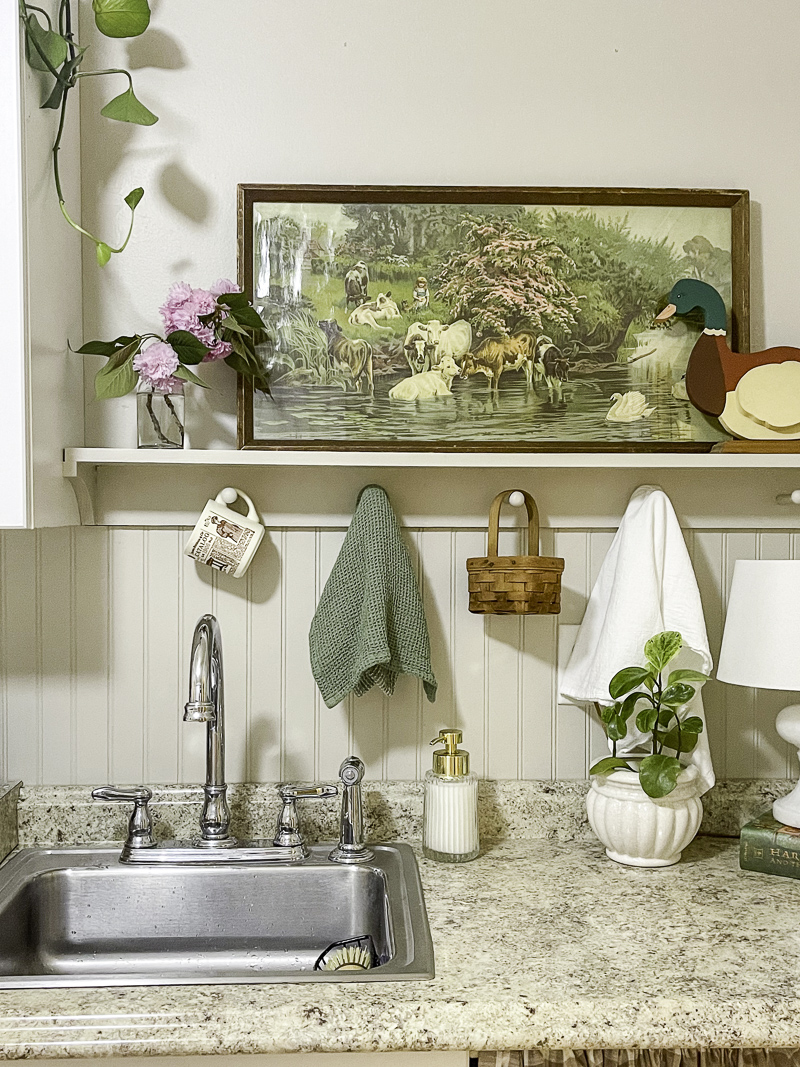
Here is what my daughter put on her peg shelf, and her self is aesthetic and functional. The hand towels to the left are used at the sink.
Well there you have it. An easy DIY peg shelf for any room in your home.
I hope you are encouraged to try this DIY. It is a great project to test your woodworking skills, and you will get so much enjoyment out of it for years to come. Interested in more DIY projects?
- Simple DIY Bench: Easy Step-by-Step Guide & Bench Plans
- 3 Easy DIY Glass Bird Bath Steps
- Easy DIY Board and Batten Fireplace Makeover
Happy Decorating!

Craft a Classic: Easy DIY Peg Shelf For Your Home
Shaker peg shelves are surprisingly easy to make. In this post, we will walk through the entire step-by-step process. Get ready to add a touch of style and organization to any room of your home—all in a single day.
Materials
- Shelf board (I bought primed wood)
- Board for Pegs (I bought primed wood)
- Brackets (make sure your brackets are flat on the sides - we ended up making ours)
- Wood Pegs (we used traditional pegs with a wood back, but you can also purchase screw-in pegs. They are not as sturdy, but they still work for lighter items)
- Painters Caulk (I used rapid dry)
- Paint - Sherwin Williams Accessible Beige in satin finish
Tools
Instructions
- Lightly sand the already primed wood with fine-grit sandpaper and paint the board.
- If you got a screw-in pegs, then after the next step, you would simply screw in your pegs.
- Mark the placement of the pegs. Begin by marking the center point of your cut backing board and deciding on the peg spacing you prefer. I found the center of the board's length and marked the first peg. Then, I measured from that mark to the end and marked another peg. I kept doing this until enough peg holes were added about 8 inches apart, leaving about 8 inches of space on each end.
- Once all my marks are in place, I select a 1/2" drill bit that matches the width of the bottom of the peg and drill holes.
- Push the peg all the way down into the hole until it won't go any further, and then you are finished adding one peg. Repeat this step for all your pegs.
- You can easily make brackets from excess pieces of wood. Measure the board at a 90-degree angle with 4" on each side. Then measure an inch down from those marks. Last, use a dinner plate and place it on the end of the 1" marks and made a curve. After the design is made, cut the bracket with a jig saw.
- If you permanently add your shelf to the wall, follow my steps. If you're making a shelf that is not permanent, skip to the end of the "Adding the Shelf" section.
- Nail your brackets into the walls on each side, ensuring they are level using the tiny level and using a nail gun or finishing nails and hammer.
- Nail the peg board between the brackets into the wall. Make sure to use your stud finder to mark the wall studs so your nails are secure in the wood.
- Place your shelf on top of the brackets and along the top of the peg rail, then secure it with the nail gun or finishing nails.
- If you are not attaching your peg shelf permanently, nail the brackets into the side of the peg rail and nail the shelf onto the brackets and peg rail. Once you have it in place, you can hang it anywhere, and if you move, it can come with you.
- Run a bead of caulk along any joining areas. Use a damp cloth or your wet finger to smooth out the caulk. Then make sure to fill in any nail holes or small gaps with the caulk. Give the caulk about 30 minutes to dry before the next step.
- Take some sandpaper and lightly sand over the small holes or any place where the caulk needs smoothing out.
- Once sanding is completed, use a small paintbrush to go over it with the same paint color.l Let the paint dry for at least 24 hours before adding anything to the shelf or pegs.