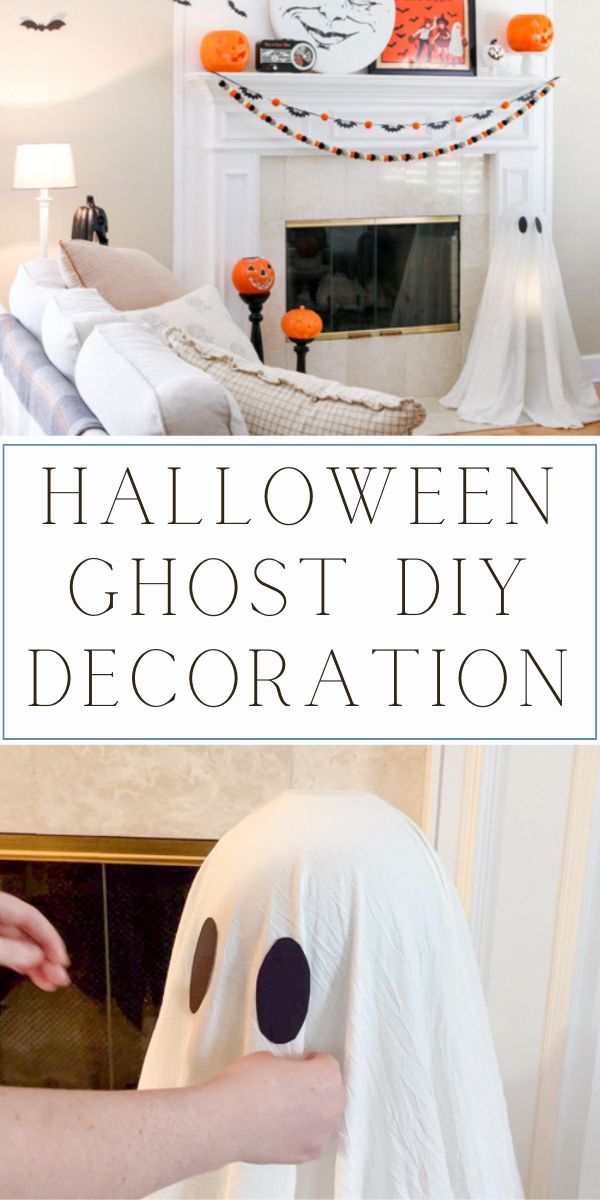
This Halloween ghost light craft is so easy to make and is a fun Halloween project. Recently I shared a DIY sheet ghost Halloween decoration on my Instagram, and it got great views plus lots of questions. So I decided to put the steps into a blog post.
Making a ghost out of a sheet this way is the easiest Halloween decoration you will ever make.
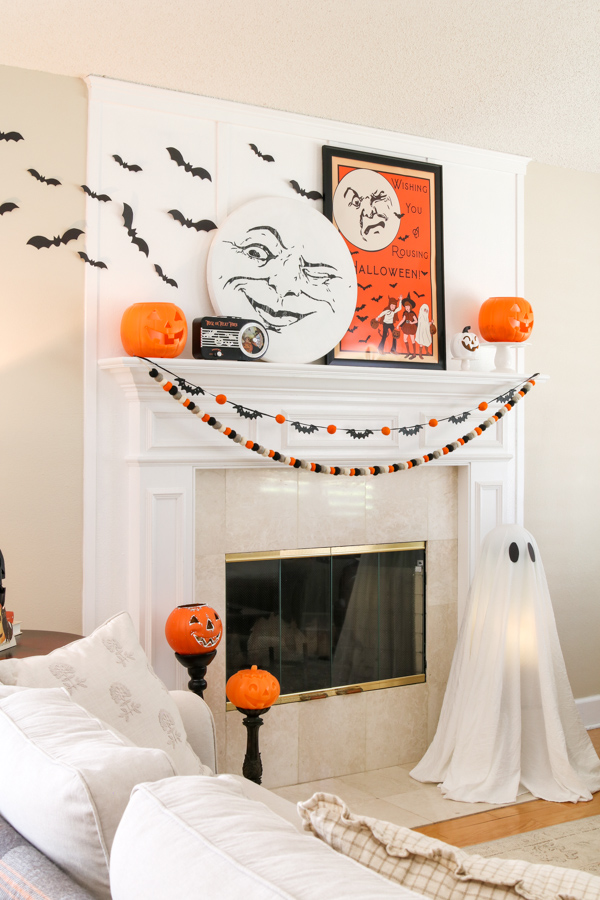
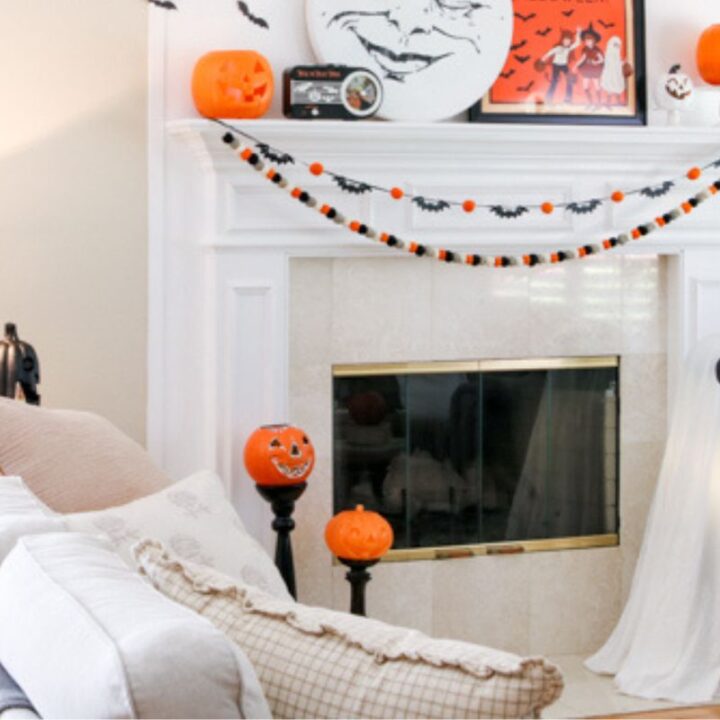
This Halloween season, my daughter Hannah and I went with a vintage retro aesthetic. We transformed the mantel using one of her Etsy printables and started working on the hearth with a DIY Halloween ghost idea.
Halloween crafts are a fun idea for you to do alone or with your kids and Halloween ghosts are a staple of the season.
Update: It is 2025 and this year our fireplace mantel got a whole new ghost so I added how we made it to the bottom of this article. Her name is Moaning Martha and she is made from a linen napkin and cheesecloth.
For many years we would spend most of our time and energy on the mantel shelf, and the hearth would be lacking. But this year, we wanted the hearth to be as dramatic as the shelf, so we decided to make a DIY ghost decoration using items around the house.
I think this easy project would be a great idea for your Halloween party.
DIY Sheet Ghost Halloween Decoration
Halloween ghost decorations are an easy way to bring Halloween home. The best part about this DIY Halloween ghost is the simple supply list. Gather these items, and then let's get started.
- Tall stand or, in our case, a baby doll high chair
- Victorian lamp or you can use a styrofoam ball (if you use a ball, you will need some Christmas string lights to sit under it)
- White sheet or white fabric where the width is long enough to go down all sides (we used a full-size flat sheet)
- Black construction paper or black felt
- Wrapping tape
- Ryobi mini generator
Shop the post:
Making a Ghost out of a Sheet
Did I mention this Halloween ghost light only takes about 30 minutes or less to make? It is genuinely the easiest decoration I have pulled together.
Now let's decide where you want your child-size ghost. Remember, we placed ours on the hearth, but you can set yours anywhere inside your home or on your front porch. I am thinking of moving mine to the porch for Halloween night.
Step 1: Ghost stand
First, let's build the stand for the ghost. Place your stand or baby doll high chair in my case, then set your lamp or ball on top for the head of the ghost.
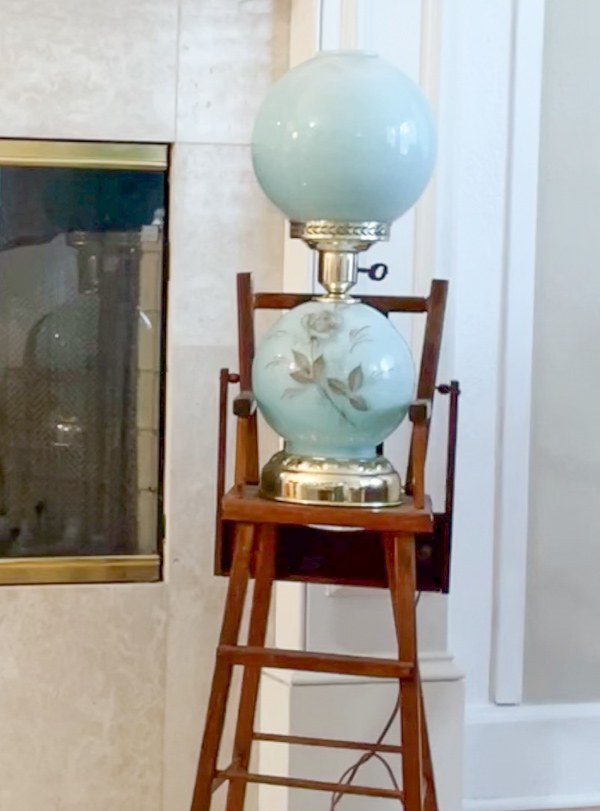
If you are using a victorian lamp, you will need to remove the globe on the top and then the glass bulb cover. Not all Victorian lamps have this piece inside but ours did I guess for aesthetics. The main thing is that you need the top of the globe to be smooth.
At this step, use a warm light bulb in the lower sphere of the victorian lamp. Use a low watt like 25 watt and an edison bulb would make a nice warm light.
If you are using Christmas light strings, make sure they are warm-colored. Next, if you're using the Victorian lamp, turn on the lower sphere because later, when we light the ghost, you won't have to reach up there to turn it on.
Now that you have your foundation, let me show you how to drape the flat sheet over the base.
Step 2: Sheet Ghost
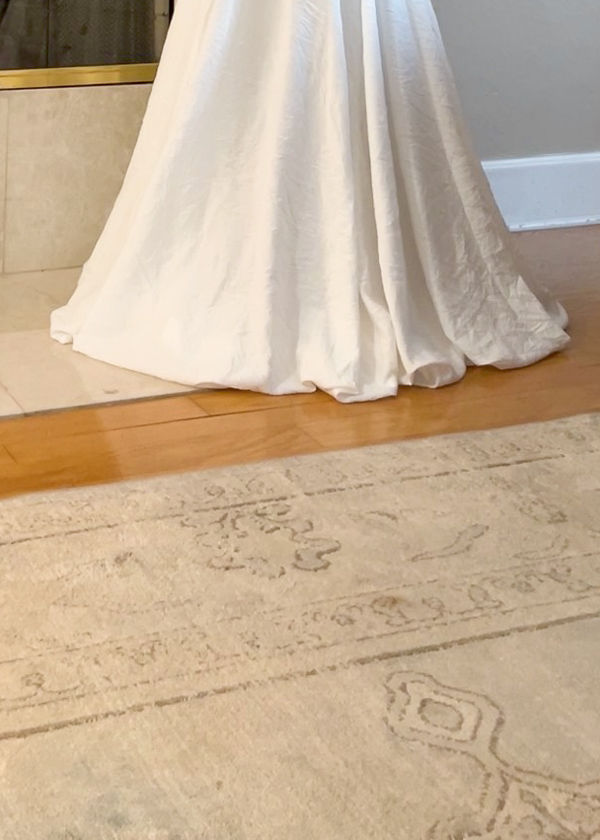
The ghost shape is easy to achieve. Find the center of your sheet, then place the center on the top of the ghost stand. Make sure the sheet is evenly distributed around the ghost base.
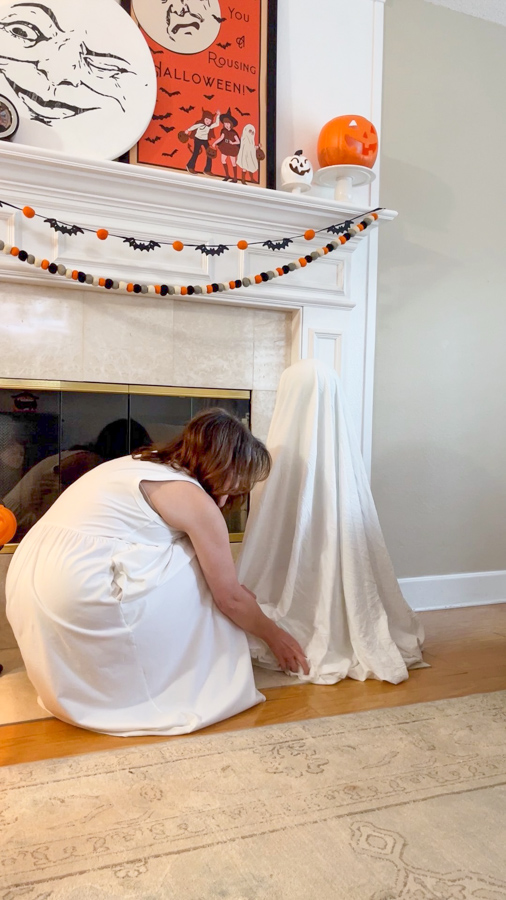
Next, fold under any excess sheet material. Do not puddle but tuck the extra sheet material under where the sheet hangs down. Once you have all the excess sheet tucked under, pull the flat sheet forward, so it flows outward from the ghost.
Your Halloween ghost craft is almost done!
Step 3: How to Make Ghost Eyes
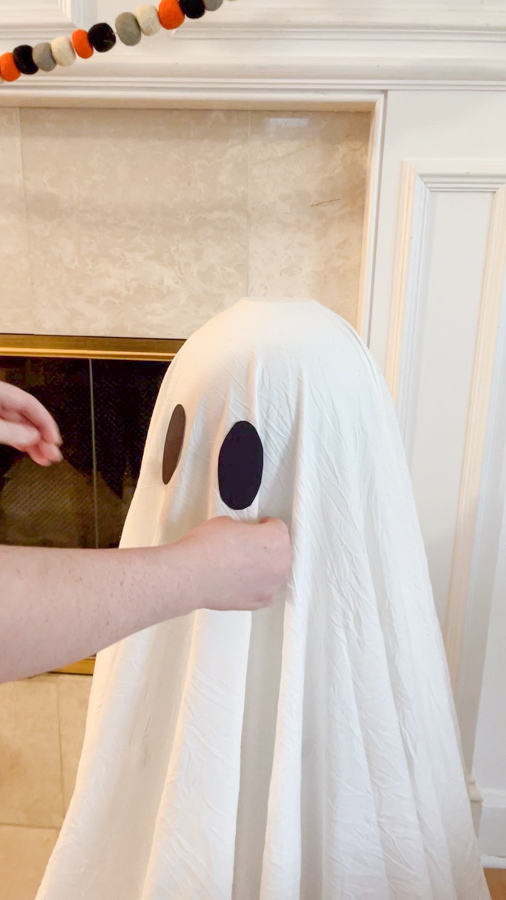
We only have a few more steps, and this project is complete! Now it's time to decorate the ghost's head. Let's start by learning how to make ghost eyes that will give your spooky friend a perfect finishing touch.
First, use construction paper or black felt and cut out an oval shape for the eyes. Our eyes are about 2 inches long and one inch wide.
Subsequently, use some tape to adhere the eyes onto the ghost. We used regular clear tape and looped it where the sticky was on the outside.
So far, they have not fallen off. If you're using an old sheet you will only be using for this decoration, you can use a glue gun to attach the eyes.
Remember to bring the eyes down on the head where a human's eyes would be. I originally had them too high, and once my daughter pulled them down, it made this adorable ghost look more realistic.
Step 4: How to Light your Sheet Ghost
I want to introduce you to the most fantastic tool Ryobi has ever made — a mini generator. LOL! You may find me saying that about their other Ryobi tools in other posts, but honestly, this is one of my favorites.
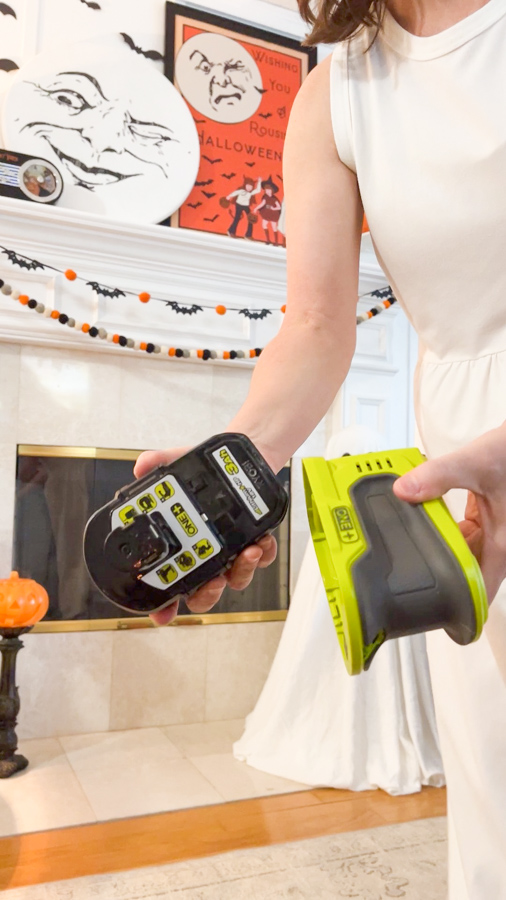
This little powerhouse will light up your Halloween ghost, and you can hide it under the ghost. Isn't that awesome? No unsightly cords running across the floor. I have also used it on my cottage farmhouse Christmas porch to illuminate my garland.
Simply plug your lamp or lights into your mini generator, and light magic, you have a child-size Ghost light. This little thing makes me laugh every time I light it up.
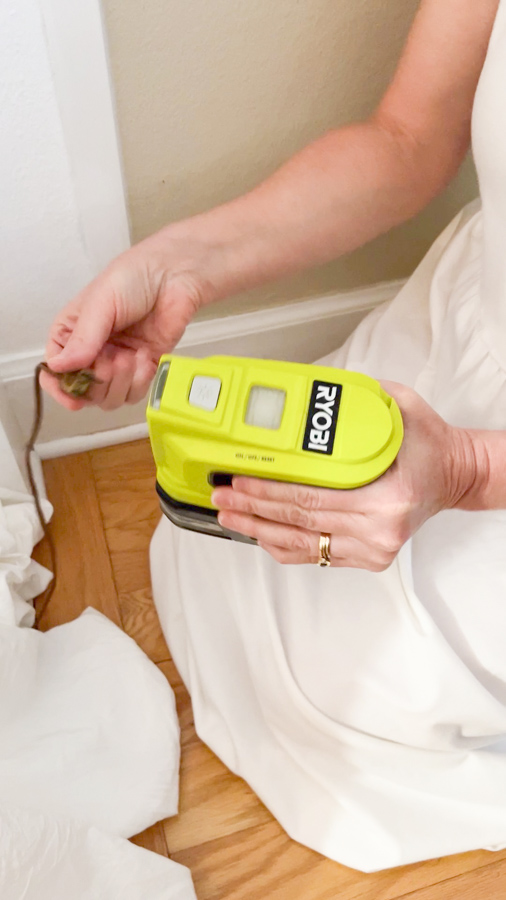
Every night, when you want to light your ghost, place the battery pack on the mini generator and tap the button on top. Your little ghost will illuminate beautifully.
How to Make a Life Size Ghost
Now that we made a toddler size ghost I thought you might like to know how to make an even larger ghost. A simple way to make a life size ghost is to use a taller stand like a plant stand with anything that is round on the top.
You can use a basketball, lamp with a round shaped shade or styrofoam ball as the head. I'm sure you'll devise a creative idea.
Then add a sheet and eyes made from black construction paper or felt and you have an adult size ghost.
Final Thoughts on Making a Sheet Ghost
Okay, wasn't that great fun and easy?
Even if you are having a last minute event, you'll still have plenty of time to put one of the best DIY halloween decorations together.
Kids of all ages will love this ghostly fun Halloween decoration this spooky season. It would make a great addition to your front yard or front porch on Halloween night.
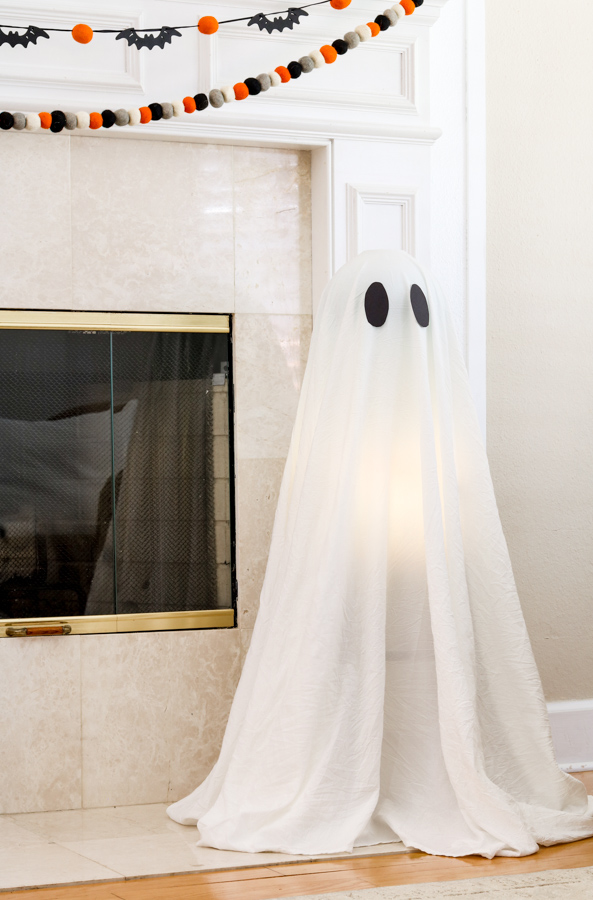
After we finished decorating our living room, fireplace, and mantel, my little nieces and nephews came over. I wondered if any of them would be scared of our sweet little ghost, and to my surprise, they weren't concerned.
I think they were more concerned with the display of candy they were allowed to eat. LOL!
Just another reason I think these ghosts make are perfect decorations for Halloween.
Looking for more ghostly inspiration? Check out my DIY Ghost Decoration Ideas for even more creative ways to decorate!
Making a Ghost Out of Cheesecloth
Our next ghost is a smaller version of the larger sheet ghost because this one sits on a stack of Jack-O'-Lanterns. Here are directions on how to make her mostly using Dollar Tree items.
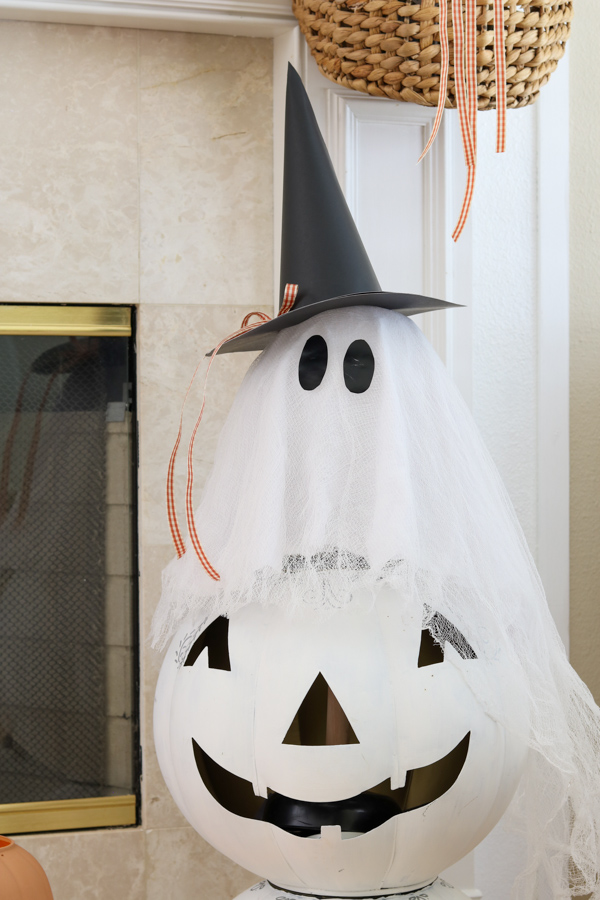
Supplies for Cheesecloth Ghost
- Plunger (make sure the stick is straight up and down)
- Clear bowl
- Glue gun and glue
- Cheesecloth
- White fabric dinner napkin
- Scissors
- Glue
- Optional: trash bag to cover pumpkin or whatever it will be sitting on.
If you are planning a sitting ghost use a trash bag and go ahead and drape it over the object like I did on the Jack-o'-lantner. You can see me do this in my Halloween decorating YouTube video here.
Step 1: Gluing the Bowl to Plunger
Your first step in to use hot glue and attach the bowl upside down to the top of the plunger stick. If your bowl is plastic be careful because it will melt some and slide on you. Keep your hands on the bowl until the glue hardens
Step 2: Drape Fabric and Cheesecloth
Next place the fabric and Cheesecloth over the bowl and trim it to the length you want. Cut it a little longer than you think because you can trim it more when it drys.
Step 3: Make Glue
This next step is simple. You will need to make a glue for your fabric. Mix half and half glue and water in a bowl and mix it well. I used about one cup of glue and one cup of water.
Step 4: Add Fabric to Ghosts
Next start with the bottom later of fabric and dip your fabric in the glue and squeeze out all the excess. Then place the fabric on the bowl. This is the head of the ghost.
Continue adding layered of fabric that has been dipped in the glue until you are finished. Let the ghost dry over night so it will harden.
Step 5: Add Ghost Eyes and Hat to Ghost
Now we are really getting to the fun part. Next cut out oval shape eyes from black paper and simply stick them to the ghost with double sided tape or hot glue.
Next if you want to add a hat to your ghost you can use my witches hat pattern in my Etsy shop here. It has all the directions and printables.
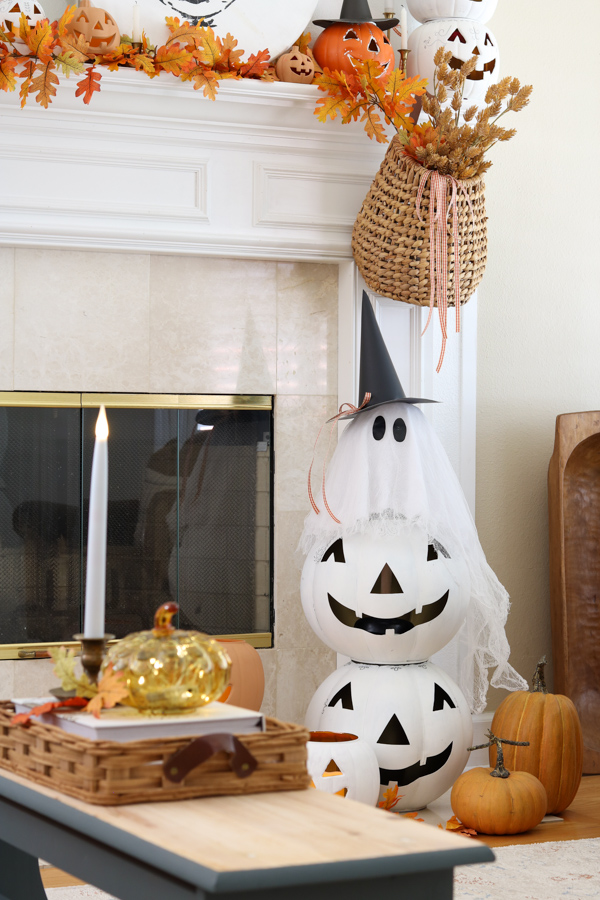
Step 6: Lighting for Ghost
Okay maybe this is the most fun part. LOL!
To light your ghost, you can attach a fairy light up inside of the clear bowl or add one of these Amazon battery powered remote control lights inside the Jack-O'-Lantern or whatever the ghost is sitting on.
And guess what? That is how to make a cheesecloth ghost. It is so easy, inexpensive, and fun!
Fast forward to 2025, and we have a new ghost perched on the mantel hearth, but this time the material is sherpa. If you’d like to make your own, check out my DIY Sherpa Ghost Pottery Barn Dupe for the full step-by-step tutorial.
Final Thoughts
Cheesecloth, sheet, or sherpa are excellent materials to use for Halloween. Think outside of the box and use whatever you want as long as it is lightweight. You could use old sheets just like we did with the larger ghost in the beginning.
Good luck with making your own Moaning Martha or ghostly friend!
Here are other Halloween easy DIY crafts you might like:
- Dollar Store Painted Jack-o-lanterns
- How to Make a Witches Broom
- Halloween Silhouettes
- Printable Halloween Decorations
- How to Paint a Ghost on a Vintage or Thrifted Painting
- Crafting Spooky Magic: How to Make Halloween Decorations Out of Paper
- Glowing DIY Air Dry Clay Ghosts for Halloween
So many fun Halloween decoration DIYs to choose from, and they are fun to do with family members.
Now I am dying to know where you plan to make a sheet ghost. Is it going on your front porch, fireplace hearth, or playroom? Share in the comments all about it.
Thank you so much for stopping by, and I hope this simple DIY Halloween ghost craft will bring the holiday spirit into your decorations. If you have any questions, please feel free to ask in the comment.
I'd love to hear your easy DIY Halloween decorations. Have an wonderful, safe, and happy Halloween.
Happy Decorating!

DIY Sheet Ghost Halloween Decoration in 4 Simple Steps
This Halloween ghost light craft is so easy to make and is a fun Halloween project.
Materials
- Tall stand or, in our case, a baby doll high chair
- Victorian lamp or you can use a styrofoam ball (if you use a ball, you will need some Christmas string lights to sit under it)
- White sheet
- Black construction paper or black felt
- Wrapping tape
- Ryobi mini generator
Instructions
- Place your stand, or baby doll high chair in my case, then set your lamp or ball on top for the head of the ghost.
- If you are using a victorian lamp, you will need to remove the globe on the top and then the glass bulb cover.
- Use a warm light bulb in the lower sphere of the victorian lamp. Use a low watt like 25 watt and an edison bulb would make a nice warm light.
- If you're using the Victorian lamp, turn on the lower sphere because later, when we light the ghost, you won't have to reach up there to turn it on.
- Find the center of your sheet, then place the center on the top of the ghost stand. Make sure the sheet is evenly distributed around the ghost base.
- Next, fold under any excess sheet material. Do not puddle but tuck the extra sheet material under where the sheet hangs down.
- Pull the flat sheet forward, so it flows outward from the ghost.
- Use construction paper or black felt and cut out the eyes and mouth in an oval shape.
- Use some tape to adhere the eyes and mouth onto the ghost.
- Plug your lamp or lights into your mini generator to avoid unsightly cords running across the floor.
- When you want to light your ghost, place the battery pack on the mini generator and tap the button on top.
Notes
- If you are using Christmas light strings, make sure they are warm-colored.
- A simple way to make a life size ghost is to use a taller stand like a plant stand with anything that is round on the top. You can use a basketball, lamp with a round shaped shade or styrofoam ball as the head. Then add a sheet and eyes made from black construction paper or felt and you have an adult size ghost.
