Summer is winding down, and if you’re anything like me, the holidays ahead can start to feel overwhelming. There’s so much to decorate for between now and Thanksgiving, and doing it all separately can eat up your whole fall.
Here’s my designer hack for that. I decorate for fall and Halloween together, as one layered look on to of the other but not necessarily at the same time. Let me explain more.
But why do it this way? It frees up my time for what actually matters this time of year: family, friends, and all the cozy fun in between.
This is my exact system, and it’s simpler than you’d think.
How I Layer Fall and Halloween Decor Together
I like to think of it like painting a picture. You paint the landscape first, then add the people and the little things happening in the scene.
Fall decor is my landscape. It’s the foundation everything else gets painted onto, and Halloween is what I layer on top of it a little later.
My FAVORITE way to build that foundation is with a bright orange, light up leaf garland. It’s warm, it’s cheerful, and it gives me the perfect backdrop to layer Halloween right on top of.
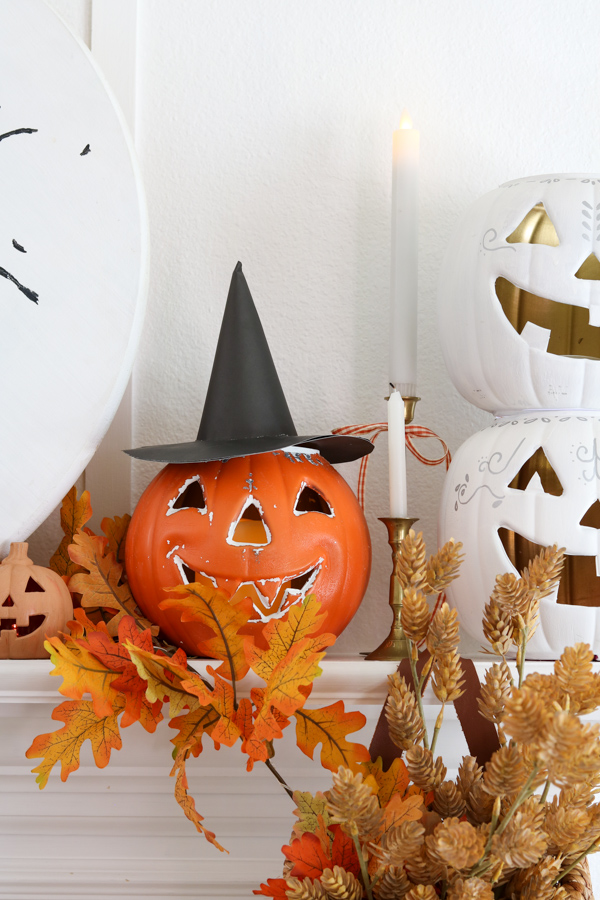
That’s simply my favorite way to do it, though. This same concept works beautifully no matter what your fall colors look like.
If you lean toward rusty reds and deep browns, or greens and browns, you can layer fall and Halloween decor together the very same way. I’ll show you a more neutral version of this a little later on.
I also tend to keep things bright and cheery rather than dark and spooky. That’s just my favorite style, and this method will work just as well either way.
My Fall Foundation (Laid in August, Ready by September 1st)
Before I add a single new thing for fall, I clear the slate completely. Everything from summer comes down, all of it, and I leave the house bare for a couple of days. A complete reset.
There’s something about starting from nothing that helps me think clearly, instead of trying to piece a new look together around what’s already there.
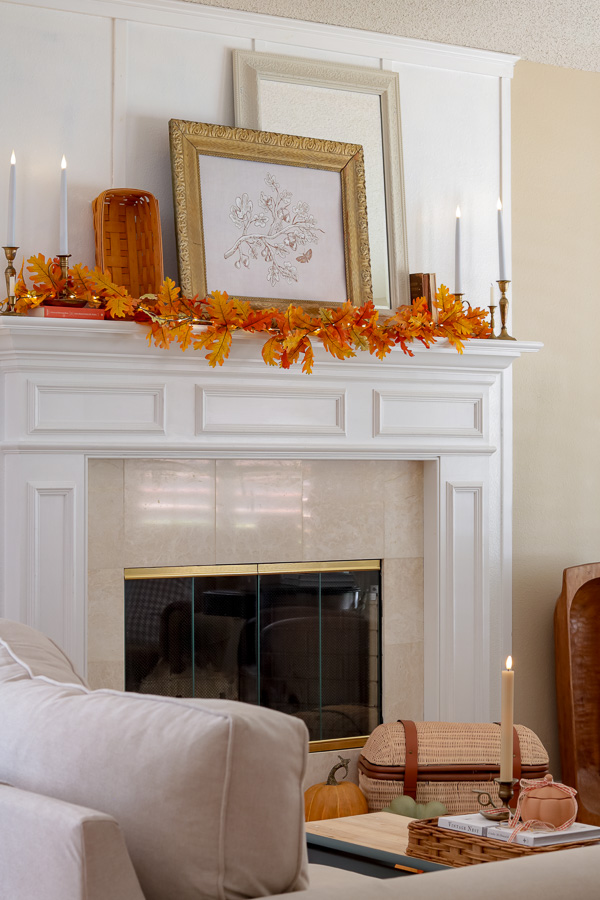
Here is my process laid out so you can see it. Once the slate is clear, I lay the foundation for fall, piece by piece:
Fall Decorating Layer
- Garlands go up
- Pumpkins come out, some into bowls, the big Pottery Barn pumpkins onto the hearth, a few onto the mantel. I let my creative juices flow!
- A new piece of fall art goes up, usually in the form of a new creation in my Etsy shop.
- Candles come out
- Ribbons get swapped for autumn colors
- Books get swapped for autumn covers and autumn stories
- Baskets strategically placed
- A few other small touches that simply say “fall”
That foundation is what makes this whole system work. Once it’s in place, Halloween becomes just another layer on top.
Then I Layer In Halloween
Next we start layering on top and sometimes swap but I wait a little to enjoy the fall decor first — more on that later.
This is the mantel one year for fall before layering in Halloween. The garland stays exactly where it is. All I did was swap the art and add a mini paper witch hat garland underneath.
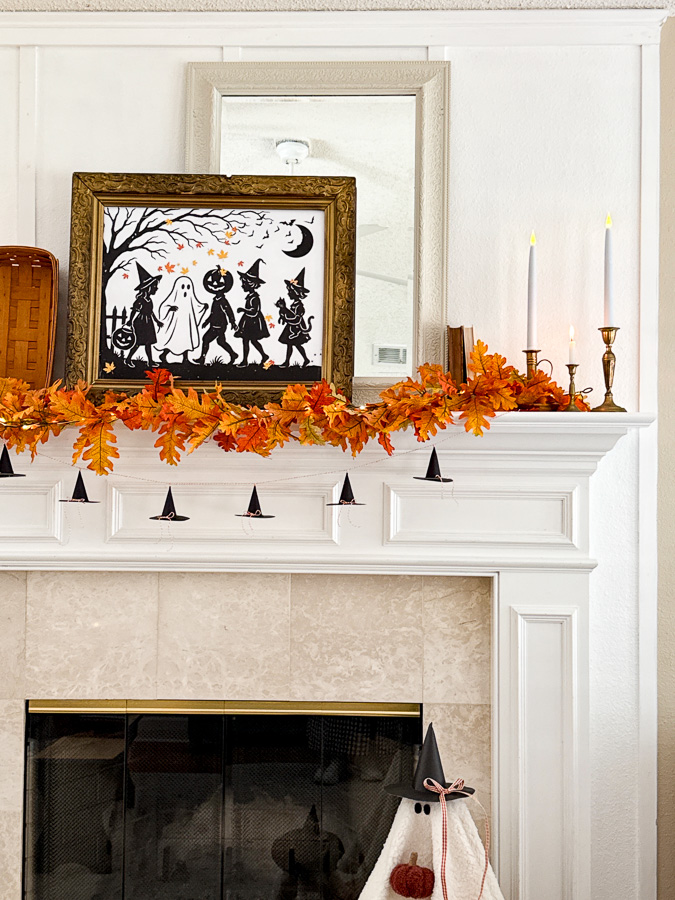
I also added DIY sherpa ghosts to the trunk on the hearth. See how easy that is.
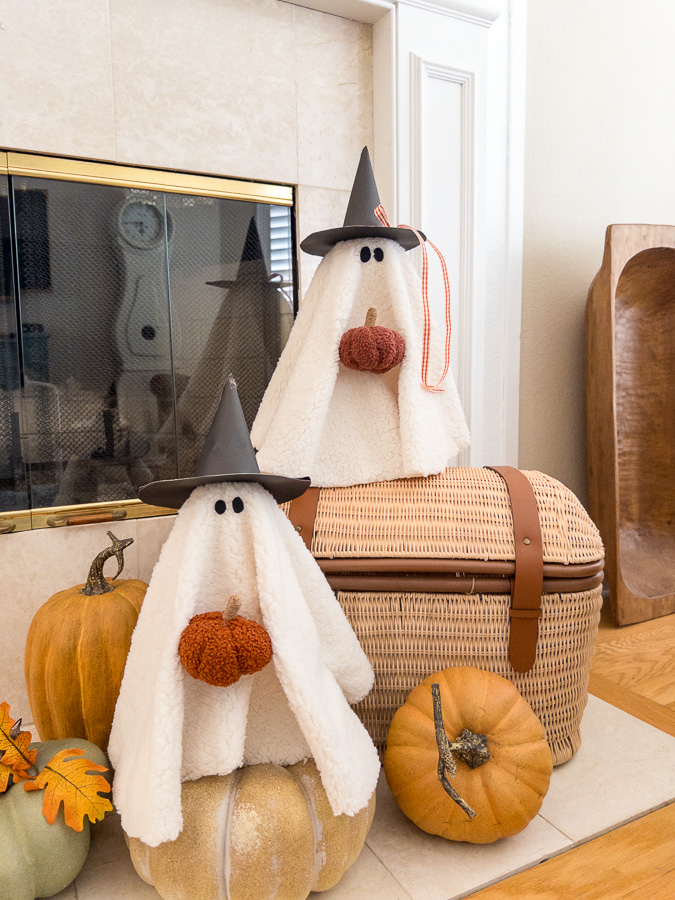
Once Halloween starts layering in, here’s what changes:
Halloween Layer
- Halloween art swapped or layered
- Halloween characters slide in or swap out (Jack-o’-lanterns, ghosts, bats, and so on)
- Garland gets added here and there that includes a Halloween theme
- Any other fun Halloween elements
Next I thought you might find my timeline helpful. It really works nicely!
My August to October Timeline
- August: the fall foundation goes up
- Mid September: Halloween starts layering in
- By the last week of October: all my new Halloween DIY decorations are finished and added. I never rush this part. I enjoy it because this the fun part.
- After Halloween: the Halloween pieces come down, and I slide right back into fall for Thanksgiving or sometimes start Christmas. Just depends on my mood.
So this is the gist of what I do now if you want to learn more or go deeper keep reading where I share more about why and how and include examples.
What Stays the Same
This is what makes the whole thing so easy. Almost everything already in place simply stays put, right through fall and Halloween both.
Sometimes things get moved a little for Halloween, but that is the beauty and flexibility of decorating this way.
On my hearth, for example, the basket and pumpkins move to another spot in the living room to make room for my DIY sheet ghost.
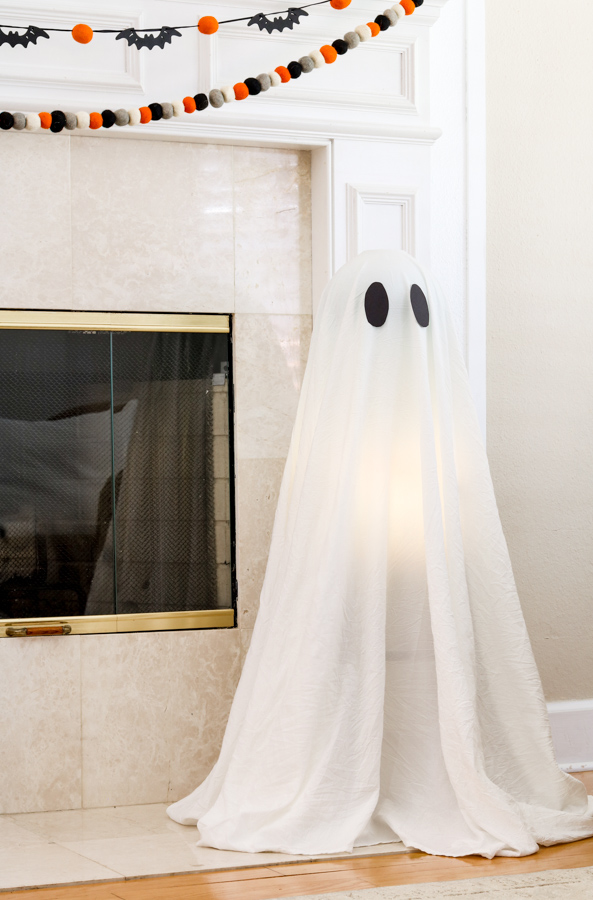
This ghost is one of those Halloween DIYs I was talking about. Honestly, it is my favorite part about the holidays. Getting to make my own home decorations.
Easy Swaps: Change the Piece, Not the Place
Once your foundation is in, most of the “Halloween-izing” is just swapping one piece for another in that same spot.
A bowl of pumpkins becomes a bowl with a jack-o’-lantern. A pumpkin sitting under a cloche gets swapped for a DIY air dry clay ghost.
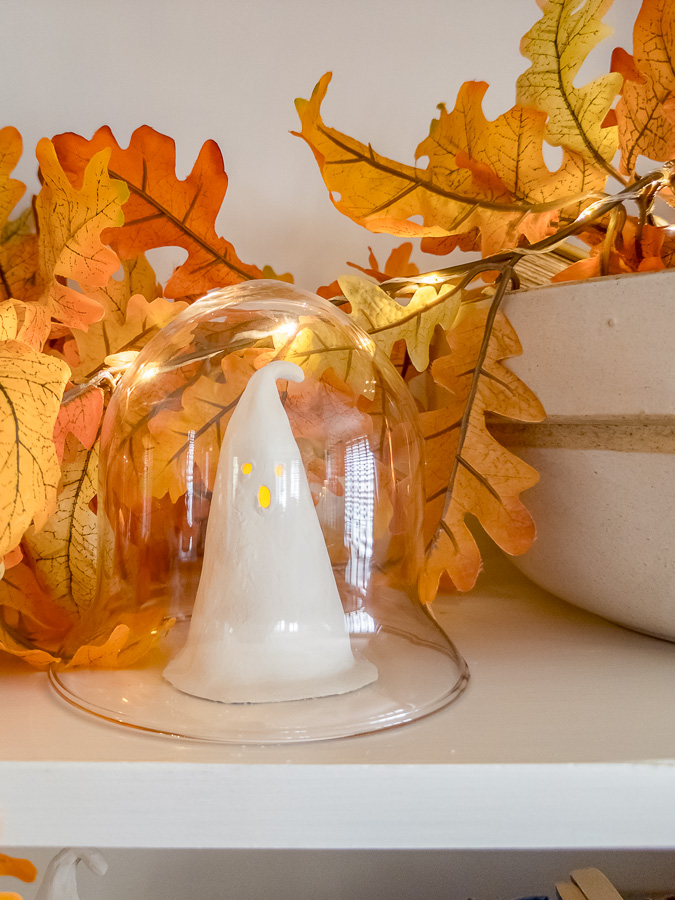
Plain jars become apothecary jars, and my rabbit’s basket goes from holding a leaf or a pumpkin to holding a little jack-o’-lantern instead.
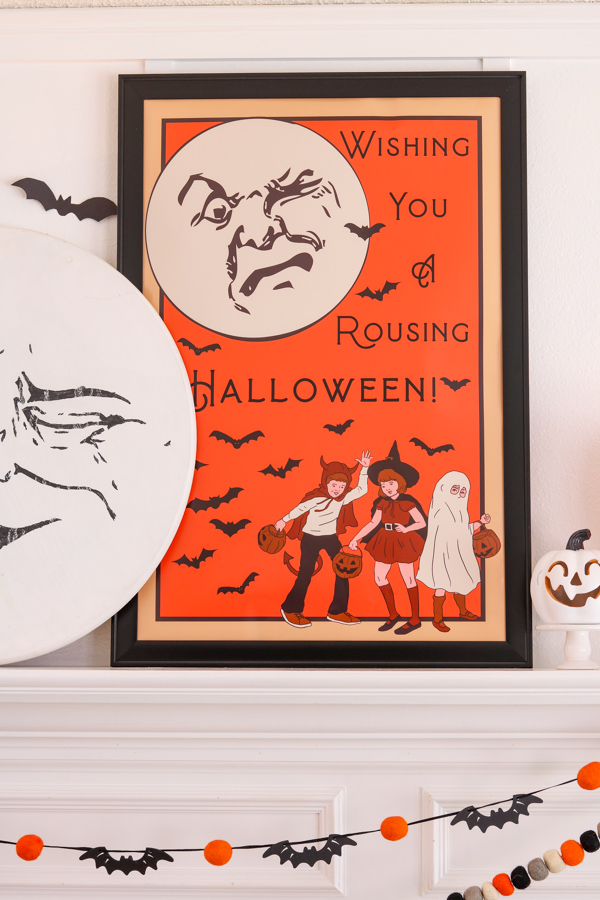
Swapping the art is one of my favorite easy changes. Sometimes that means printing a large piece and decoupaging it for an authentic, real-art look. Other times, I print on canvas paper at home and slide it over art already displayed.
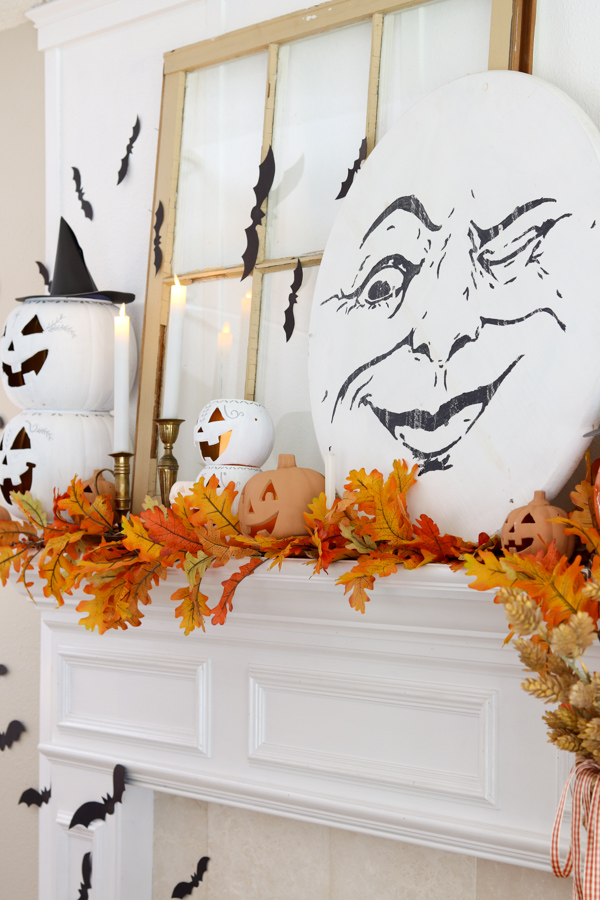
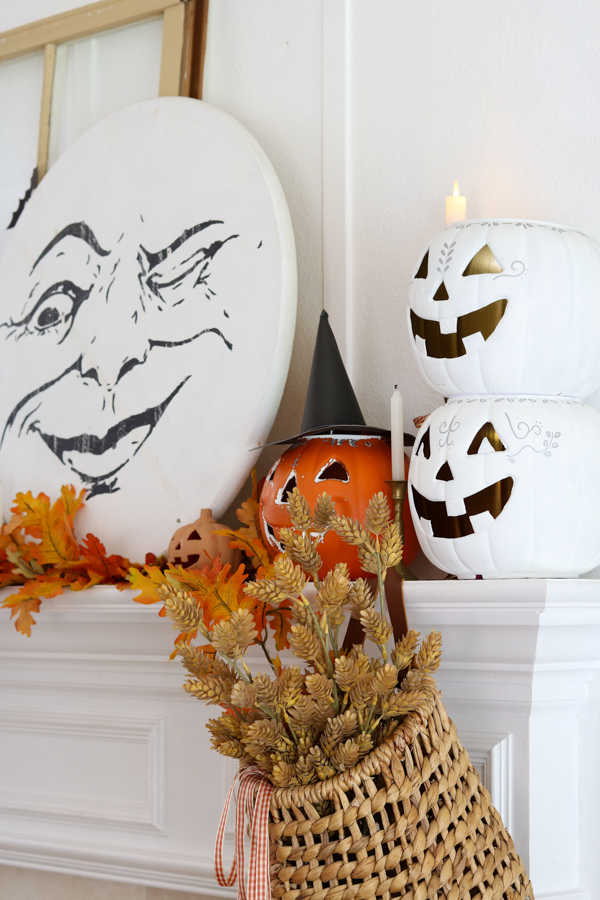
But this year, instead of making a brand new piece of Halloween art, I swapped in the Man in the Moon that my daughter Hannah made for me. It has quickly become one of my favorite mantelpieces yet.
Layer-Ins: Add Without Taking Anything Away
Some of my favorite Halloween touches don’t replace anything. They simply layer right on top of what’s already there.
That same trick works with the mini paper witch hat garland tucked under my mantel garland, like I showed you earlier.
You’ll find even more ways to layer a garland into your existing fall decor in my Halloween garland DIYs post.
A few more of my favorite layer-ins. Black bat cutouts from my Etsy shop tucked right in among the autumn dishes in the hutch.
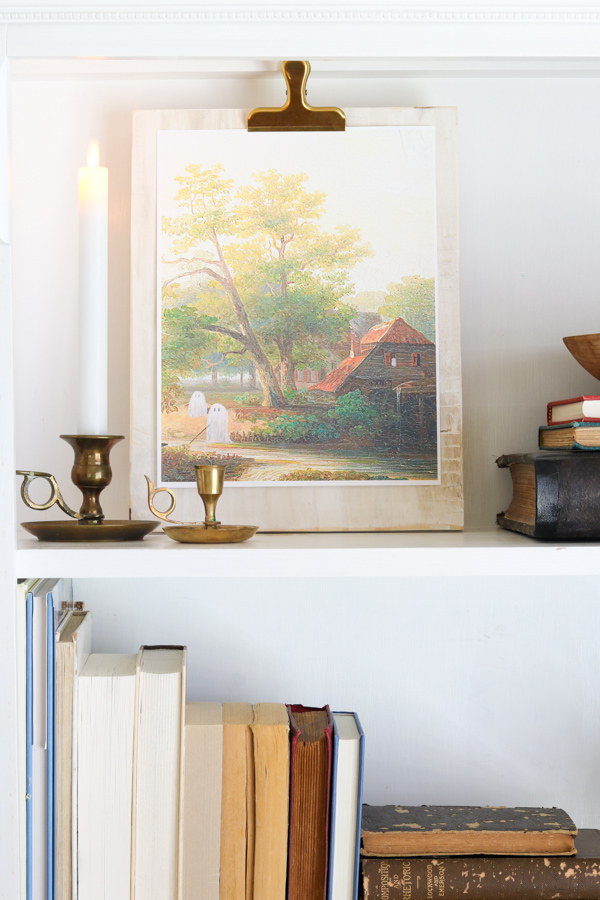
My DIY ghost painting finds a place on a homemade clipboard on the bookcases. This proves it only takes seconds to change art sometimes.
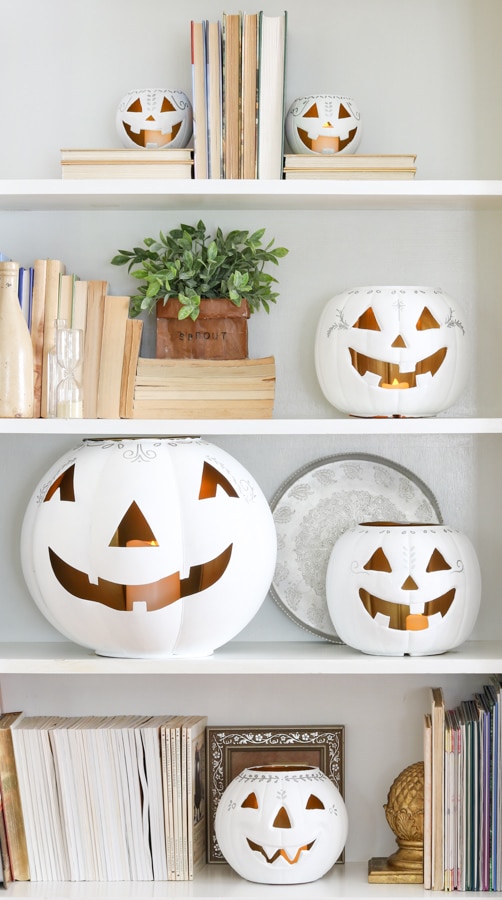
I also love tucking my dollar store jack-o’-lanterns, the ones I turned from plain plastic pumpkins into high-end white and gold beauties, onto the mantel, the bookcases, and the table centerpiece.
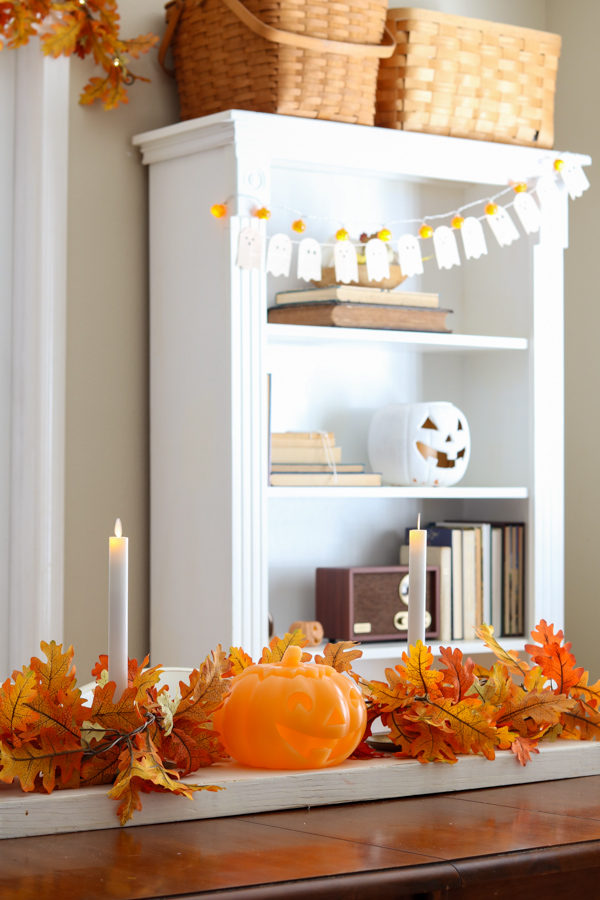
And I love tucking ghosts in between the pumpkins on my table centerpiece, or setting jack-o’-lanterns around the garland running down the middle of the table.
For even more ways to style jack-o’-lanterns around your home, I rounded up all of my favorites in Decorating with Jack-O’-Lanterns.
If you want even more printable Halloween pieces to layer in, from art to garlands and more, my Halloween printable decorations roundup has you covered.
Love a More Neutral Halloween? Try This Instead
Everything above uses my favorite bright orange leaf garland, but this same layering method works just as beautifully with a moodier, more neutral palette.
If that’s more your style, take a peek at how I styled a mantel with rust colored garland and apothecary jars instead of bright orange.
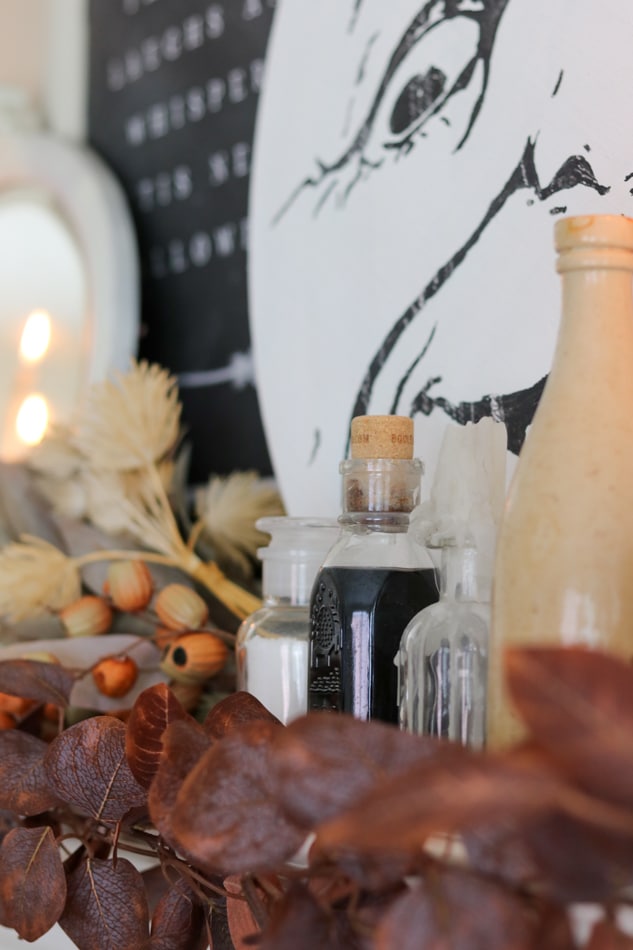
You’ll find that whole look in my old fashioned Halloween mantel post.
FAQ
Can you decorate for fall and Halloween at the same time?
Yes. The easiest way is to lay a fall foundation first, then layer Halloween pieces on top, instead of decorating twice from scratch.
When should I start adding Halloween decor to my fall decor?
I lay my fall foundation in August and start layering in Halloween around mid September, finishing up my new DIYs by the last week of October.
How do I transition from Halloween back to fall and Thanksgiving?
Take down the Halloween-specific pieces, like the jack-o’-lanterns, ghosts, and Halloween art. Your fall foundation is already in place underneath, ready to carry you straight through to Thanksgiving.
The Bottom Line
Clear the slate, lay your fall foundation, and layer Halloween right on top of it. This works no matter what your color palette looks like.
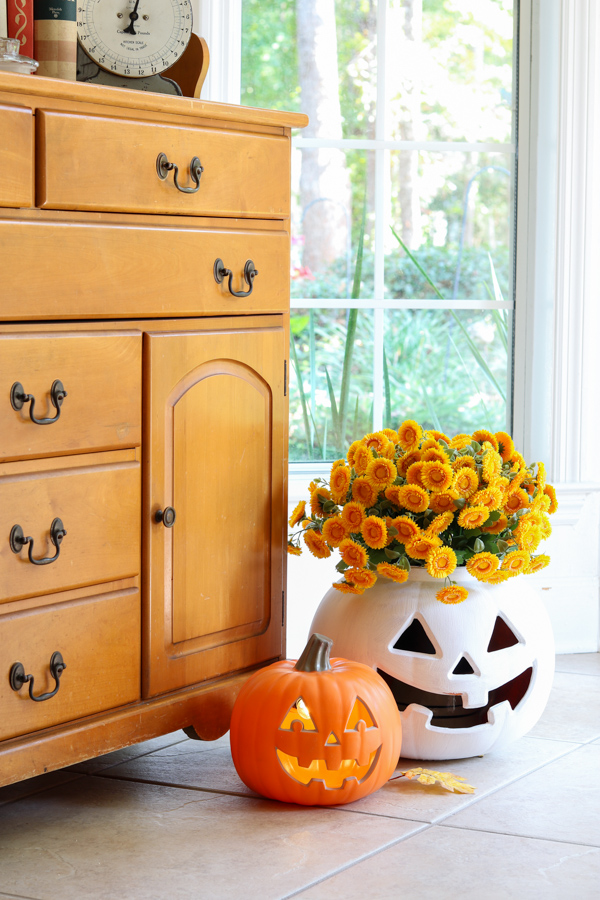
And stay tuned, because I’m working on a whole new cozy cottage country Halloween design that I’m more excited about than anything I’ve done in years. I’ll be sharing DIYs along the way, with the full reveal coming in just a few weeks.
Do you decorate for fall and Halloween together, or do you like to keep them separate? Tell me in the comments!
Happy Decorating!