An easy tutorial on how to remove wallpaper with a steamer. This DIY wallpaper removal tool will change how you feel about this task. Follow as I demonstrate removing old wallpaper.
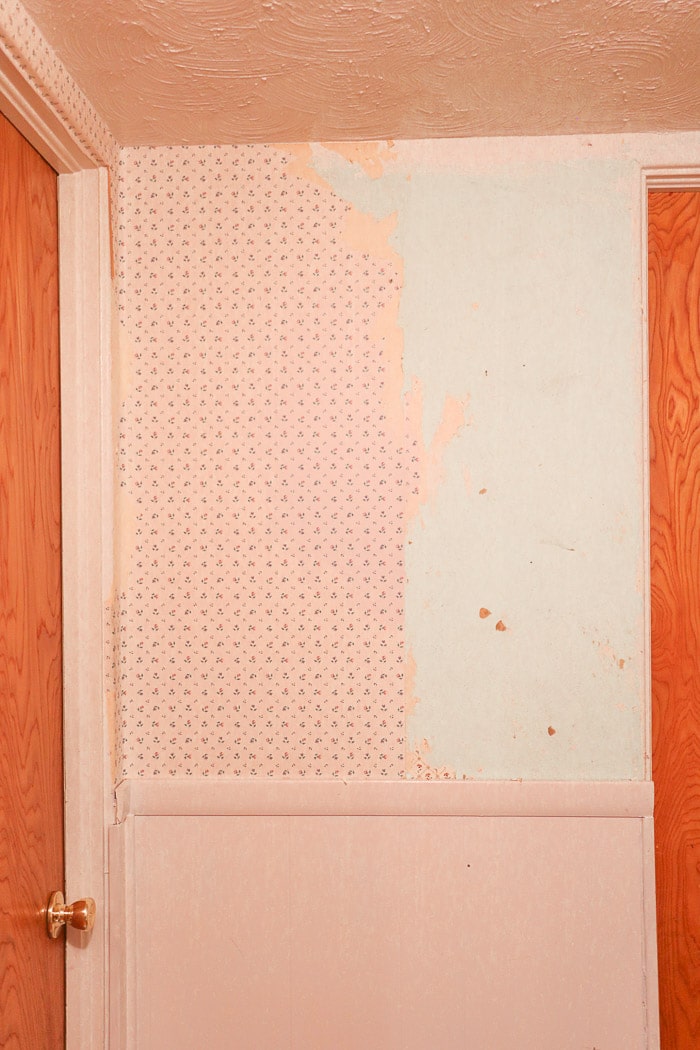
Years ago when I started designing homes I discovered the trick to removing wallpaper from a seasoned wallpaper installer. I learned how to remove wallpaper with a steamer.
I was in awe at how easy the wallpaper was coming down. Fast forward to now and my little Homeright Steamer just helped me remove wallpaper with my friends in central Florida.
The project went so great until I couldn't wait to share, how to use a wallpaper steamer, with you. It was work but it was fun work. The best part was discovering six different wallpapers in different spots. It was like going back in time.

So let's jump into removing old wallpaper.
This post contains affiliate links, meaning I receive a commission if you purchase using the links below at no extra cost to you. All opinions are all my own.
HOW TO REMOVE WALLPAPER WITH A STEAMER
To begin any project I recommend collecting all the tools you will need. Here is a list of tool for this DIY wallpaper removal.
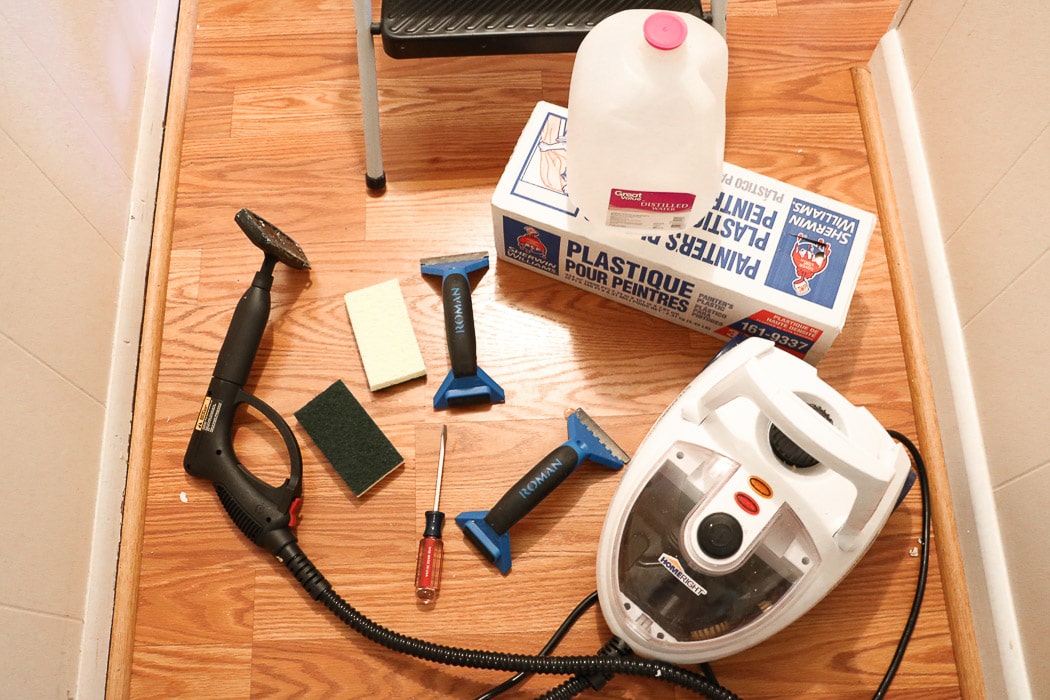
- Homeright Steamer
- Homeright Steamer wallpaper attachment
- Distilled water
- Plastic to cover floor
- Scrappers
- Screw driver
- Ladder
- Scrub sponges
DIY Wallpaper Removal
To begin cover the floor with plastic or something to protect your floor. It helps to use something you can trash because there will be little pieces of wallpaper everywhere.
Remove Top Layer of Wallpaper
Now start pulling any loose wallpaper. The top layer should come off here and there. If you are lucky like we were then it will come off pretty easy. Especially if the back layer comes off too like it did here.
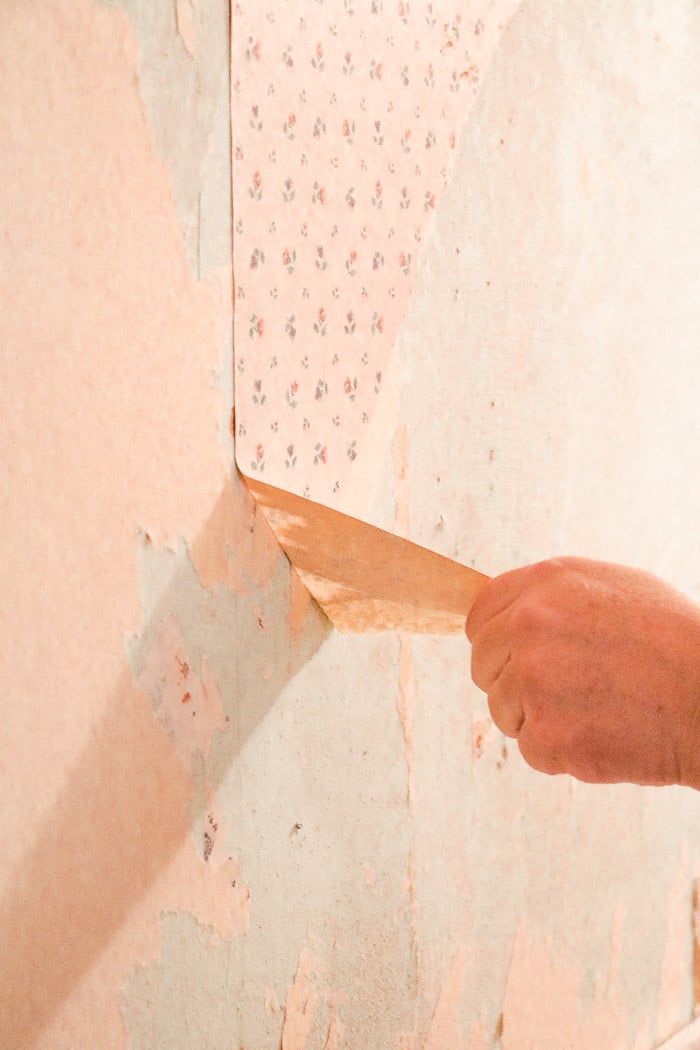
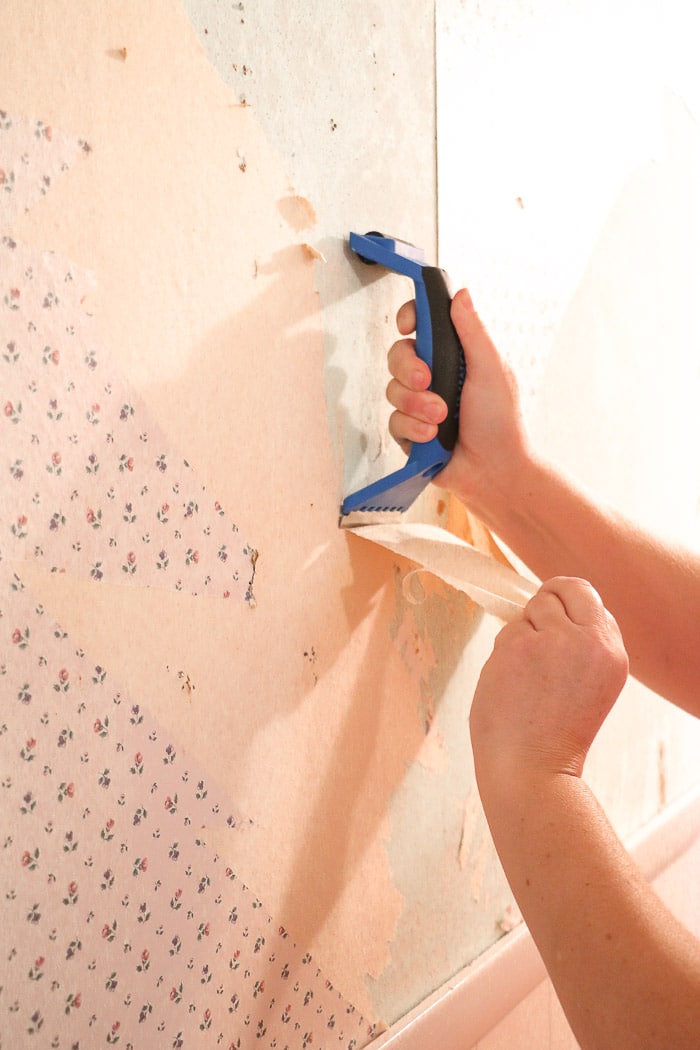
Next use your scraper to gently see if the back layer will come off too. So basically if the back layer is not moving give it a little push. 🙂 But be careful not to cut into the wall or scrape off part of the drywall.
Prepare the Steamer
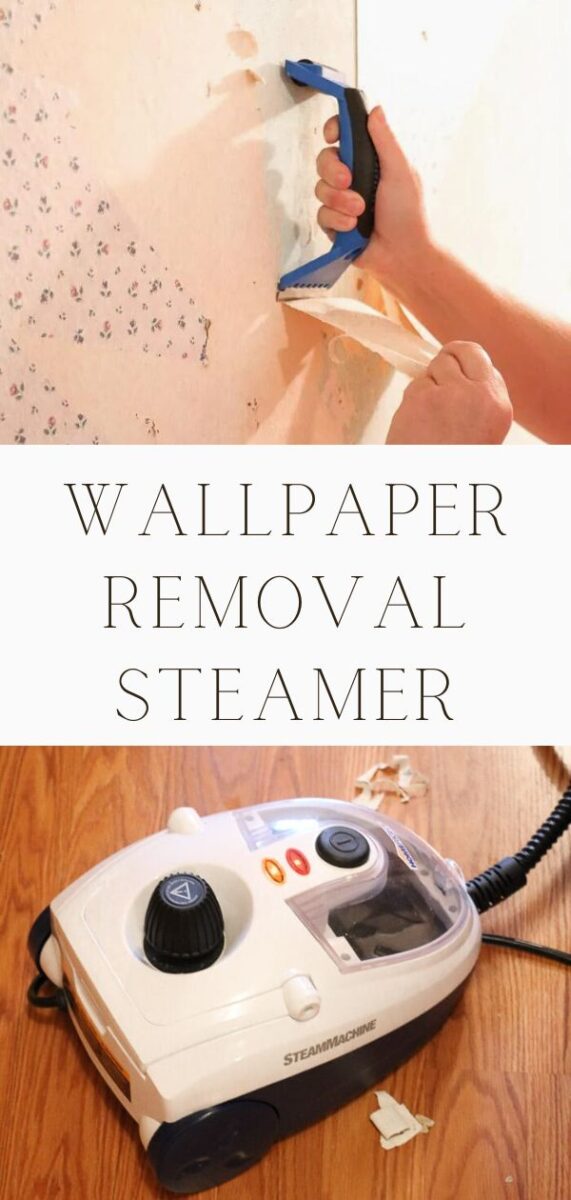
Now for the fun part! Grab your steamer and fill it with distilled water. Make sure not to over fill the tank because on our steamer it can damage the steamer if the tank is to full. So follow the directions on your steamer carefully.
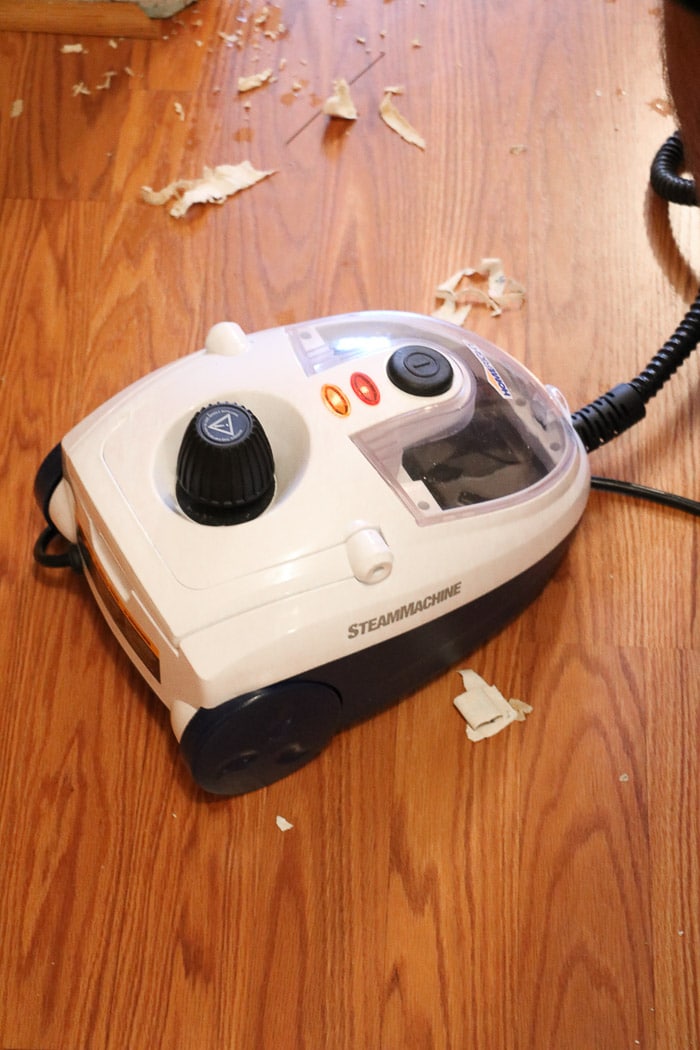
Screw the lid on tightly and push the on button. I have more details on getting your steamer ready to steam on my how to remove cat urine smell post. I used my steamer to help remove the odors like cat urine.
The next part is also important. I recommend the Homeright steamer wallpaper attachment. It helps capture the steam in one area which will make the wallpaper come off faster and easier. I have included it in the shoppable link below so you can see what I am talking about.
However, when I arrived at my friends house I discovered I was missing a part to the attachment. So we used a smaller attachment and it still worked like a charm.
Steaming the Wallpaper
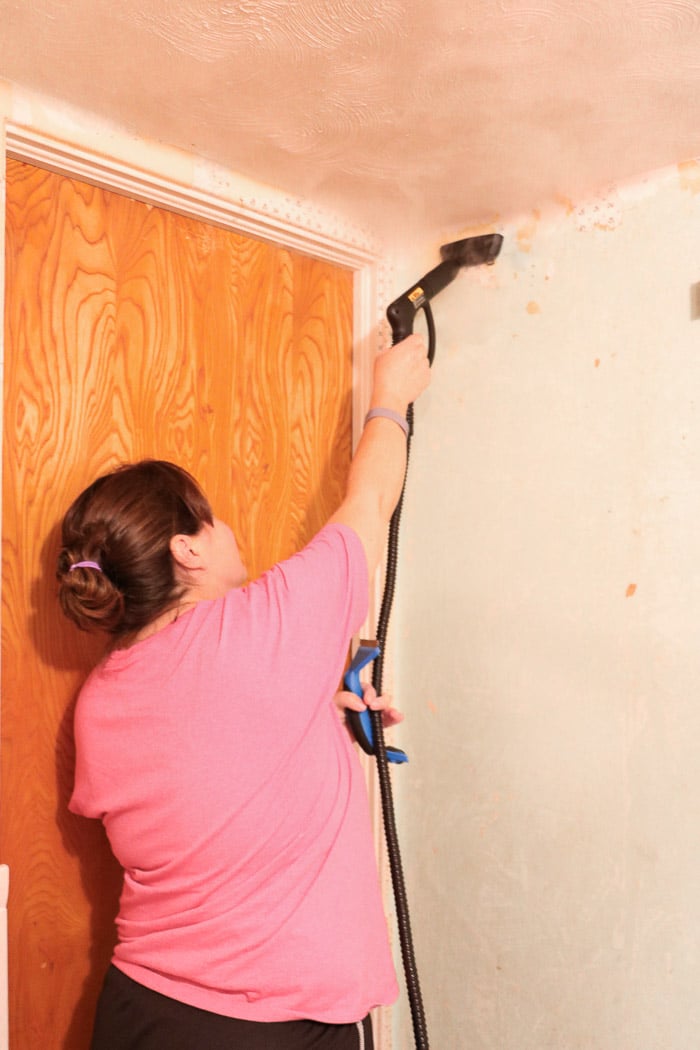
Simply hold the steamer on an area with wallpaper and keep it there for five seconds or so. Then move it to the next spot. See how having the right attachment will make how to remove wallpaper with a steamer the best way?
Keep moving down the wall in a methodical motion. I like to start at the top and move down then move over just a little at the top and move down again. Repeat these steams moving left to right.
Scrape the Old Wallpaper
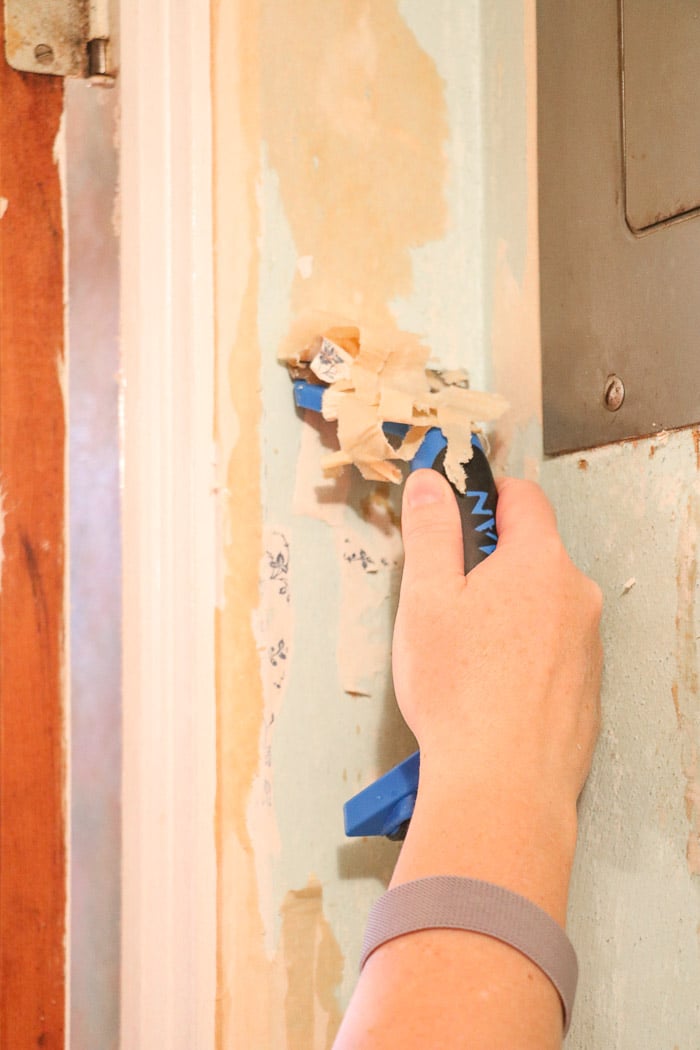
Here is another tip on removing old wallpaper. Ask for some help and while one person steams the paper have another person scrapping behind them. It also helps to have someone tall with you. Let the taller person do the higher spots. It also helps to save time.

Now let's talk about how to use the scrapper. Simply place the sharp blade up against the wall and drag it up parallel with the wall scooping wallpaper away from the wall as you go.
You might find that you get to much wallpaper stuck to your scraper. Take one of those damp sponges and wipe off the metal edge.

Be careful not to remove any sheetrock. If you do it is okay because I will share a few tips on patching the sheetrock at the end of this post.
Also, when scraping the wallpaper have a trash can handy for old wallpaper that has come off the wall.
Scrub the Wall with Sponge Scrubber
Now that all your wallpaper is gone clean your sponges of any wallpaper residue and use damp sponges to wash down the wall. I like to use the rough side first to scrub the wall because there are many tiny wallpaper fragments still on the wall.
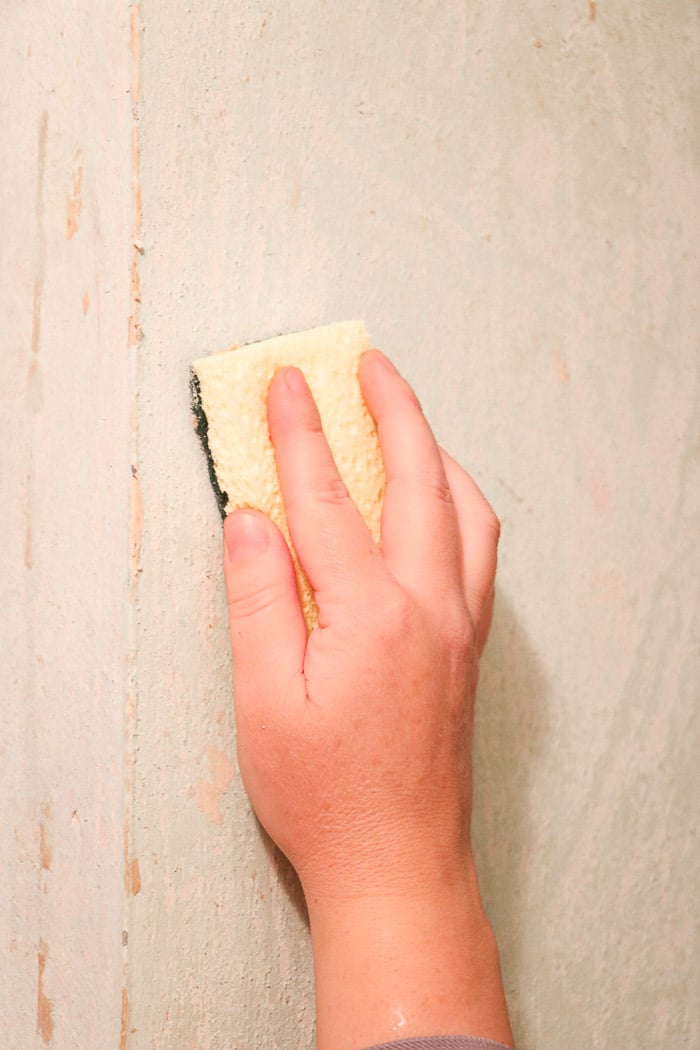
Take the scrubbing side of the sponge and again moving left to right scrub away those fragments. Then turn the sponge over and wipe down any other excess residue.
Repair Damaged Sheetrock
If you have any areas where the sheetrock came off simply grab some spackle and fill in any places with a putty knife. For small holes like from picture frames I like to use my finger and smooth it out as much as possible.
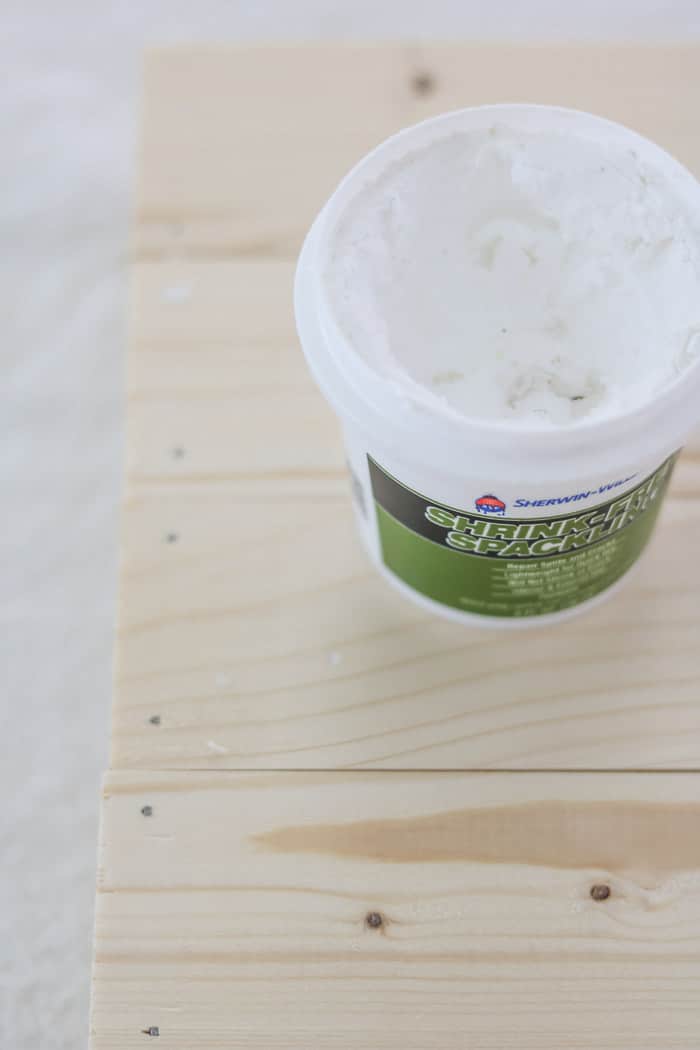
The neater you are when you apply the spackle the better. Now if your drywall is really bad. So bad that you need more than a little spackle then you might need to call a sheetrock company to come mud your walls.
Once your spackle has dried go back and sand any spots with sandpaper or block. Smooth out the bumps by moving a circular and back and forth motion.
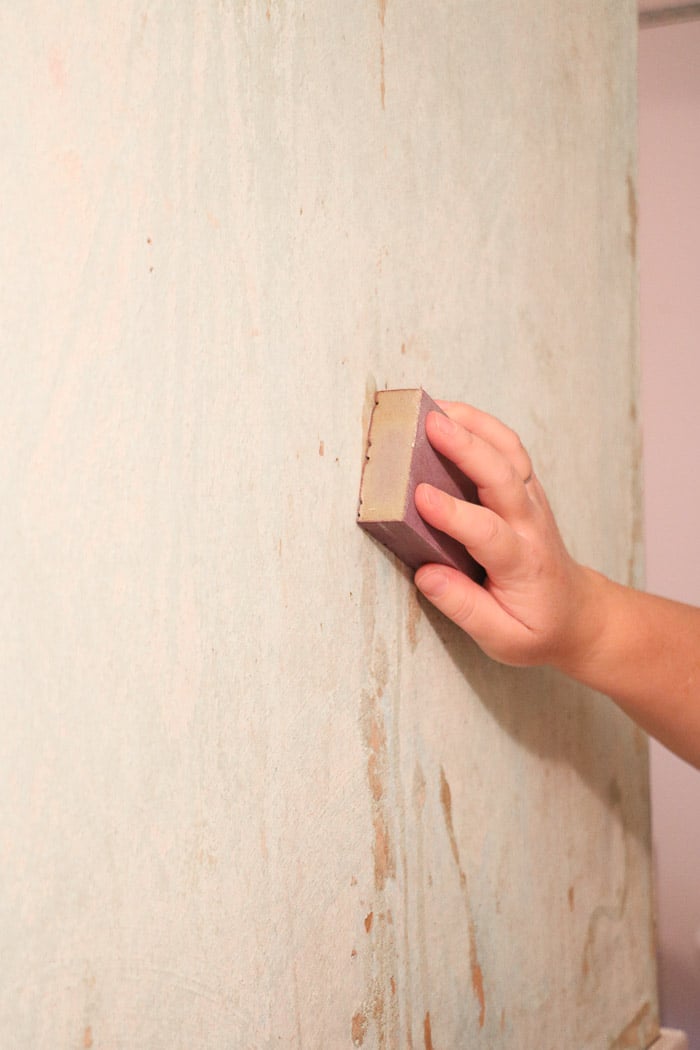
Oh, and if you find that someone has used rubber cement to get their wallpaper to stick down you may have to really sand to smooth it down. We could not get the rubber cement to scrape off so we sanded as much of it as we could.
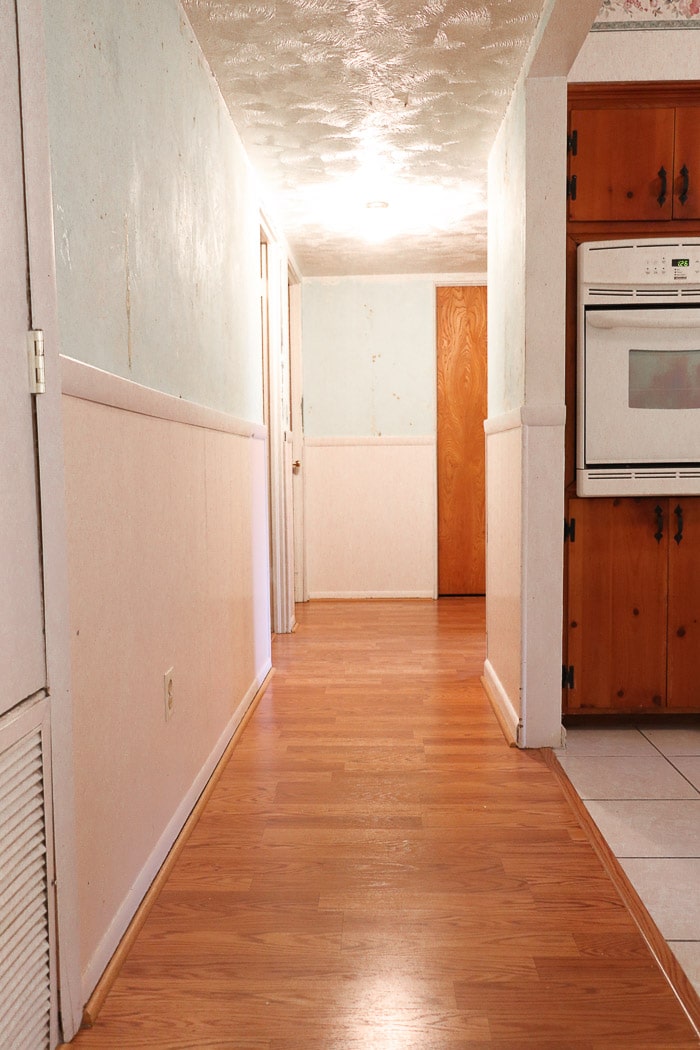
Now that we have all the wallpaper down it is time to paint over the beautiful shade of green. I am actually being serious. I love this color green but not in this hall or for my friends. 🙂
Paint the Walls
Okay this DIY wallpaper removal project is getting more and more fun because it is time to make it pretty! After thinking through grey colors for the walls we decided on Sherwin Williams Alabaster White SW 7008.
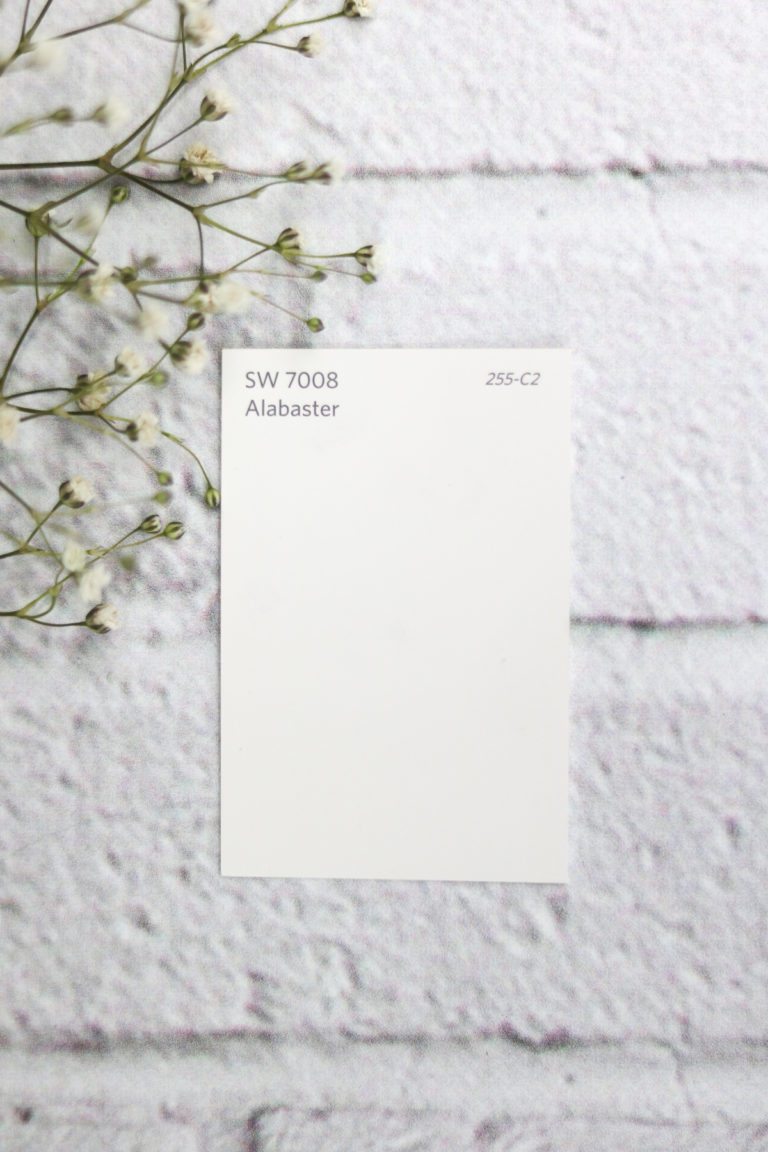
Because the ceilings were low and there was no natural light I thought white would really brighten up the hall. But that is not the only reason for white. I also thought it would be good throughout the house and it is a popular Sherwin Williams paint color.
If you are thinking of using a white paint color in your home check out my best white paint for interior walls post. It has the more popular white colors and it helps you select the right one for your home.
Now start with a primer and prime the walls. If you are using a color you can ask the paint store to tint your primer. This will help save time especially if you are using a dark color.
Next paint one or two coats of paint over the primer. If you are painting with a white paint my how to paint walls white post will give you all the tips on painting.
Another tip is the type of paint and finish. We decided on a eggshell finish. Stay away from glossy finishes on walls that have any imperfections. Eggshell gives you a washable finish with a low luster like flat.
Next if your room has any smoke or odors use the type of paint called Harmony by Sherwin Williams. This is the best paint ever for absorbing bad odors and turning around the smell in the room to a sweet aroma. I highly recommend it.
Conclusion
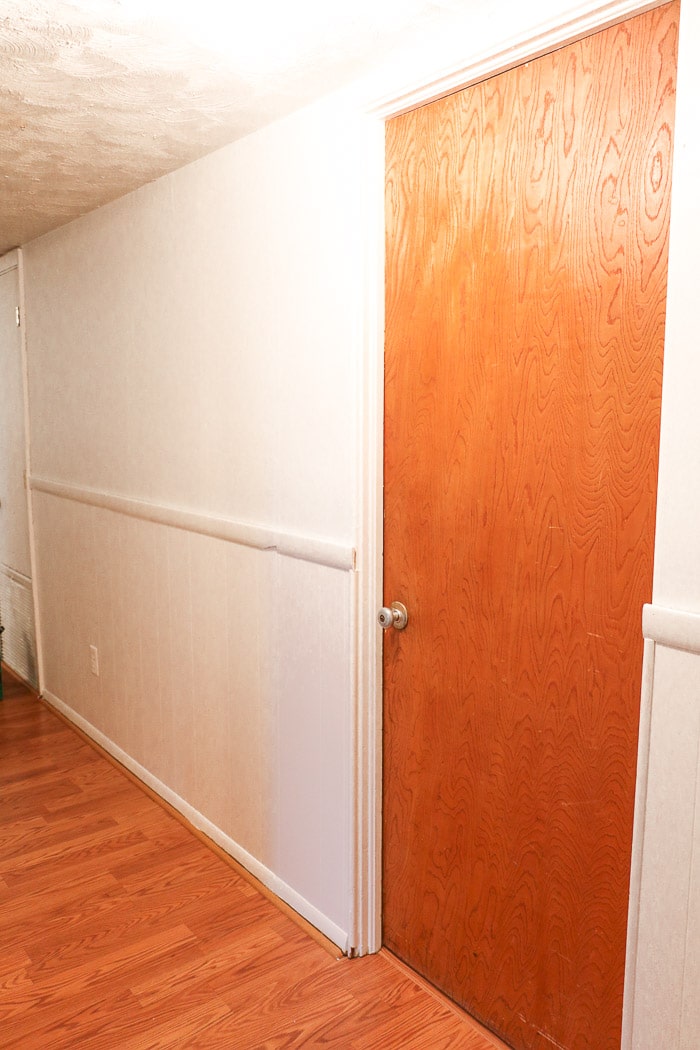
Well, the hall is all finished and the project wasn't to bad. It took us two half days to finish the hall and remove the border in the living room and paint that room too.
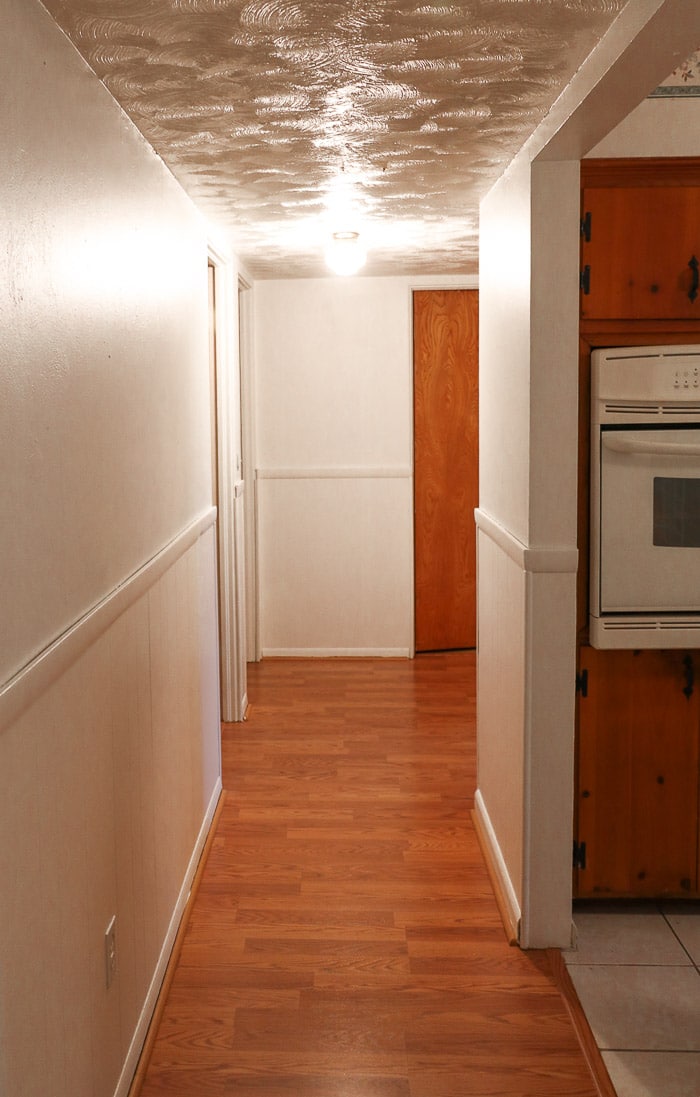
Granted there were three of us working the whole time. It looks so clean, bright and fresh. Thanks to this little steamer removing old wallpaper was a joy.
I hope this tutorial on how to remove wallpaper with a steamer is helpful. Please feel free to share any best wallpaper removal tips you have in the comment.
Happy Decorating!

Hi Rachel! Did you see my post on how to paint over wallpaper? If you have not taken it down yet you might want to consider painting over it. https://lifeonsummerhill.com/paint-over-wallpaper/