Decorating your home for any holiday is a great way to get into the spirit! Here is a fun, easy, and inexpensive presidents silhouettes craft that will dress up your festive 4th of July decorations. It is a great way to celebrate any patriotic holiday in your home or classroom.
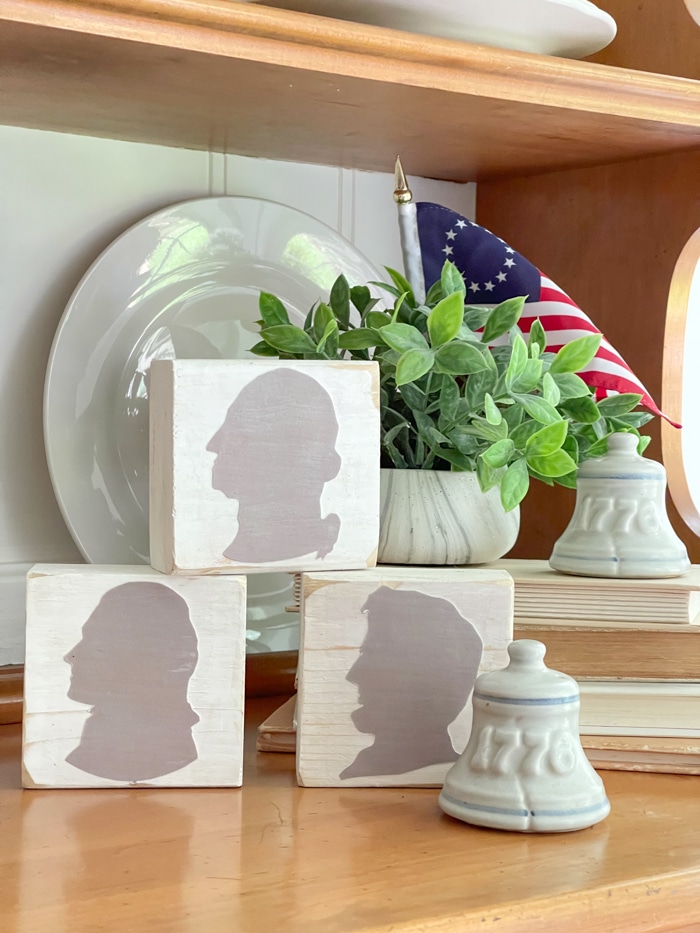
Most of us decorate with the colors we all know red, white, and blue, however, these presidents silhouettes are a special way to incorporate the reason we celebrate any patriotic holiday.
As I was decorating my home, I wanted something that isn’t usually displayed or truly remembered during this independence day holiday. I wanted to make a decoration that required little clean-up as well as paying a tribute to some of our U.S. founding fathers.
DIY Presidents Silhouettes Craft
While creating this cute inexpensive patriotic decoration, I also thought that it could be used for multiple patriotic holidays serving multiple purposes such as flag day, memorial day, President's day, and independence day just to name a few.
With the 4th of July just around the corner, this simple DIY presidential silhouette craft is a great way to spice up any area in your home. The three profile portraits we will be showing you today are Abraham Lincoln, George Washington, and Thomas Jefferson.
We cannot wait to share with you this tutorial on how to create your own presidential silhouette showcasing your founding fathers of choice.
DIY Presidents Silhouettes Supplies
Before you start your president silhouette craft, here are a list of supplies you will need in order to create your own DIY president silhouette.
- 2 x 4 wood
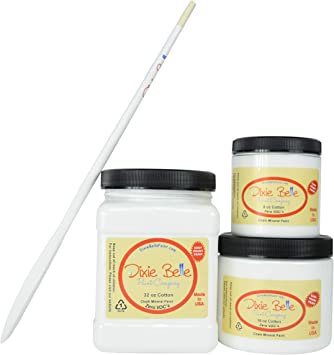
- Dixie Belle chalk paint
- Artist paintbrush
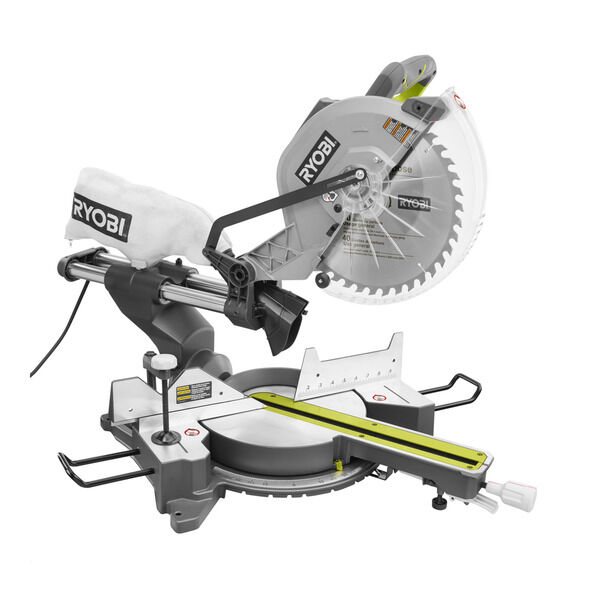
- Saw
- Sander
- Card stock
- Printer
- Free printable of presidents (subscribe to Life on Summerhill to get access to printable)
- Scissors
- Decoupage
- Sponge brush
- Tack cloth OR damp paper towel
- Dixie Belle Glaze (optional)
Most of these supply items are in your home already. If there are any supplies you might be lacking for this project, you can find most of these at Michaels, Office Depot, Home Depot or Lowes. Now let’s get started in creating your president silhouette!
Rather Watch Than Read?
DIY President Silhouette Steps
Step 1: Cut Wood Blocks
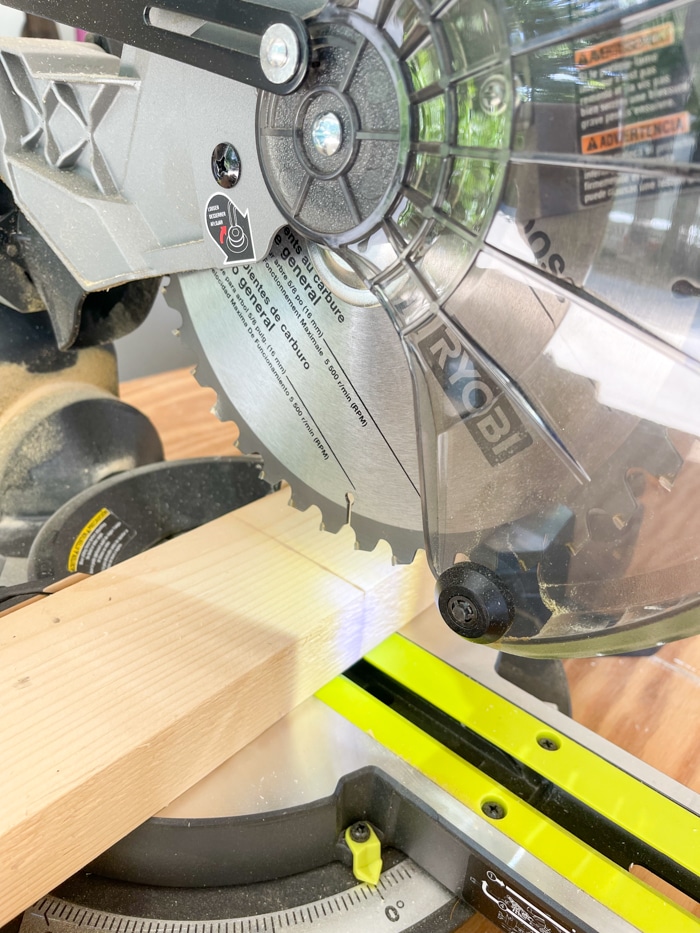
The first step to making your wooden profile portrait boxes is cutting your 2 x 4 piece of wood into squares. We made ours on a smaller scale, however, you can cut them to fit your desired length.
Step 2: Sanding
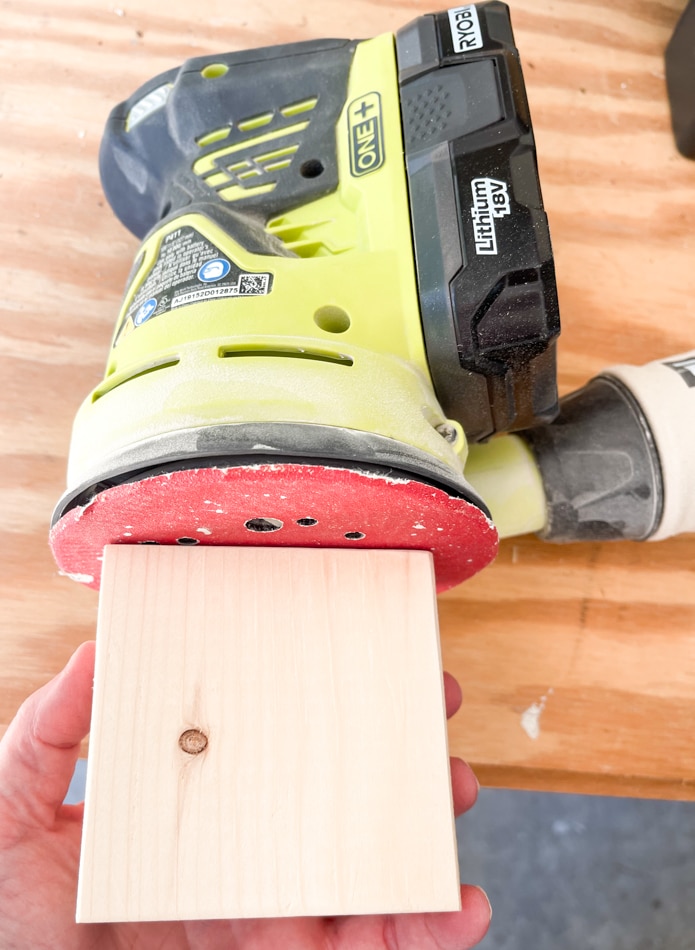
Secondly, sand all sides of your square to make it a smooth surface. You will then take your tack cloth or damp paper towel to remove any of the grit left over from sanding.
Step 3: Paint Block of Wood
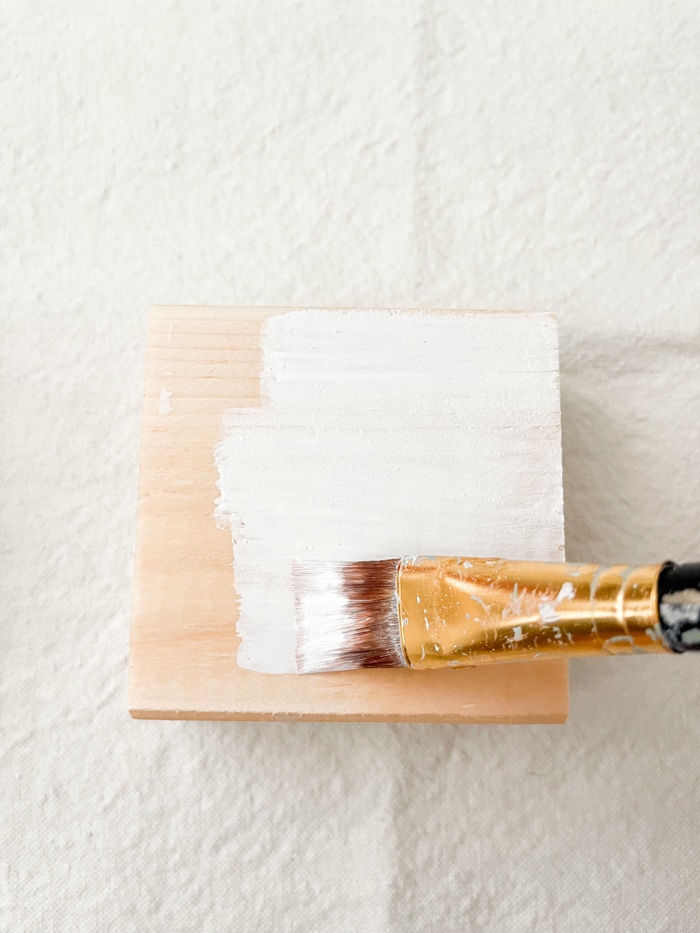
Next, you will paint all sides of your square with chalk paint. As you wait for the paint to dry, you will use your printer to download and print your U.S. president silhouette free printable.
Step 4: Print Presidential Silhouette Free Printable
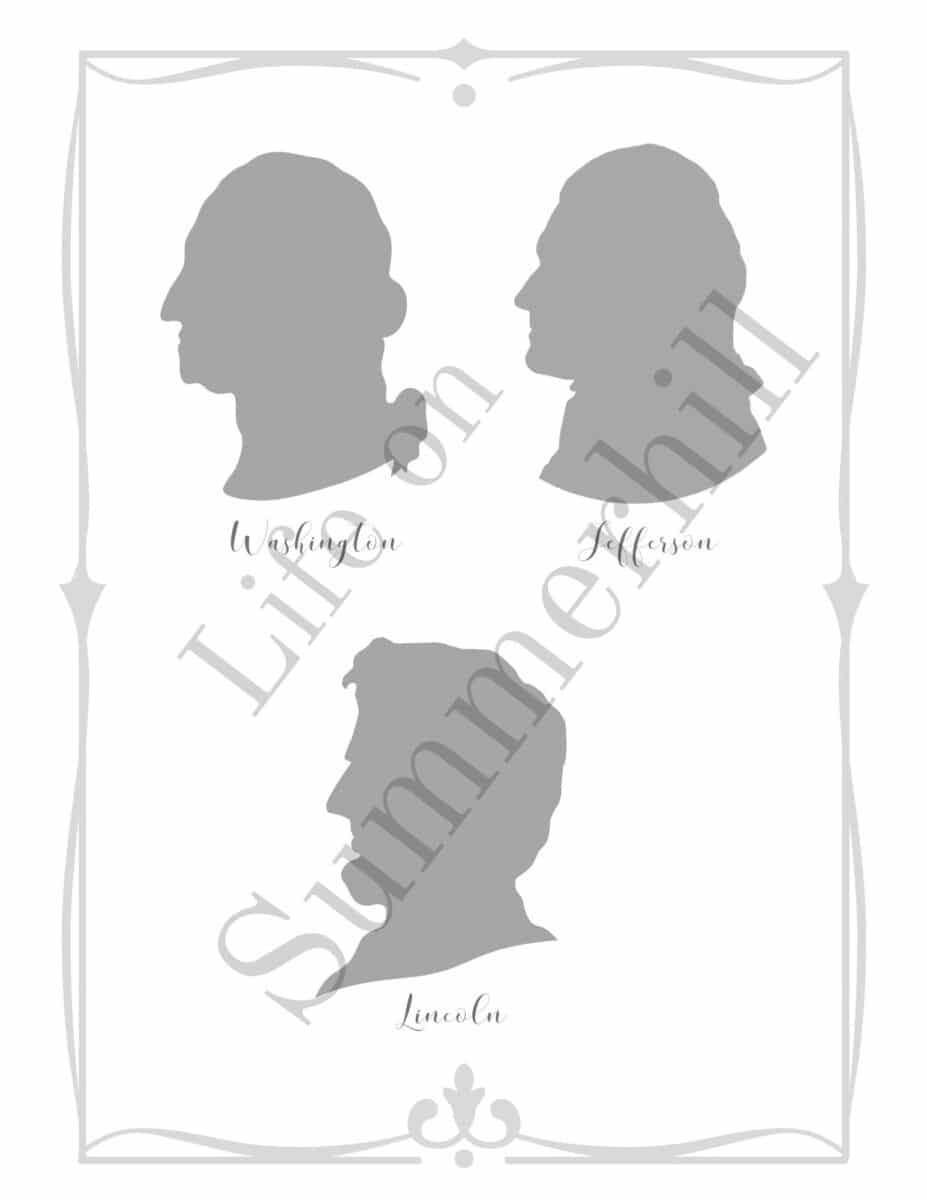
To get access to this free print all you have to do is subscribe to my newsletter. Once you have subscribed you will receive another email with a link to another page that holds all my free printables.
This clip art is under the American patriotic section.
Step 5: Cut Out the Silhouette
Once you have downloaded the face profiles onto cardstock simply cut around the edges. I find it is easiest to do this by cutting close first then moving the paper around while cutting into the fine details.
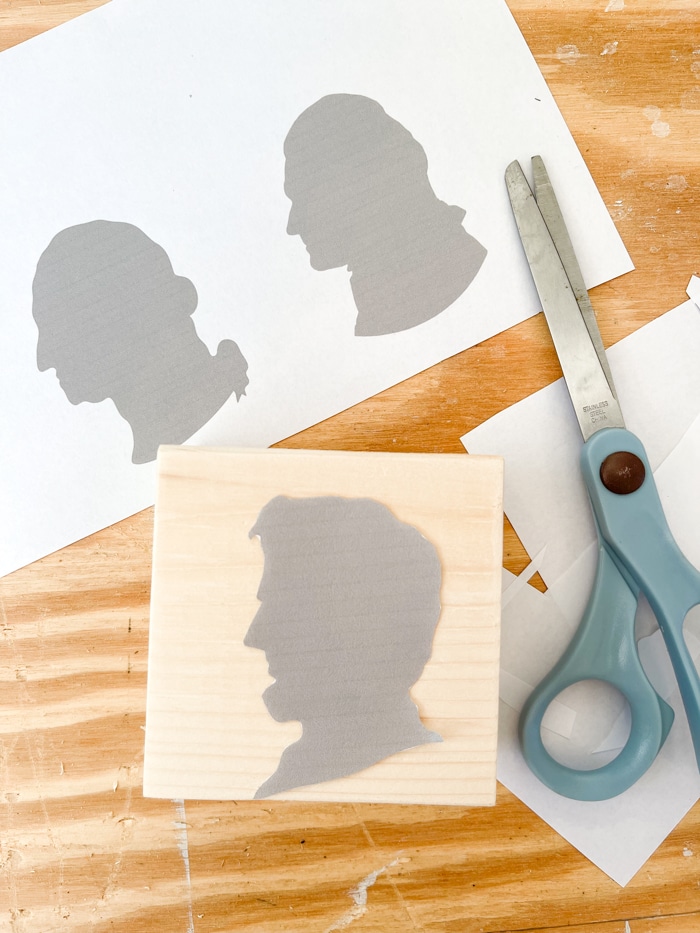
Be patient on this step. The more detailed your cuts the better the silhouette turns out.
Step 6: Distress the Painted Blocks
After the paint has dried and you have completed the application of the silhouette on cardstock, you will sand the edges and distress the painted blocks.
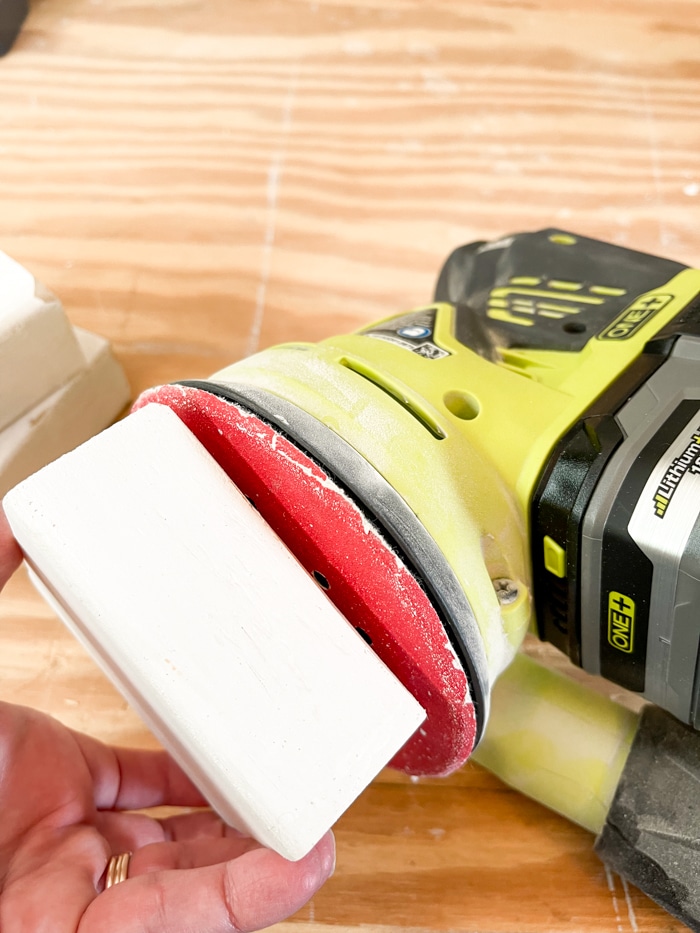
I did this simply by running the sander over different spots to remove some of all the paint. You can use a glaze if desired but it is not needed for this particular craft.
Step 7: Decoupaging President Profiles
Next use a sponge brush and apply decoupage on the back of the us president.
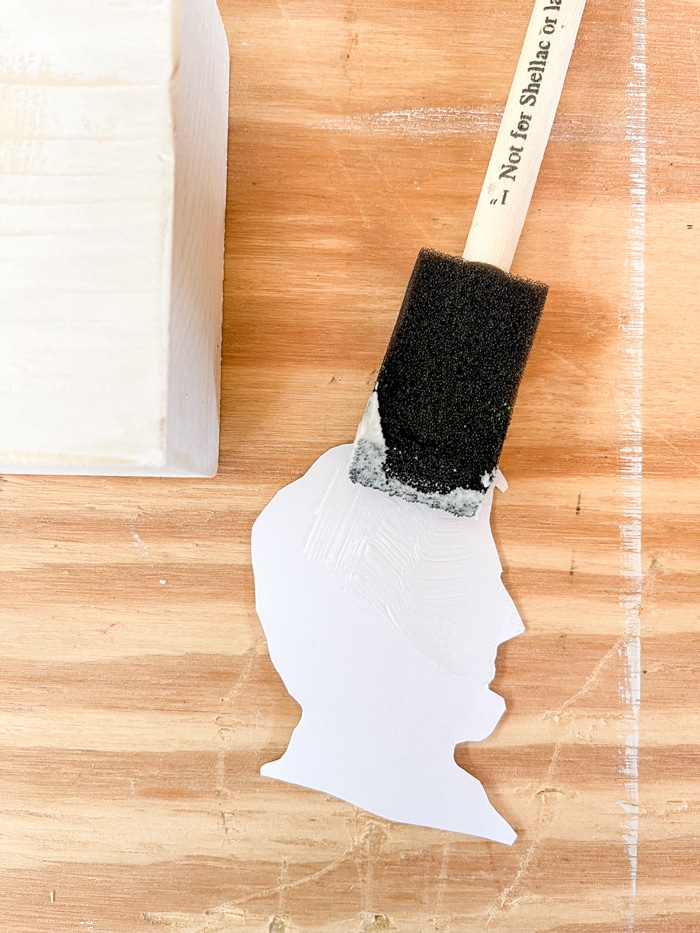
Then brush decoupage on one side of the wood block.
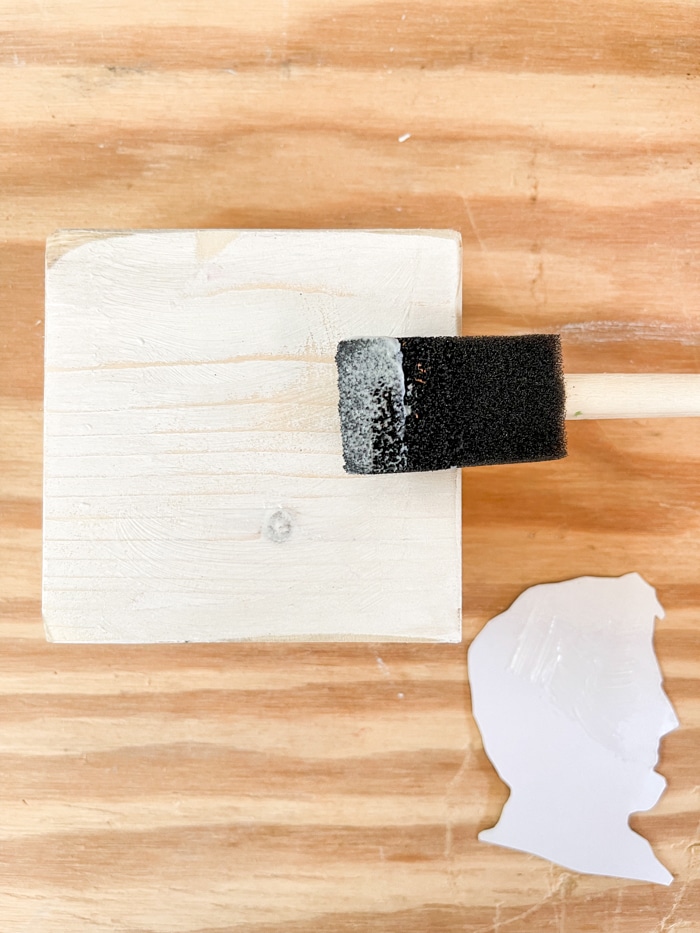
Next, adhere the silhouette to the block and press down on the center and edges in order to smooth out any bubbles. You will then apply decoupage on top of the silhouette and the face of the block.
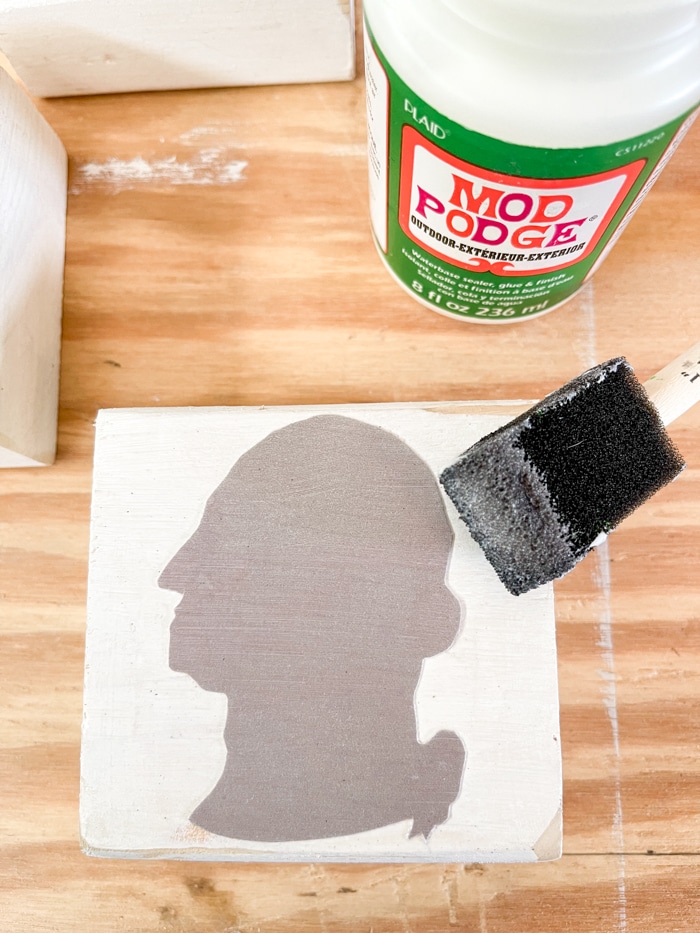
Step 8: Finishing Touches
Finally, you will let it dry. You will notice there are darker areas. When the decoupage is dry those spots will go away.
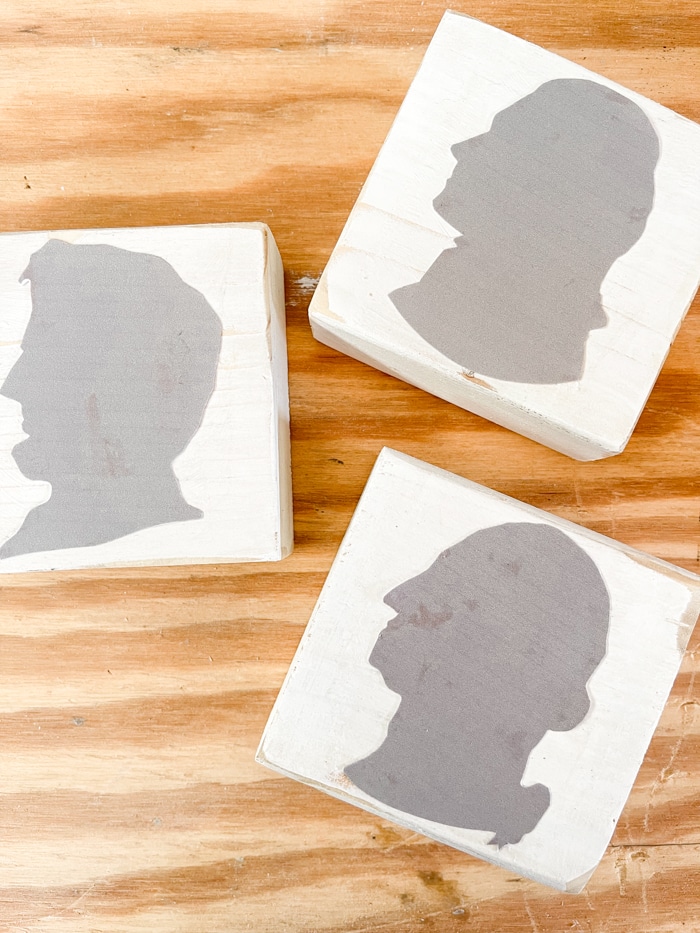
Once your craft is complete decorate with them in your home, holiday party, classroom, homeschool room by hanging them or sitting them on a table.
Conclusion
Here are a few fun places you can decorate with your president profile blocks. You can hang them on the wall one at a time or attach them to a piece of twine or ribbon kind of like I did in this Mother’s day flower printable DIY. But my favorite is to stack them and sit them in an accessory ensemble.
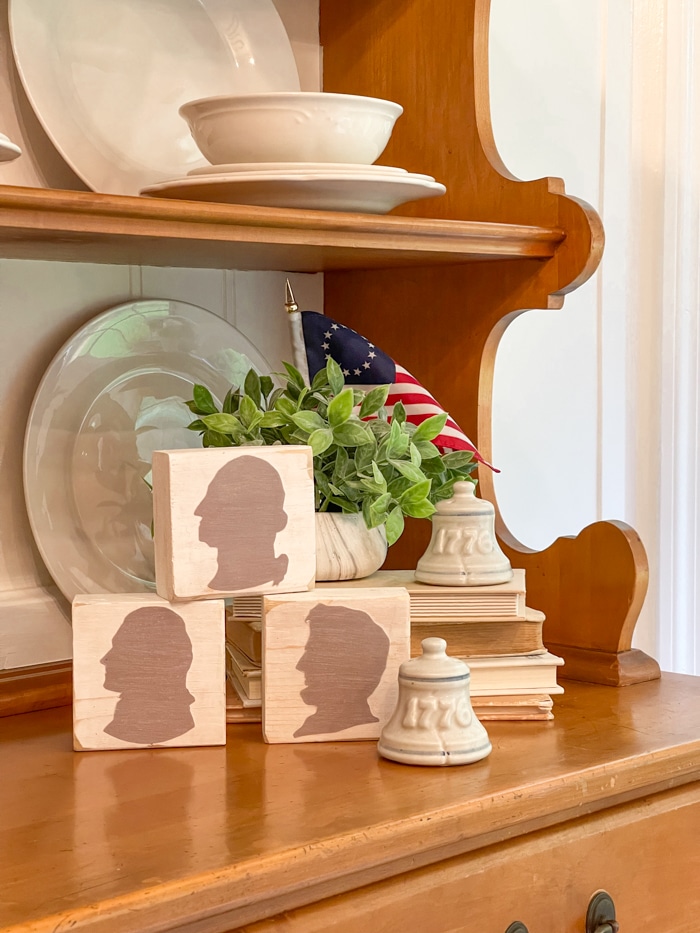
They would also look amazing paired with other patriotic decorations like this pennant banner I placed over the top of my hutch and the Betsy Ross American flag.
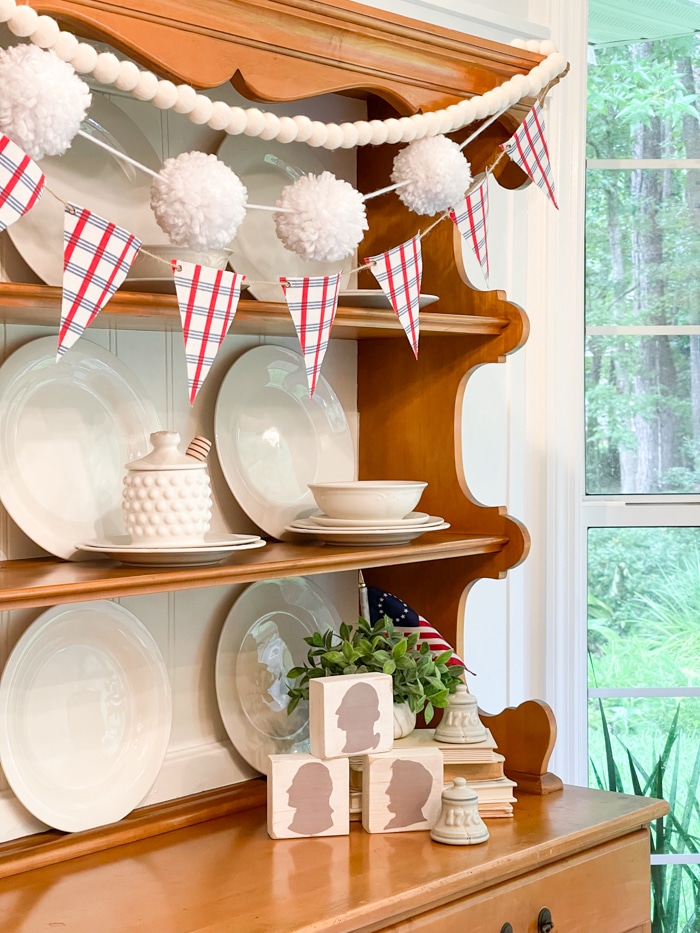
I also love to use them on my bookcases in my dining area.
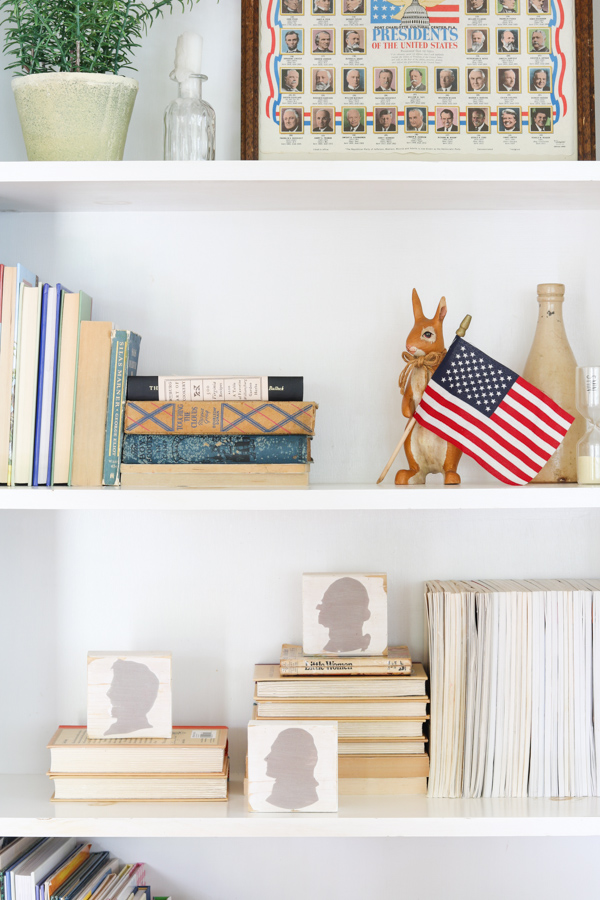
Stack some books and then place George, Lincoln and Thomas varying them at different heights. This is such a fun patriotic decorations!
To see more photos of these bookcases check out my vintage patriotic decorations post.
I have so many more homemade patriotic decor ideas using red, white, and blue and I also have a pennant banner template that you can print out and make for your hutch. It is very easy to make.
I mentioned in the beginning that this would be cute for classrooms and homeschool rooms. Well, what a fun way to decorate your room or make it as a craft for Presidents day or any patriotic holiday. And it would make a great gift for a social studies teacher or American history buff.
If you're interested in learning more about decoupage, check out my post How to Decoupage: The Art of Achieving a Classic Painted Look.
I hope you have enjoyed this do-it-yourself craft and I cannot wait to hear where you used these patriotic decorations.
Happy Decorating!

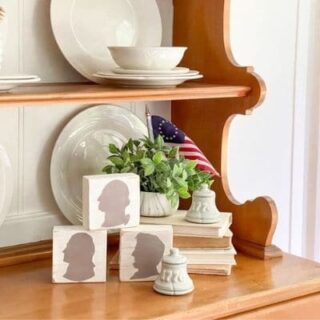
Easy DIY Presidents Silhouettes Decoration
Materials
- 2 x 4 wood
- Dixie Belle chalk paint
- Artist paintbrush
- Card stock
- Free printable of presidents (subscribe to Life on Summerhill to get access to printable)
- Decoupage
- Sponge brush
- Tack cloth OR damp paper towel
- Dixie Belle Glaze (optional)
Tools
- Artist paintbrush
- Saw
- Sander
- Printer
- Scissors
- Sponge brush
Instructions
- Cut 2 x 4 into a square.
- Sand the wood smooth
- Remove grit with tack cloth or damp paper towel
- Paint block with paint
- Download and print silhouette (subscribe to Life on Summerhill to get access to the free printable president silhouettes)
- Cut out the presidential silhouettes
- Brush decoupage on back of silhouette
- Apply decoupage onto face of block
- Place silhouette to the block and smooth out bubbles
- Brush decoupage on top of silhouette
- Allow to dry to touch
Recommended Products
As an Amazon Associate and member of other affiliate programs, I earn from qualifying purchases.


