
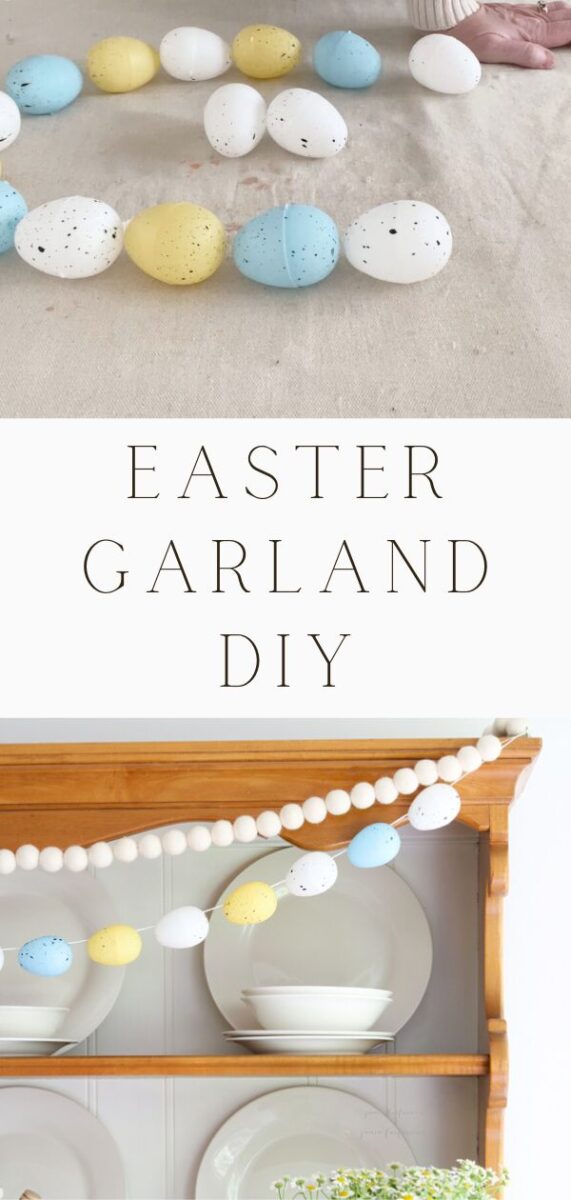
Easter is a time for family and fun, and it doesn’t have to be expensive! With just a few simple supplies from the Dollar Tree and some creativity, you can create a festive and beautiful Easter egg garland that your whole family will love.
Save money and have fun this Easter with this easy and unique DIY Easter egg garland in just minutes!
Recently I shared a simple and inexpensive DIY Easter egg wreath using white, blue, and yellow eggs from Dollar Tree. When I finished, I realized I had many more eggs, so I thought, what better way to use them than a matching egg garland.
In this post, I am sharing how easy it is to make this DIY easter egg garland. This fun Easter decoration takes no time to make and looks fun and pretty hanging anywhere in your home, office, or classroom.
So, let's get started making this beautiful easter egg garland.
This post contains affiliate links, meaning I receive a commission if you purchase using the links below at no extra cost to you. All opinions are all my own.
DIY Easter Egg Garland FAQs:
How do you String Plastic Easter Eggs?
DIY garlands are fun and easy to make. Stringing together this easy Easter garland decoration was a piece of cake. The plastic eggs I bought at Dollar Tree came with a hole at the top and bottom of the egg halves, so I just needed to thread the twine through each hole at the end of the egg with a yarn needle, and I had a simple Easter garland.
What Can I use Instead of Plastic Easter Eggs that's Eco Friendly?
If you plan to save and reuse your garland year after year, the plastic eggs may be your best bet because they'll hold their shape in storage. If you only use the garland once, you can use paper eggs or cardboard eggs. You can also find in some places plant-based plastic eggs.
Here are the steps you will take to make this DIY Easter egg garland. Let's begin by gathering all the supplies.
Step 1: Plastic Easter Egg Garland Supplies
- Plastic eggs
- Twine (I used baker's twine)
- Yarn Needle
- Scissors
- Acrylic paint (optional)
Step 2: Cut Twine
Now that you have all your supplies, you will begin this craft project by determining the length of your garland.
I basically held a piece of twine up to my hutch, where I wanted my garland to hang, to determine the length. Once I knew the width, I added a few more inches to each end and cut the twine. This garland would also look great on your fireplace mantel.
Step 3: Create an Egg Pattern
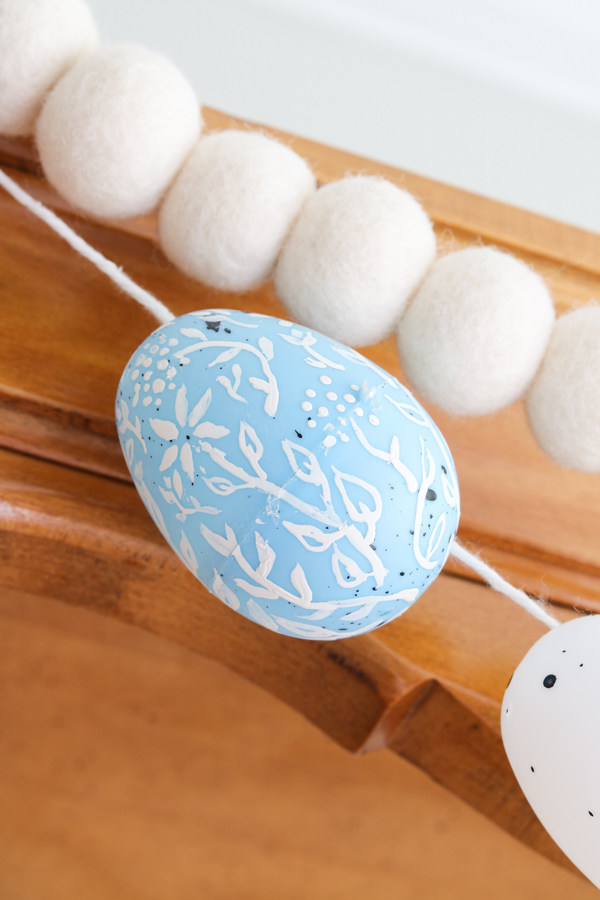
Next, determine if you want to use all the colors of plastic eggs or certain colors. I used yellow, white, and blue for my design because they best matched my spring and Easter decorations. I love using these pretty pastel colors this time of year.
You can use whatever matches the color scheme of your spring decor.
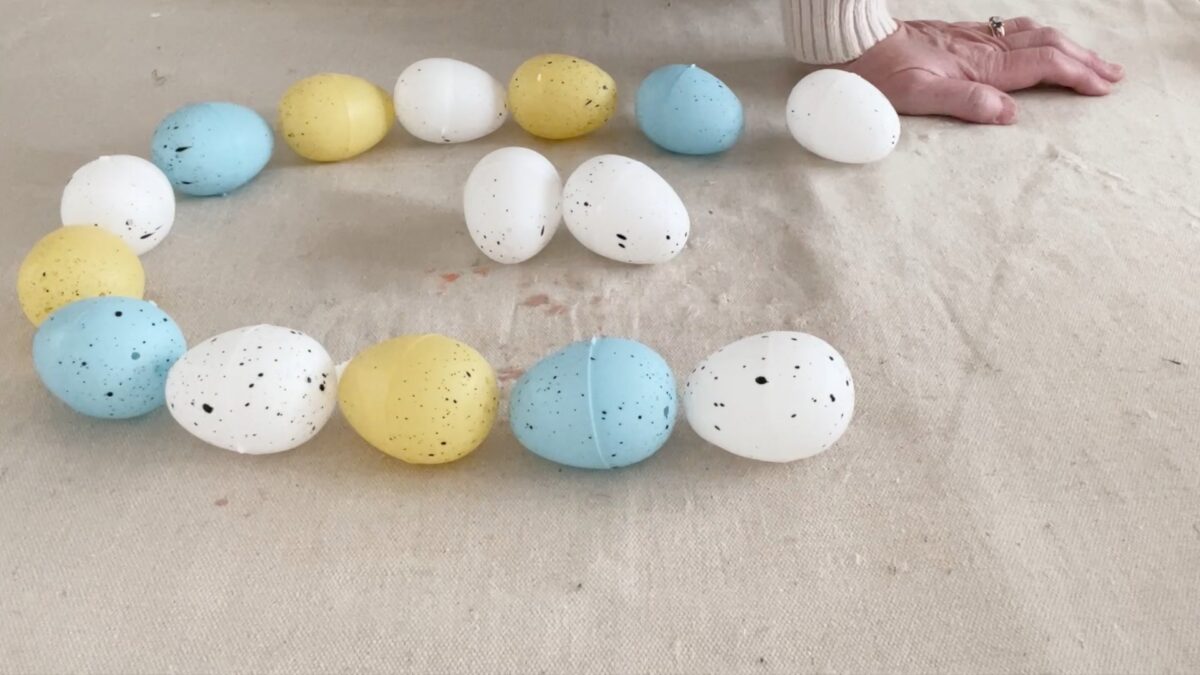
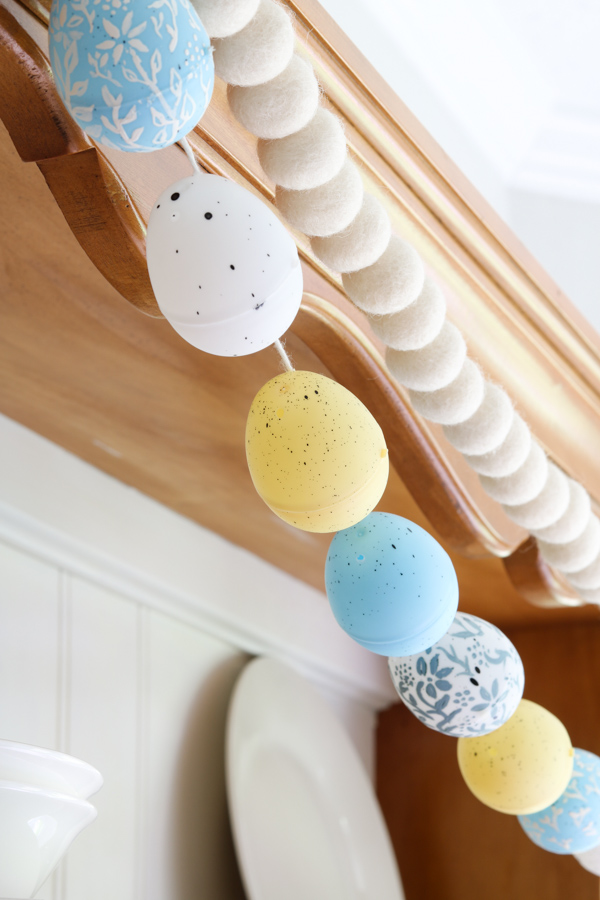
Now lay your twine out straight, then lay your eggs in a row just like you want them to look hanging. I repeated yellow, white, and blue, repeating that color combination until I had enough to fill the twine leaving about six inches on each end.
I left extra on the ends because I want space between my eggs, but if you want a full garland, go ahead and add eggs until you're left with a little bit of twine on either side. I'd say two inches on each end.
Step 4: Embellish the Eggs
If you plan to paint your eggs or decorate them in any way, this is when you need to do that.
We decided to paint designs on our eggs. This was the perfect project to do while watching a movie.
You can use any paint for these plastic eggs. We used what we had around the house, such as acrylic and chalk paint.
This is a great opportunity to get creative with your DIY plastic Easter egg garland.
Step 5: Putting Together the Garland
Next, thread your yarn needle with the twine and then start sewing the eggs together. My plastic Easter eggs from Dollar Tree already had small holes in the top and bottom, making this an especially easy Easter craft. Hopefully, your eggs have holes too.
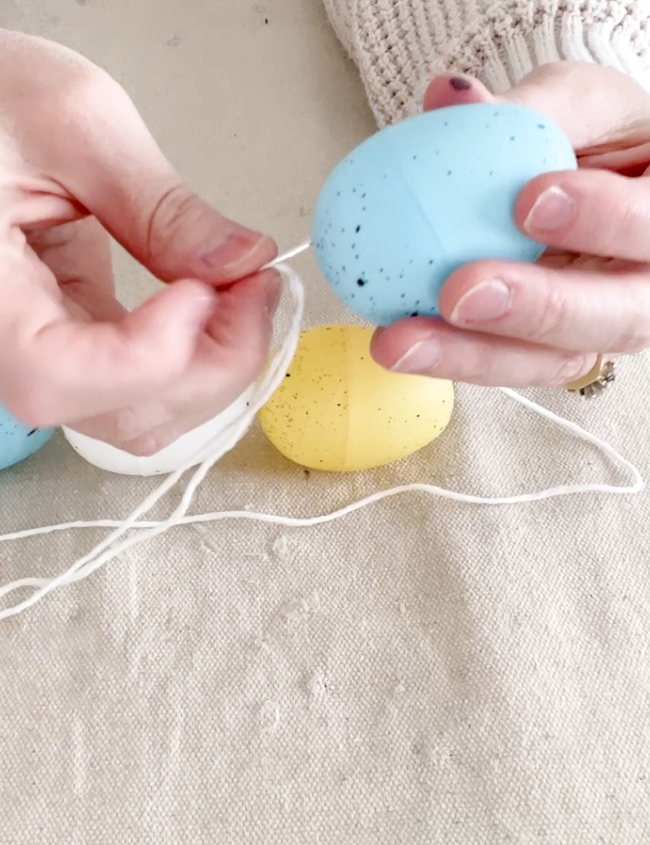
Simply push the need into the bottom of the egg and then pull it out of the top of the egg. Make sure your eggs are all going in the same direction when sewing them.
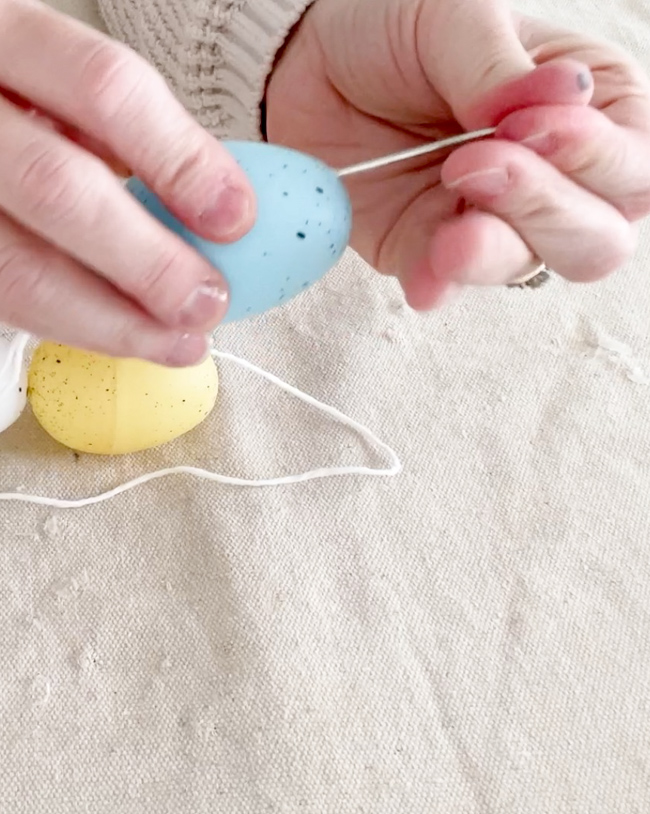
Repeat this step over and over until you have all the eggs on the twine. You don't even have to knot the twine after the last egg on each side, the eggs stay in place well on their own.
And you are all done – it is that easy!
Decorate with Egg Garland
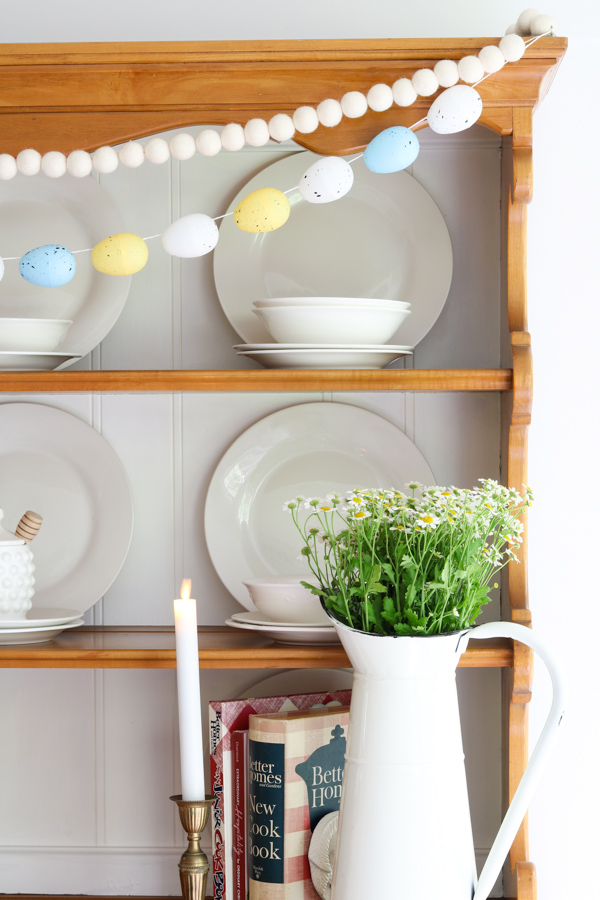
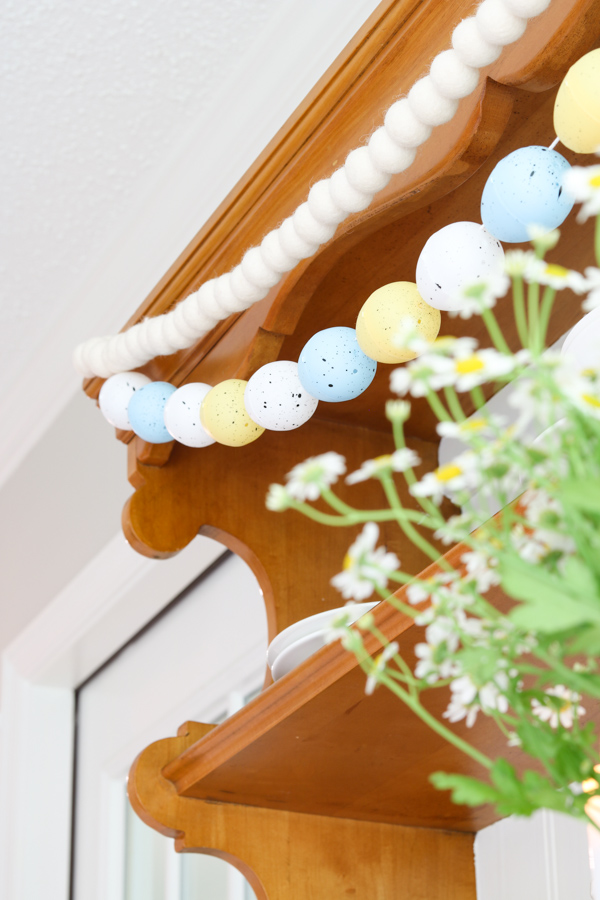
You can decorate with egg garlands in many fun ways, such as hanging them on a mirror, fireplace mantel, wall, or furniture like a hutch. Just attach the end of the twine on either side.
On our hutch, I hammered I teeny tiny nail into the top corners. From the nails, I sometimes hang as many as three garlands, such as this vintage doily heart garland, pom pom garland and the same felt garland pictured here.
Remember that we planned this garland for our hutch. This is one of our favorite places to hang garlands – even layer garlands. It is a great way to decorate for all holidays.
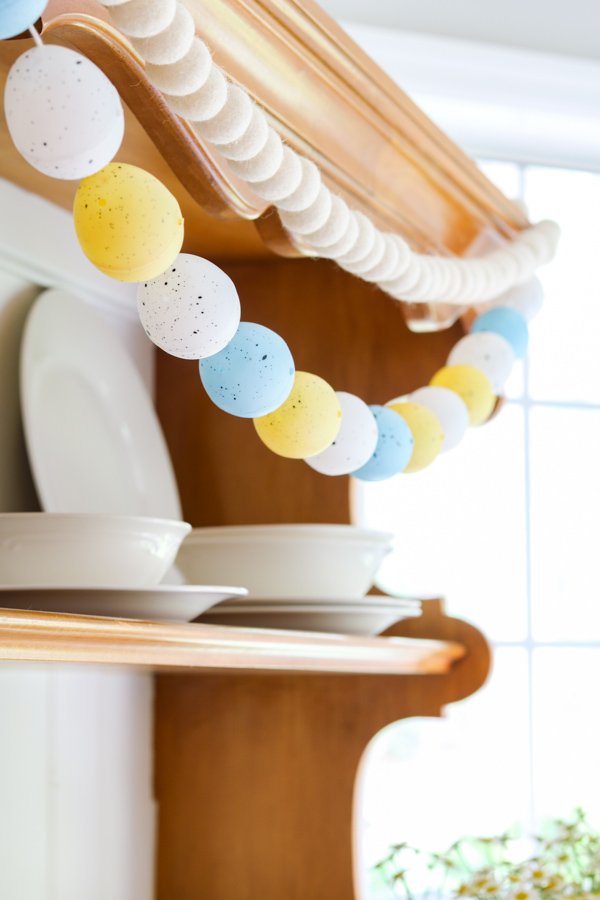
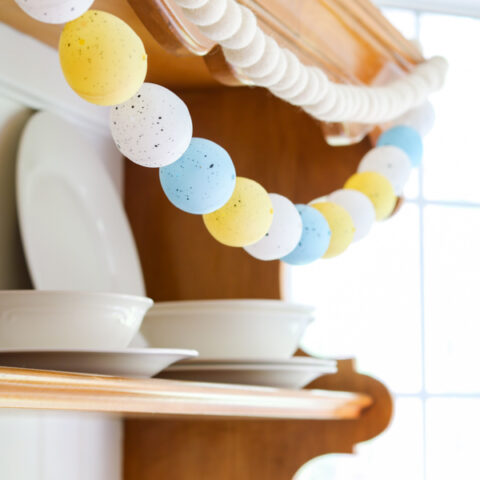
Here is another photo of the finished product.
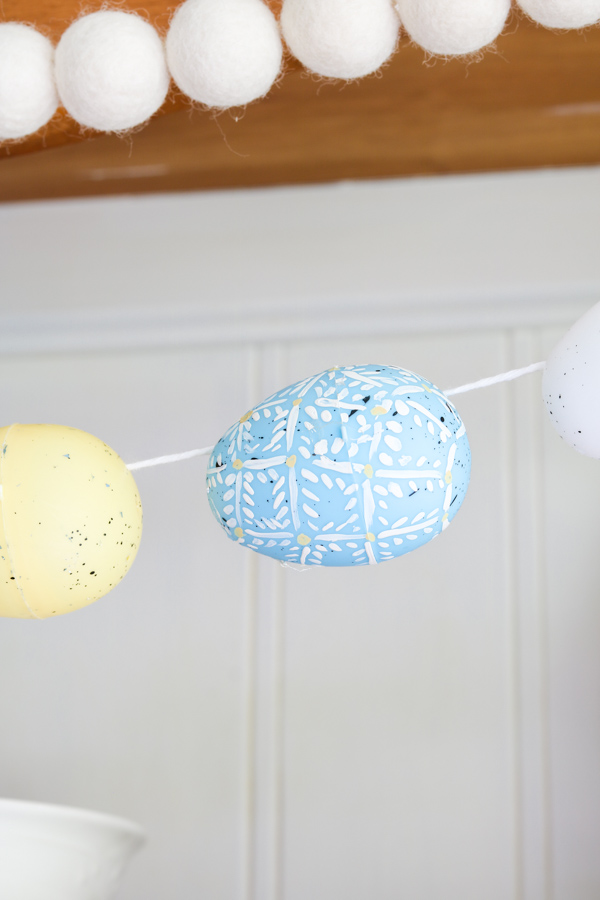
After we hung the colorful easter egg garland, my daughter and I decided to paint some of the eggs. We had so much fun being creative together. Here is how this fun Easter craft looks with embellished eggs.
And a close-up of my favorite egg my sister painted. Isn't it pretty!
Another idea is to decoupage napkin designs to your eggs or real pressed flowers.
Conclusion
I've been having a great time making easter egg crafts this year. I hope you have a fun time making your own Easter egg garland.
Creating a DIY Easter egg garland doesn’t have to be challenging or expensive. This DIY Easter garland is a fun craft you can do with kids of all ages.
With a few simple materials and creativity, you can craft a beautiful Easter decoration that will bring a festive spirit to your home. Get creative this Easter and make a fun and easy DIY Easter egg garland in just minutes!
If you enjoyed this Easter wreath DIY, you might also enjoy these Easter DIY projects:
- Decorating Your Home for Spring & Easter: Tips and Tricks
- A Step-by-Step Guide to Crafting a Stunning Easter Centerpiece DIY
- Creative Easter Wreath DIY from Dollar Tree
- How to Dye Easter Eggs Naturally (Simple and Easy Steps)
- Unbelievably Easy Way to Create a Wood Bunny
Show off your DIY Easter egg garland by tagging @lifeonsummerhill on Facebook and Instagram. Share your creative designs, and let’s all make this Easter holiday special this year with our own DIY crafts!
Happy Decorating!

How to Create a Fun DIY Easter Egg Garland In Just Minutes
With just a few simple supplies from the Dollar Tree and some creativity, you can create a festive and beautiful Easter egg garland that your whole family will love.
Materials
Tools
Instructions
- Collect your plastic Easter egg garland supplies.
- Determine the length of the twine depending on where you want to hang it. Once you have an idea of the width, add a few more inches to each end and cut the twine.
- Determine if you want to use all the colors of plastic eggs or use certain colors. Lay your twine out straight and then lay your eggs in a row just like you want them to look hanging.
- If you plan to paint your eggs or decorate them in any way, this is when you need to that.
- Thread your yarn needle with the twine and then start sewing the eggs together. Make sure your eggs are all going the same direction when you are sewing them. Repeat this step over and over until you have all the eggs on the twine.
- Decorate with your Egg Garland.