
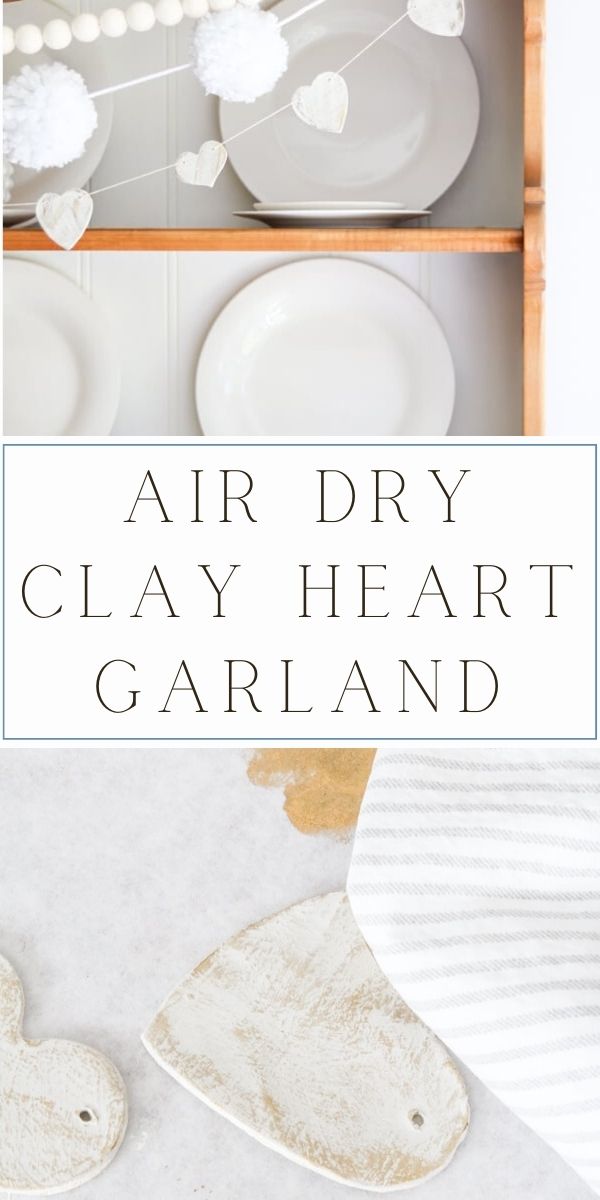
If you love vintage charm, handmade decor, and simple DIY projects, this clay heart garland is one you’ll want to make again and again. It’s an easy air-dry clay heart garland with a soft, old-fashioned look that works beautifully throughout the year — and it’s especially lovely for Valentine’s Day decorating.
This heart garland DIY is simple enough for beginners, fun for the whole family, and makes a meaningful handmade decoration you’ll enjoy pulling out season after season.
For years, I have decorated our hutch for Valentine's Day with this paper doily heart garland. However, this year I wanted to break the tradition and try a different Valentine's Day decoration. I wanted a Valentine's garland that still says vintage, old-fashioned, and charming.
DIY Air Dry Clay Heart Garland
What You Need to Make a Clay Heart Garland
Gather these supplies before getting started:
- Air-dry clay
- Wooden dowel or acrylic dowel
- Heart shape cookie cutters (you can use large heart shapes, small heart shapes, or both!)
- Embroidery floss, thread, or thin yarn
- Yarn needle
- Scissors
- Paint
- Rub n Buff (color gold leaf)
- Lint-free cloth
- Parchment paper
Shop Supplies:

How to Work With Air-Dry Clay for This Project
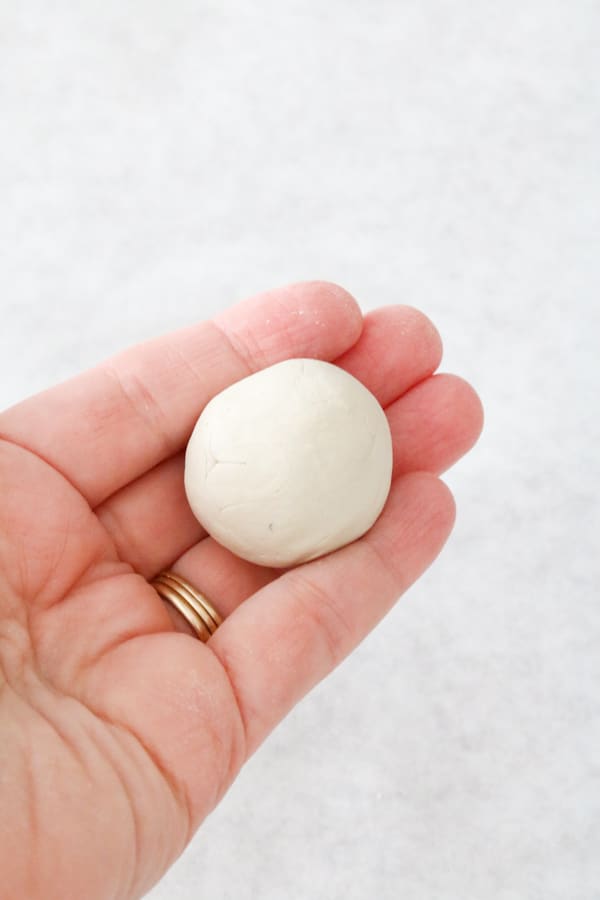
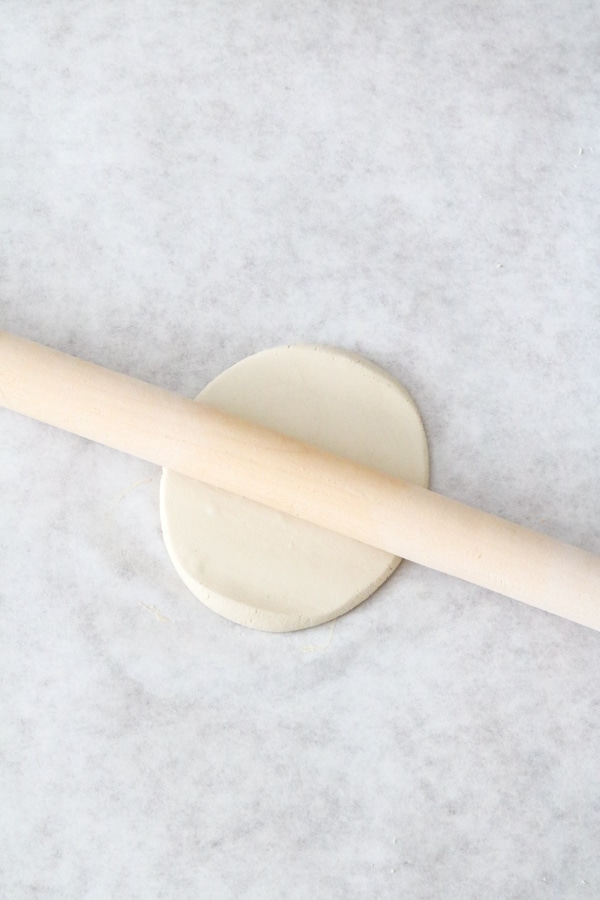
Start by breaking off a small piece of air-dry clay and rolling it between your hands. This warms the clay, making it easier to work with.
Place the clay onto parchment paper and press it flat with the palm of your hand until it’s about ¼-inch thick.
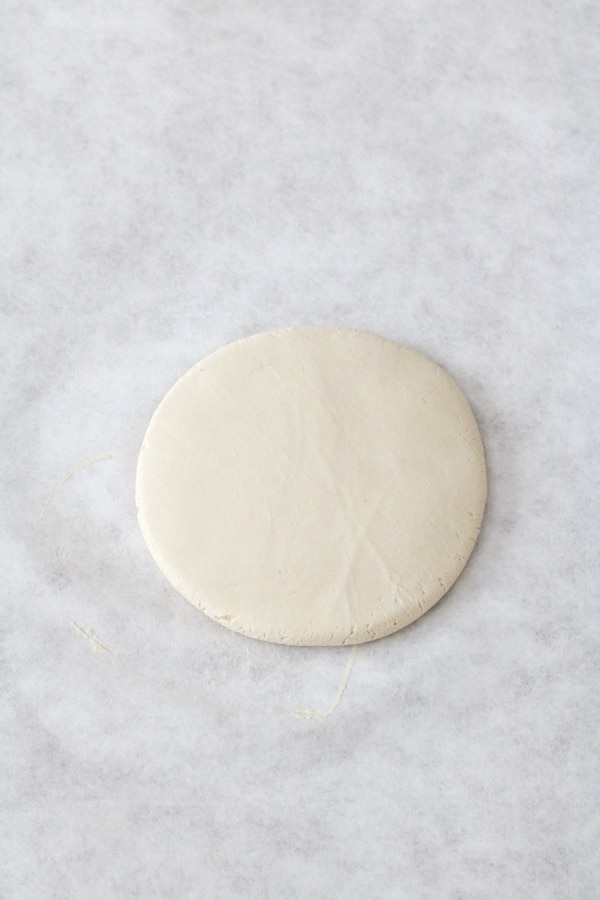
Use your dowel to roll the clay from the center outward, turning it as you go, until it’s evenly flattened.
Making the Clay Hearts
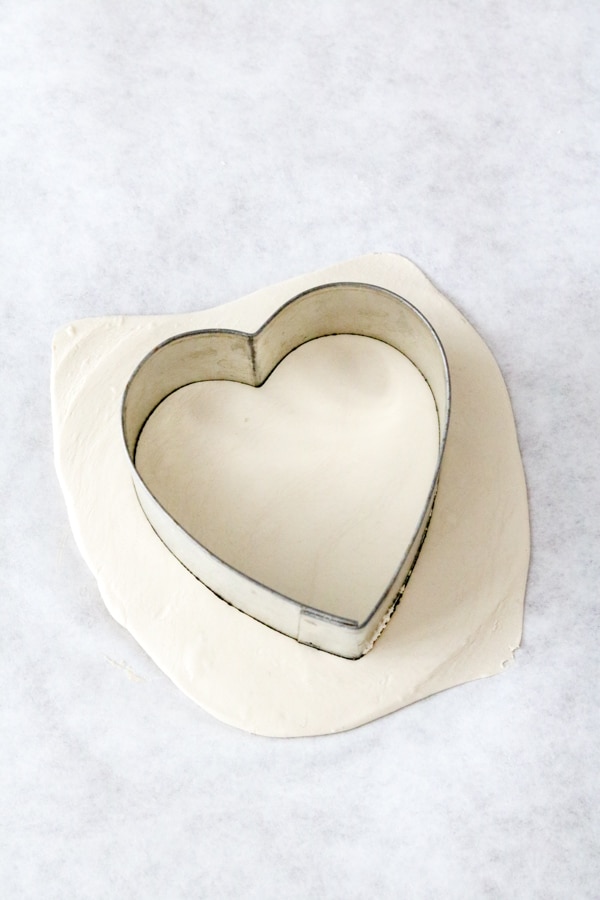
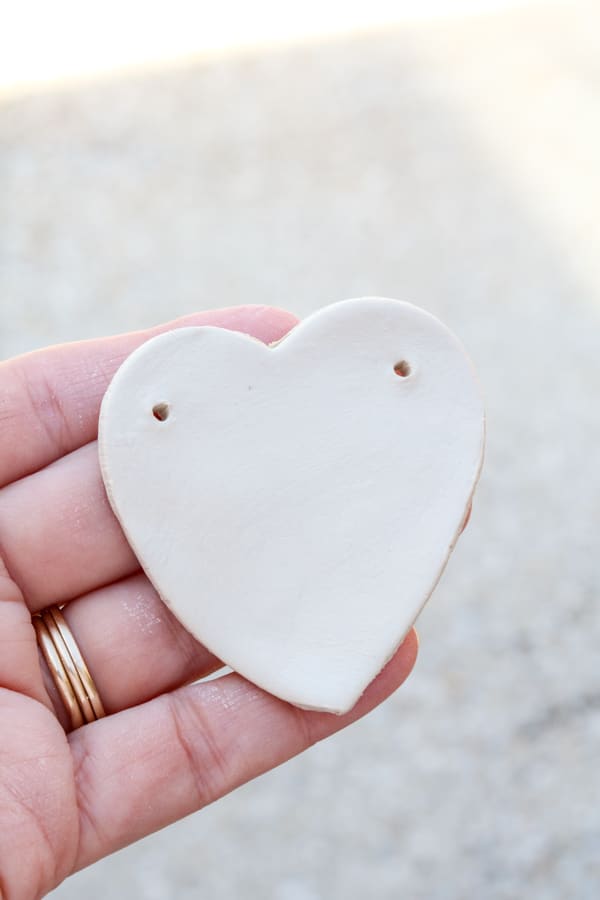
Press a heart-shaped cookie cutter firmly into the clay. Twist slightly, then lift straight up.
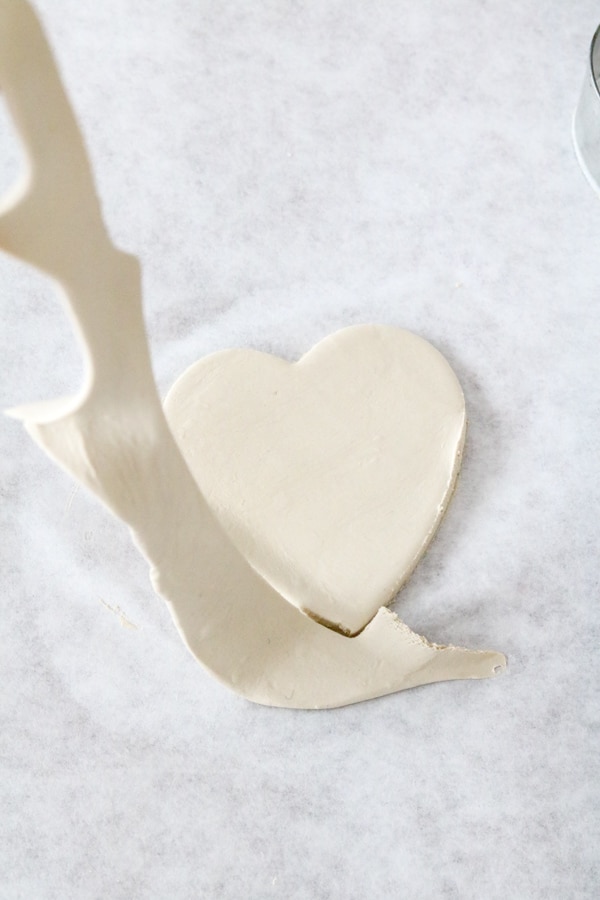
Remove the excess clay and gently lift the heart from the parchment paper. Lightly tap and smooth the edges with your fingers.
Using a toothpick or yarn needle, add two small holes near the top of the heart — one on each side. Make sure your yarn needle can pass through easily.
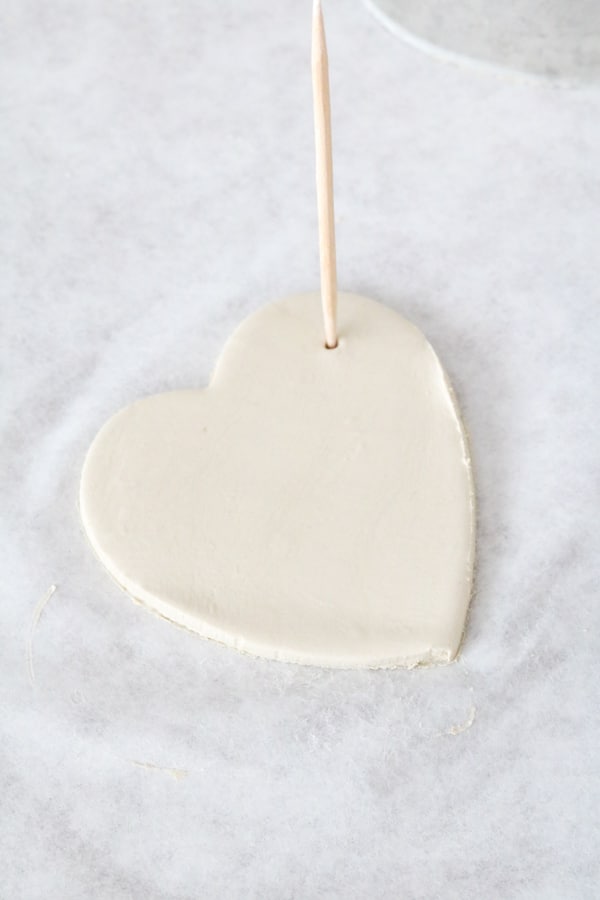
Repeat until you have enough hearts for your garland length. Let the hearts dry completely overnight.
Paint and Add a Vintage Finish
Now that your hearts are dry and hard, it's time to paint them and give them a romantic vintage finish. First, paint them in a pale neutral color. Feel free to use what you have on hand. I used Sherwin-Williams Agreeable Gray house paint. LOL!
You can use chalk paint, acrylic paint, or pretty much anything you have on hand. If you need to purchase paint, I would suggest acrylic paint. It is cheap and easy to find.
Use an artist brush and brush on a small amount of paint at a time until you have covered the heart. Let it dry or use a blow dryer to dry it quickly.
Next, grab the Rub ‘n Buff and dab a clean, lint-free cloth with the gold paste, rub a little out on the parchment paper. Rub ‘n buff is one of my favorite things. It is a special paint that gives anything a vintage finish.

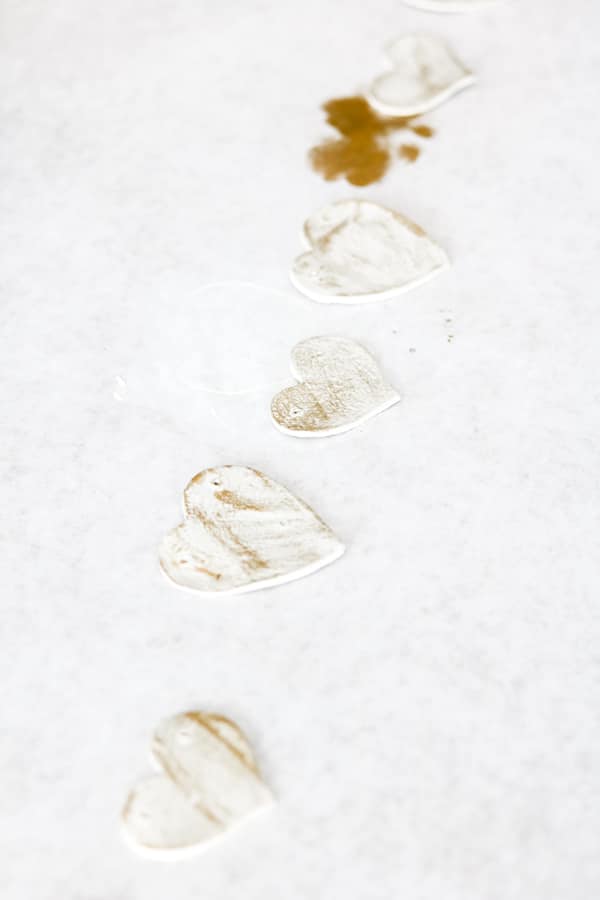
Starting on one side of the heart, brush the gold finish across it and repeat until the whole heart is covered.
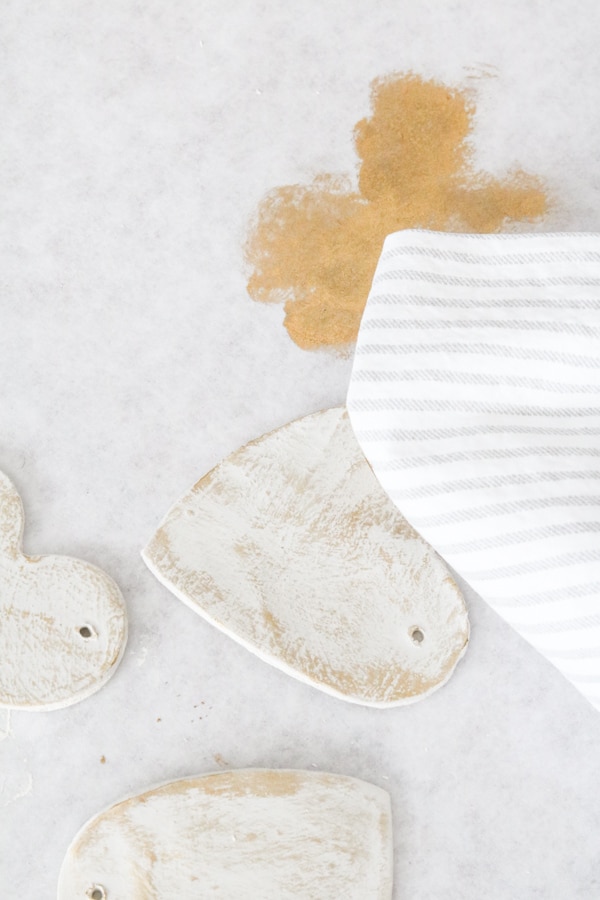
When brushing the clay with your rag, the gold will adhere to all the raised areas, giving it an old-fashioned, vintage look.
Be as light-handed as possible. The main thing is that you don't want to press down too much where the gold goes down into the grooves.
How to String the Heart Garland
Once your hearts are finished, it is time to string your vintage heart garland. Start by determining how long you want your garland, then cut the embroidery floss to that length.
Lay out your hearts on a table. I used both large and small heart cookie cutters, so I laid out my hearts on the table, alternating large and small, to see how they would look.
Thread your floss onto a yarn needle and tie one end with a loop for hanging. Then start running the thread in on the top of one side of the first heart, and then under and up on the other side.
I like to have a larger heart at each end. Repeat this on the next heart, and continue until all the hearts are threaded with twine. I want to ensure there is a heart in the very middle, then split the hearts on each side.
You are all finished making a vintage Valentine's Day heart garland.
Such a simple, fun Valentine's Day craft!

Where to Hang Your Heart Garland
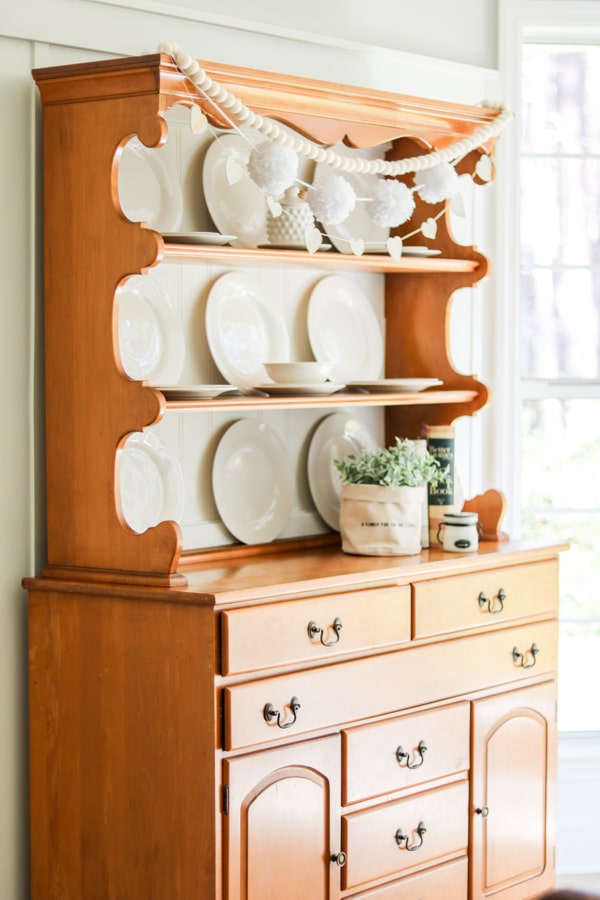
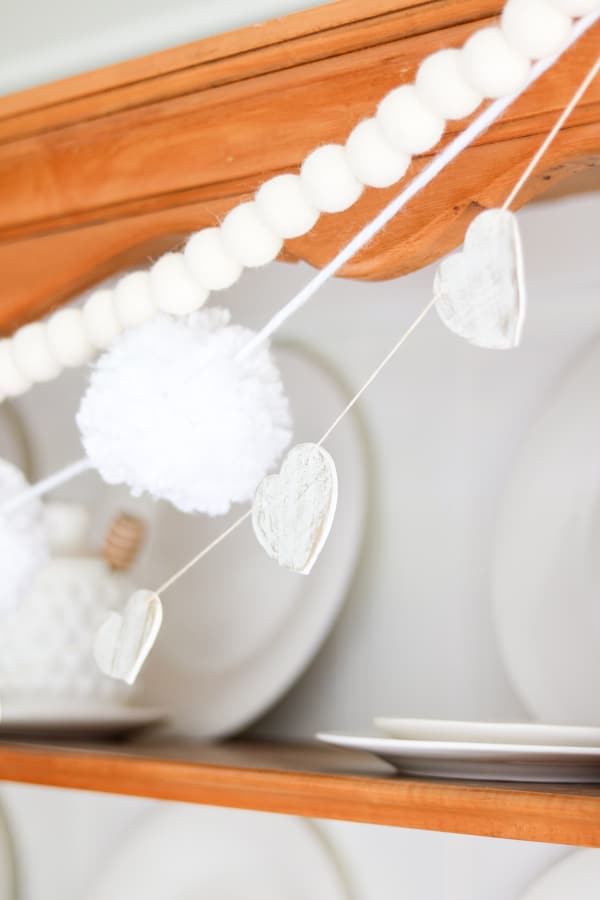
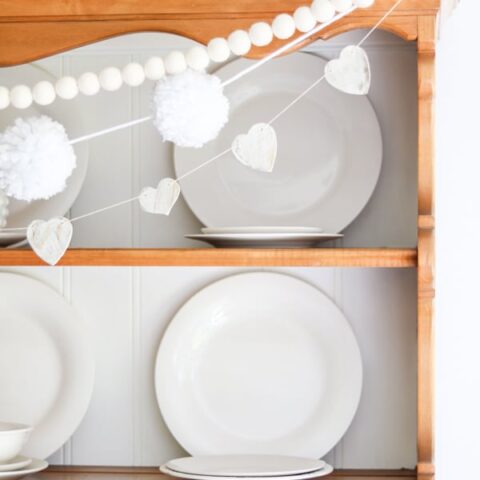
Now for the fun part! Finding a place to hang your clay hearts. One of my favorite places to hang garlands, and a Valentine's Day tradition at my house, is on our antique hutch.
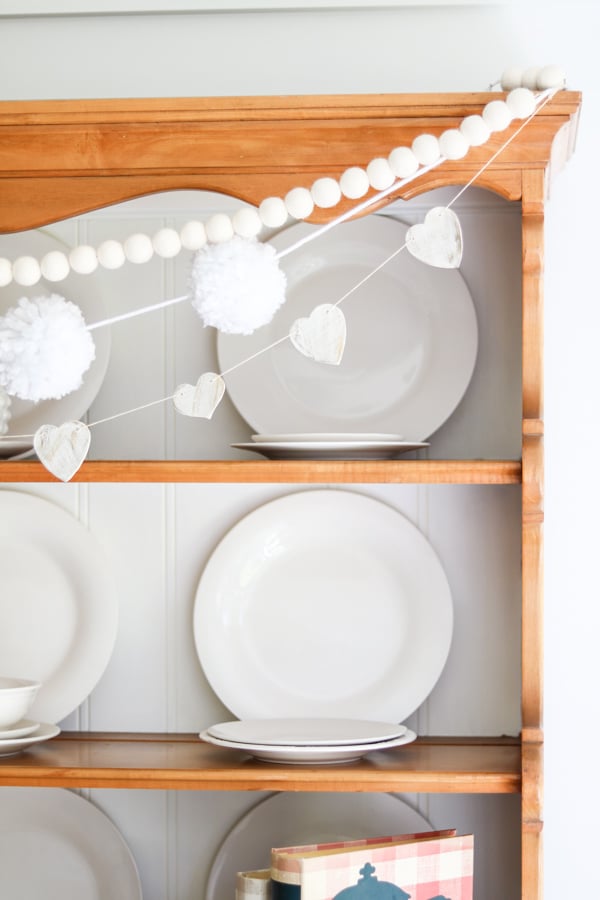
I placed it on the hutch along with other garlands I made, like this pom garland, placing the pom garland just a bit above the top of the hearts. I have all the details on how to make a pom pom garland if you want to make one too.
More Decorating Ideas
Other fun places to hang garlands include the fireplace mantel, bookcases, and mirrors. You can also hang it over your front door. These Valentine's porch decor ideas will inspire you to decorate the rest of your porch for this holiday.
Why You’ll Love This Air-Dry Clay Heart Garland
This DIY heart garland has quickly become one of my favorite projects.
The air-dry clay creates beautiful 3-D hearts with just the right amount of texture, and the vintage finish gives it that collected, old-world feel.
It’s the kind of decoration that looks just as good hanging on an antique hutch as it does on a mantel, bookshelf, or mirror.
Valentine’s Day is a perfect time to make it, but once it’s finished, you’ll find it works just as well for bridal showers, baby showers, parties, and everyday romantic decor.
Conclusion
This garland Valentine's Day craft is a great idea and an easy project for a subtle Valentine's Day decoration. It's also a fun activity for the whole family.
I think this will be one of your favorite Valentine's Day crafts. But you can use it for more than just Valentine's Day decor! This is also a perfect, fun craft decoration for bridal showers, parties, and baby showers. Whatever the occasion, it's a simple way to brighten any room. I love how it turned out, and I am seriously hooked on working with air-dry clay.
Looking for More Ideas?
In fact, I've already got another holiday decoration idea drying right now. If you want a peek at my next project here is my how to make clay bowls post where I show you the sweetest clay heart design.
Looking for more DIY clay ideas? Check out these posts:
- Crafting Magic: How to Make Clay Mushrooms
- Glowing DIY Air Dry Clay Ghosts for Halloween
- Craft Your Own Air Dry Clay Flower Frog: A Fun DIY for All Ages
- Easy Air Dry Clay Ideas for Adults that Anyone Can Try
Do you have any go-to clay DIY's? I'd love hear about them in the comments!
Happy Decorating!

Easy Vintage Heart Garland DIY
Easy to make heart garland DIY. Using air-dry clay, Rub n Buff, and pale neutral paint color. A fun project for your Valentine decorations or heart decor lovers.
Materials
- Parchment paper, air dry clay
- Embroidery floss, paint
- Rub n Buff gold leaf
Tools
- Scissors
- Cookie-cutter
- Dowel
- Yarn needle
- Artist brush
Instructions
- Roll a ball of air-dry clay in your hand.
- Pat it out on a piece of parchment paper on a flat surface
- Roll out the clay from the center turning the clay as you go until it is a thin layer of clay.
- Next, using a toothpick or the yarn needle make two holes on the top. One on the upper right and one on the upper left.
- Repeat these steps making 9 hearts for a garland that will hang on a hutch.
- Let the clay dry for 2 to 3 days.
- After the clay is dry simply brush an off white paint color on one side of the clay heart and then let it dry
- Next dab a tiny bit of gold leaf Rub n Buff on a lint-free cloth. Remove excess on the parchment paper. Then with a light hand brush the gold color across the heart. The gold will pick up all the clay that is on the top.
- Measure how long you want your garland to be and cut a piece of embroidery floss.
- Tie one end with a loop for hanging
- Thread the embroidery floss with the yarn needle.
- Lay your hearts on a table in the pattern you want them to go when you hang the garland.
- Start with the first heart and run the needle through the top of the right side and then up the back through the left side.
- Repeat until all the hearts are strung on the embroidery thread.
- Tie a loop into the other end and you are ready to hang your vintage minimalist Valentine's heart garland.
I. love your clay bowls idea. I sent it to a friend. she is more crafty than i am. thank you for your great ideas.
Thank you Kathy!