
If you're looking for a DIY project for your home, then say yes to a homemade chalkboard. A DIY framed chalkboard is a lovely addition to your home decor. I can't wait to show you how to make your own chalkboard, because my family simply loves ours!
This is not a project that will break the bank. You'll be surprised to find out you probably have most of what you need to make your own homemade chalkboard in your home. It's also a DIY project that doesn't require a lot of skill.
Let's jump into what you need for your DIY framed chalkboard.
This post contains affiliate links, meaning I receive a commission if you purchase using the links below at no extra cost to you. All opinions are all my own.
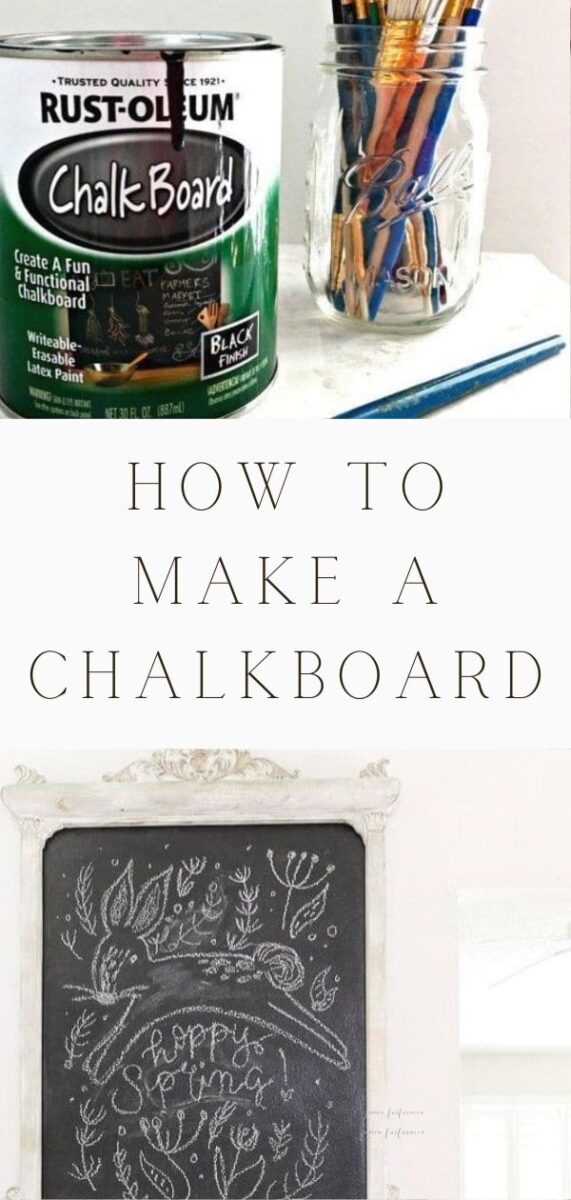
HOW DO YOU MAKE A HOMEMADE CHALKBOARD?
Our chalkboard is made with a family heirloom frame which makes it special. It also is a part of our home decor that changes with the seasons. If you're contemplating a homemade chalkboard, jump and make one!
You won't regret it.
WHAT IS THE BEST MATERIAL TO MAKE A CHALKBOARD?
That's all you need to get this simple DIY project started.
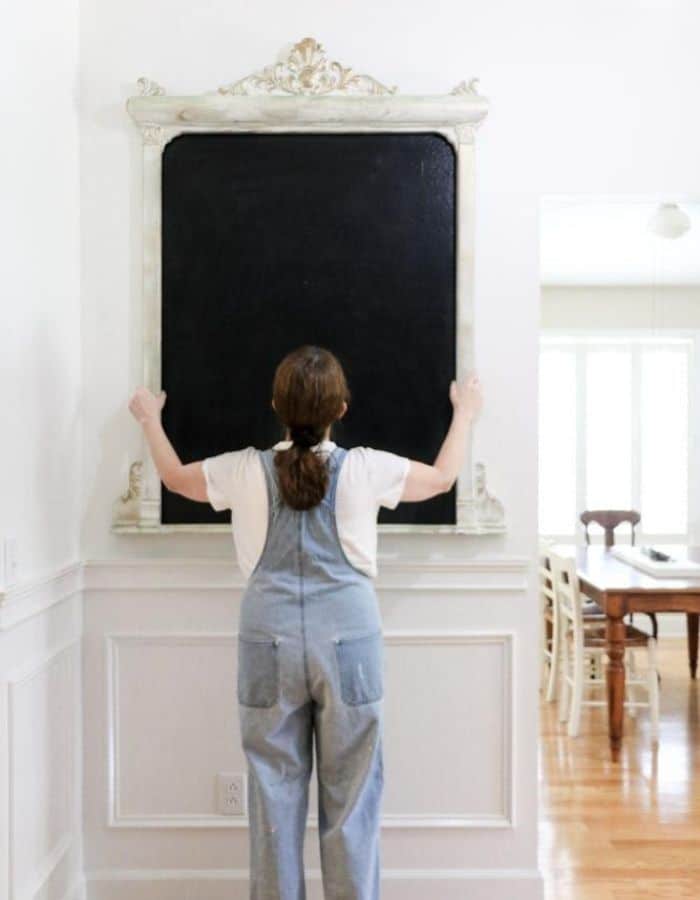
STEP 1: DECIDE WHERE YOU WANT THE CHALKBOARD AND HANG YOUR FRAME
This may seem a little backwards, but trust me in this process.
Now all you need to do is to decide where you want your homemade chalkboard to hang and hang up your frame as if you're all finished with the project.
STEP 2: MARK WHERE YOU WILL PAINT YOUR CHALKBOARD
Now you'll mark the inside edge with a pencil, drawing all the way around.
Then you will remove the frame, leave the nails you hang the frame up with. This will make hanging the frame back up easy and you won't have to worry about realigning things.
STEP 3: APPLY THE PAINTERS TAPE
You're now at the point where you want to apply the painter's tape following the lines you have drawn with a pencil.
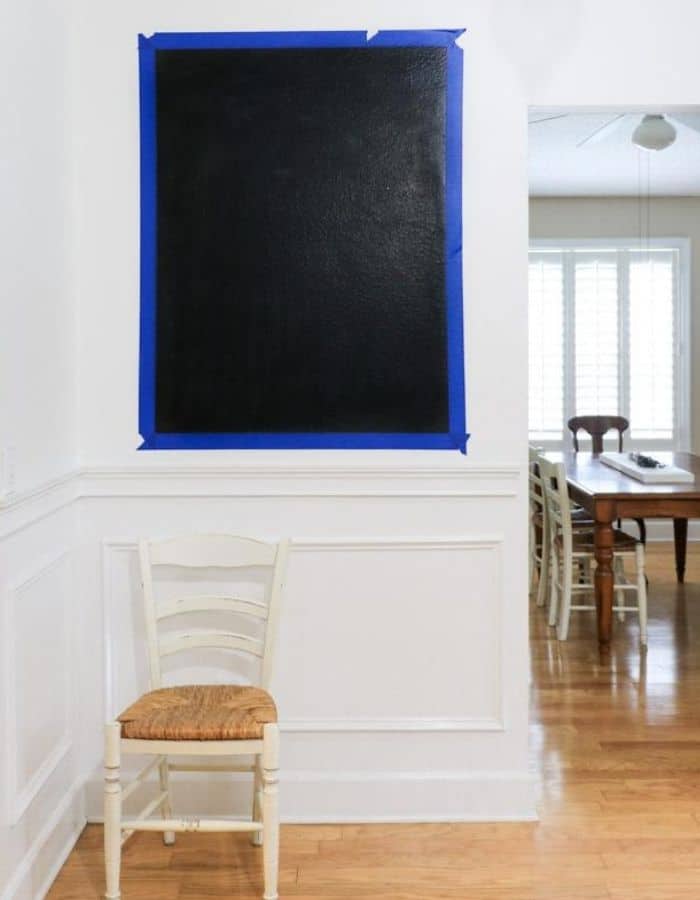
Another tip I like to give is to score the edges of the painter's tape so that paint doesn't seep under the painter's tape. You can do this with something like a ruler, credit card, or your fingernail.

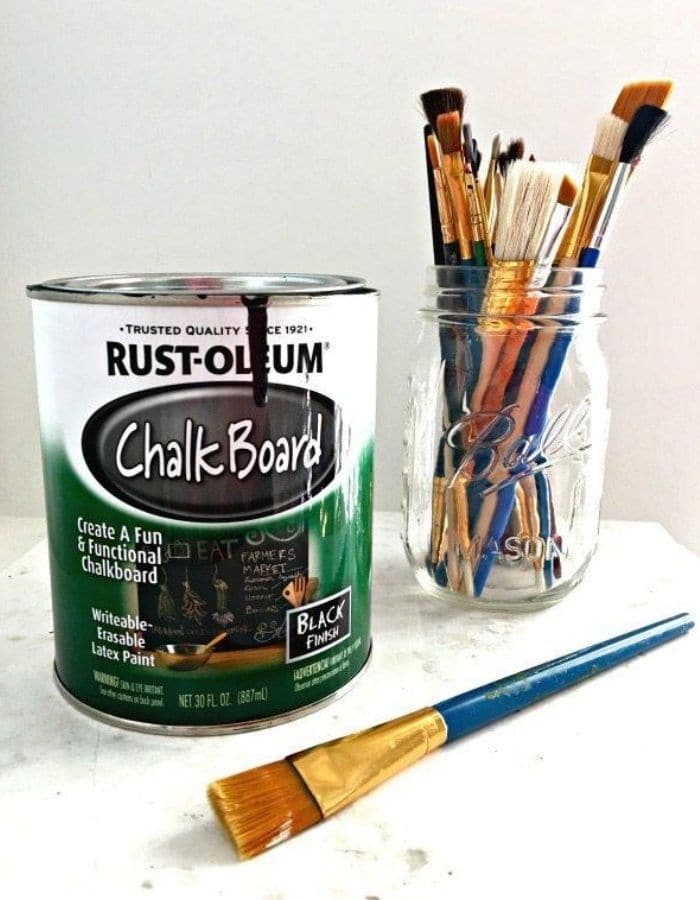
STEP 4: TIME TO PAINT
This is about to get exciting! It's time to start painting your homemade chalkboard on the wall.
You may use a paint brush or a paint roller.
I used Rustoleum's chalkboard paint with a black finish for my DIY framed chalkboard. I love Rustoleum products! They also have a paint over tile floors paint which is great.
It's a good idea to paint with a second coat to make sure you have covered the area well.
STEP 5: REMOVE THE TAPE
Once you have finished painting the chalkboard project, remove the painter's tape while it is still wet and then let it dry.
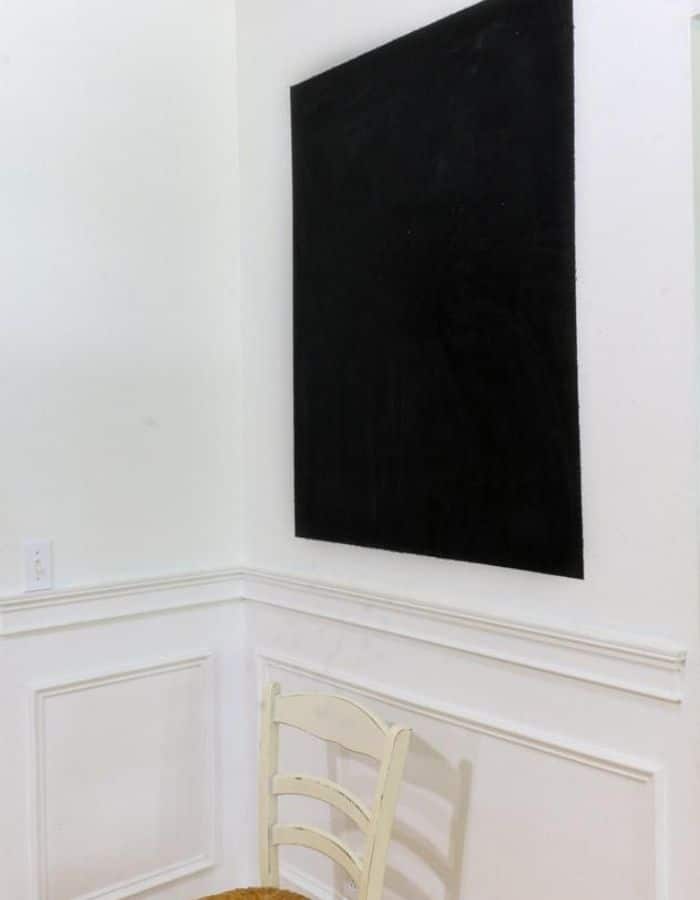
It can take 2-4 hours for the chalkboard paint to dry. Being sure that it is completely dry is super important.
STEP 6: HANG FRAME OVER THE CHALKBOARD
It time to hang up your frame and your nails are already in their place, so this step is easy peasy!
The frame that I've chosen has a fun little story.
Many years ago my mother-in-law gave me a bureau mirror frame that was just sitting in her attic.
It was painted a dark brown and was sitting there all pretty for someone to revive it.
My mother-in-law was very crafty, so she loved that I was taking it home and giving it a new life.
Well, many years later it's getting another new life.
I am not changing the white and gold finish I gave it long ago but instead it is going to have its first chalkboard inside.
NOW WHAT DO I DO WITH MY HOMEMADE CHALKBOARD?
I'm excited now to show you how we use our homemade chalkboard seasonally and daily.
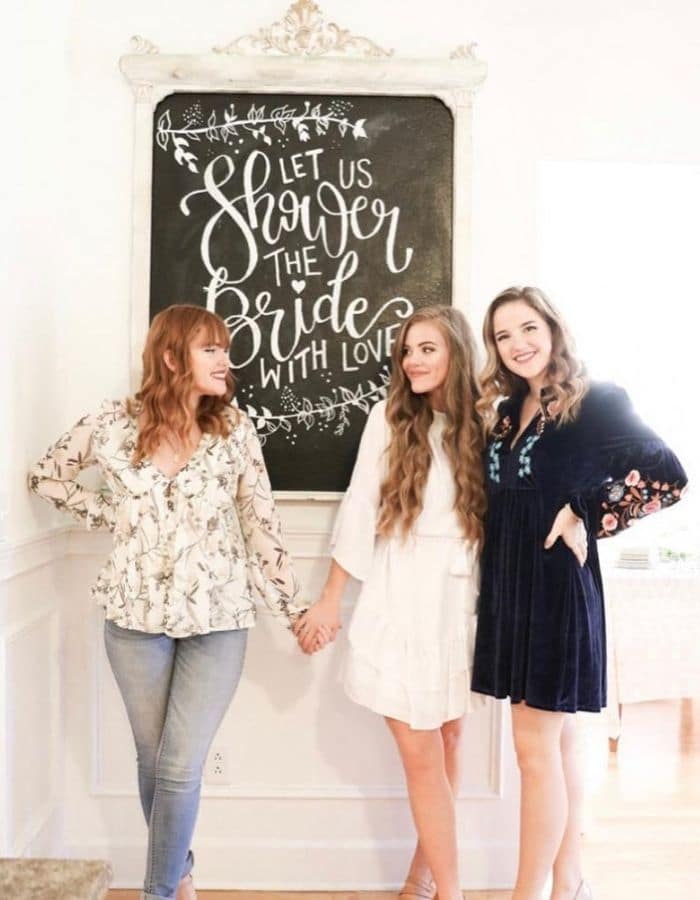
Recently we hosted a bridal shower for my oldest daughter, Savanna.
We used the DIY framed chalkboard as part of our decorations.
If you'd like to see more ideas from our Southern Bridal Shower, hop over to the post.
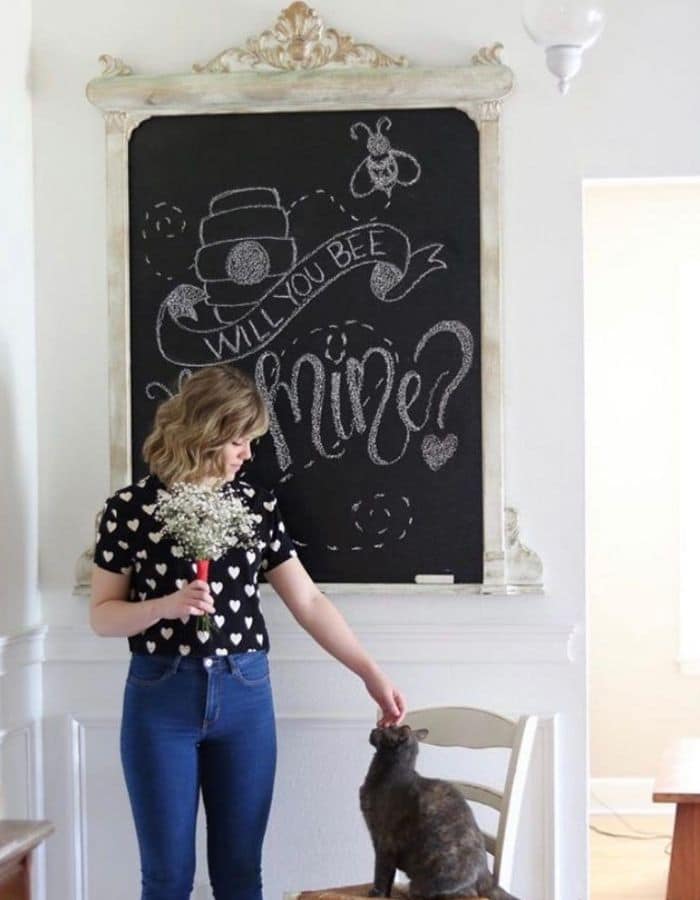
A Valentine message is perfect on a chalkboard wall DIY.
We've given you a bunch of ideas in our post Best Valentines Day Chalkboard Messages.
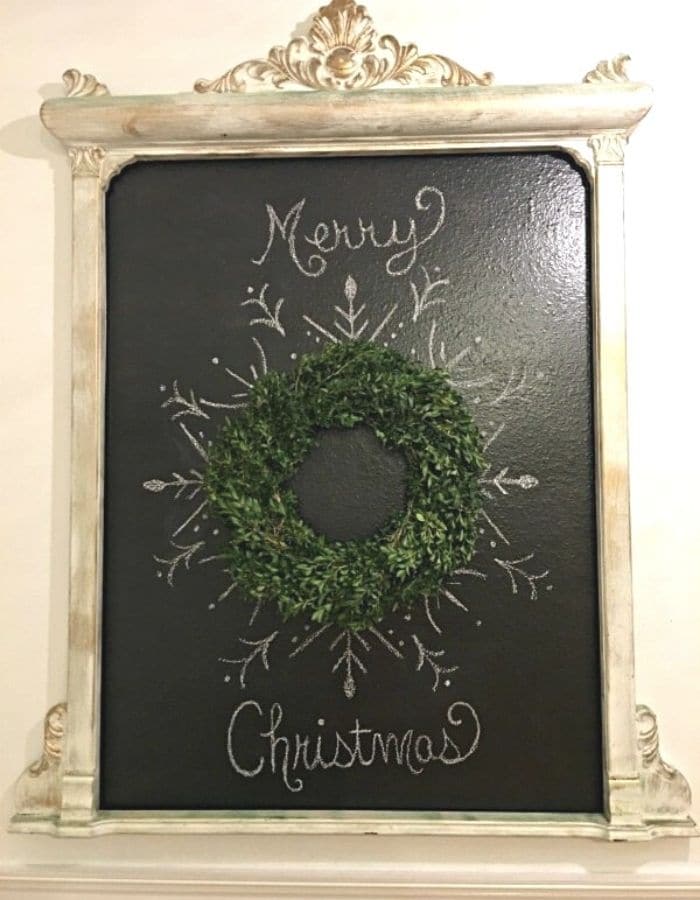
Christmas is another favorite time of year we've had fun dolling up our handmade framed chalkboard.
Hanging a boxwood wreath in the center and drawing chalk art around it, makes for some beautiful Christmas decor.
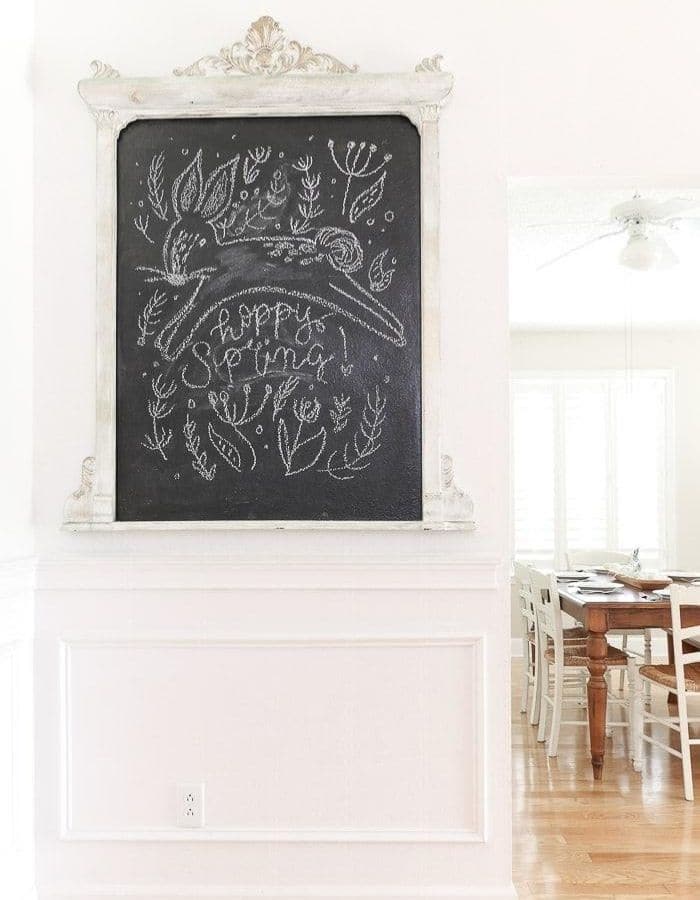
Last, but not least, wish those that come into your home a Hoppy Spring with a fun chalkboard message like we did in our Spring Farmhouse Decor post.
CONCLUSION
I hope you've enjoyed this homemade chalkboard tutorial.
If you've been contemplating adding a framed chalkboard in your home, I hope you see how easy it is to do so.
Are you homeschooling this year and want to incorporate a chalkboard into your classroom? Our friends have some great ideas and we gathered them together in our Homeschool Chalkboard Ideas blog post.
There's great inspiration there.
Happy Decorating!

1 thought on “SAY YES TO A HOMEMADE CHALKBOARD FOR AN EXCITING DIY PROJECT”