
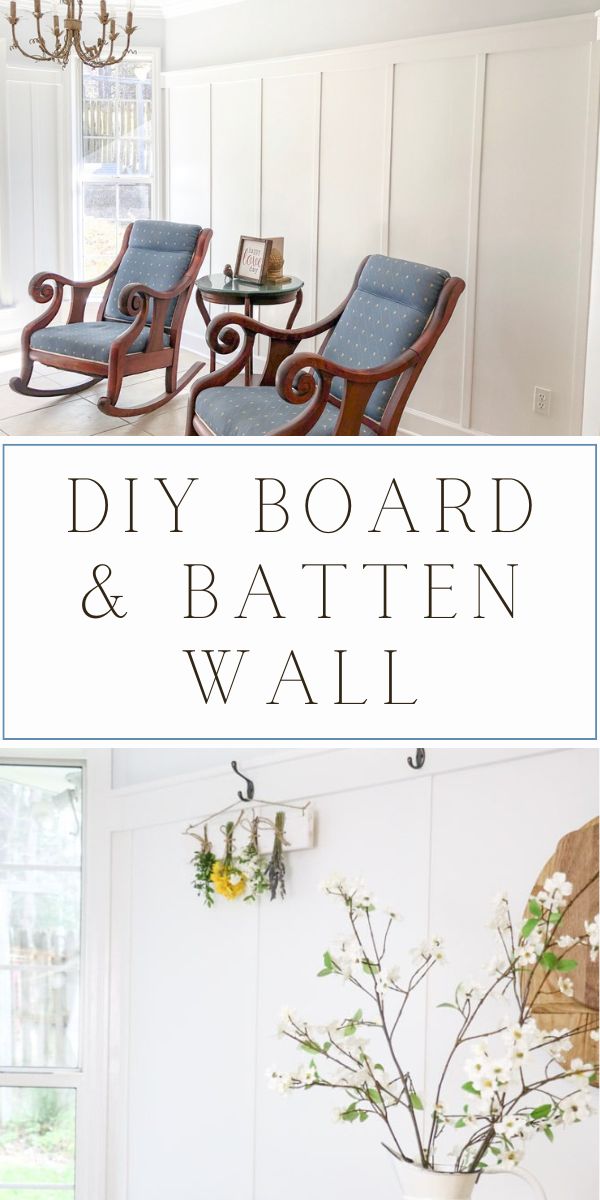
DIY farmhouse style wainscoting step-by-step tutorial on how to install board and batten wainscot. Adding wainscot to your home is a classic and timeless design that will last for years to come.

DIY farmhouse style wainscoting designs add value to your home and loads of character. Follow along as I share step-by-step instructions on how to install board and batten wainscot.
DIY FARMHOUSE STYLE WAINSCOTING
To begin any project, you need to do some homework. Let's start with Pinterest to look for some ideas. Think about details of the style and height of your wainscot.
I decided to do a tall design because I love the color white and this would offer plenty of it, while also pulling in the grey-blue from my kitchen on the top. Now on to the steps of creating the wainscot.
HOW TO INSTALL BOARD AND BATTEN
With all projects, I like to pull out all my supplies first. Here is a list of what you will need to do this project.
SUPPLIES TO HANG BOARD AND BATTON
- Miter saw
- Nail gun
- Nails
- 1/4″ x 2″ lattice trim
- 1″ x 4″ trim
- 1″ x 2″ trim
- Trim Paint: SW7006 Extra White
- Wall paint: SW7656 Rhinestone
- Paintbrush
- Paint roller
- Paint tray
- Drop cloth
- Caulk
- Putty
- Ladder
- Tape measure
- Chalk
- Graph paper

MEASURE YOUR WALL FOR BOARD AND BATTEN
Let's start with measuring each wall where the board and bat will install. Measure the width and height of each wall then take some chalk and draw out the design on the wall.
Now start with one piece of trim, like the shelf piece, and measure that part of the wall where you chalked it out and add it all up. This measurement is how many feet of that trim you will need.
I used 1/4″ x 2″ vertical pieces, 1″ x 4″ horizontal pieces, and a 1″ x 2″ shelf. Now continue to measure for each piece until you have them all written down.
PAINT WALL

Now that you have all your tools and pieces of trim planned it is time to apply a coat of white paint on the wall or whatever color you plan for the back of your board and batton. It is easier to paint the background now rather than after the trim goes up.

HORIZONTAL TRIM PIECE FOR THE TOP

Remember me saying this is easy? Well, use your miter saw and cut the longest horizontal piece, and nail it on the wall. Continue this step around the room.
It helps to have two people do this part. Use a level to make sure the board is straight before you nail it into the wall.
VERTICAL WOOD TRIM

Okay, this wall is already looking good but will only get better!
Now add your vertical pieces by measuring each piece and using your miter saw to cut them. The reason why I suggest measuring each section is to make sure that there is no variation from the horizontal top piece down to the baseboard.
Nail each lattice stripe to the wall and now we move on to the last board.
SHELF TRIM

We only one piece left and that is the shelf. Again, cut this part according to your measurements. This time nail it down into the 1″ x 4″. Can you believe you are almost done?
PUTTY, CAULK, AND PAINT
Now it's time for some more painting. Oops! I just realized I didn't take a photo of the last painting stage.
Hopefully, my description will be easy to follow. Take some painter's putty and swipe it into each nail hole then sand it down a little. And use painter's caulk and run a bead down where the boards connect to the wall.
Use your finger or a damp rag to smooth the caulk down into the corner. Now let the caulk dry and then you are ready to paint.
Now that the caulk is dry go ahead and start painting. Once you finish all the painting, you are done! Yay!!
If you like this paint color then you will love these farmhouse paint colors at Life on Summerhill.
Here are ideas for decorating your board and bat.
CONCLUSION
Let's go over each step again on how to install board and batten.
- Start with researching what you want on Pinterest
- Measure your wall and layout the design with chalk on the wall
- Assemble all the tools you will need
- Shop for the trim, paint, and any tools you may not already have
- Paint the walls white or whatever color you want your wainscot to be
- Cut and install the first horizontal board
- Trim and install the vertical boards
- Cut and install the shelf
- Putty and caulk holes and cracks
- Paint trim and walls
This project is a two-day job, especially if you have to go to the hardware store to shop for items. And for the most part, it can be done with one person unless you have any long horizontal boards to hang. Then you might need help.
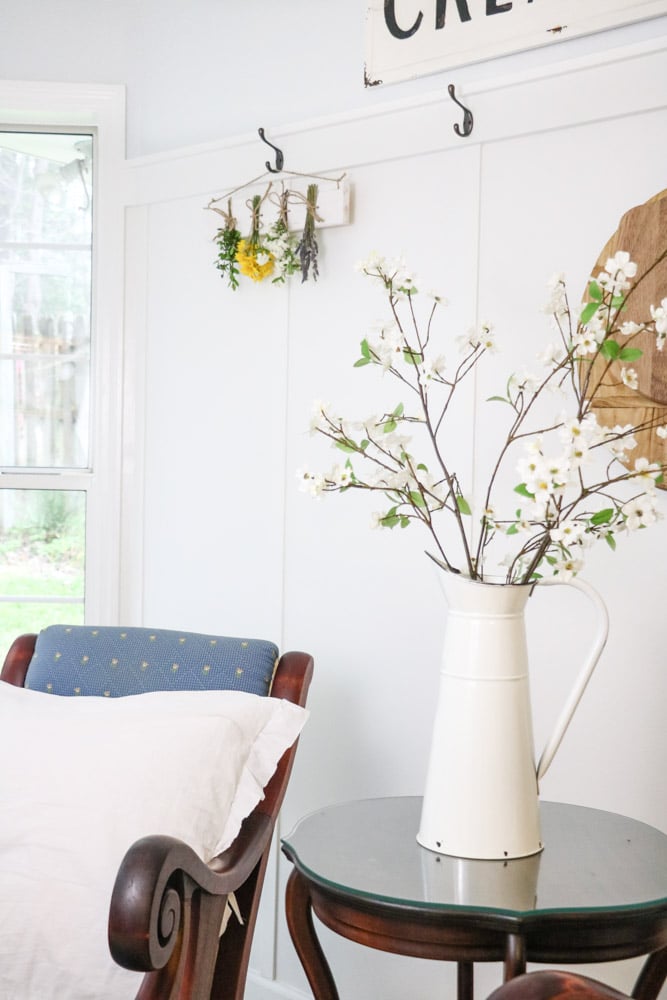
Now all that is left is to add farmhouse decorations to your board and bat. I added these cute hooks.
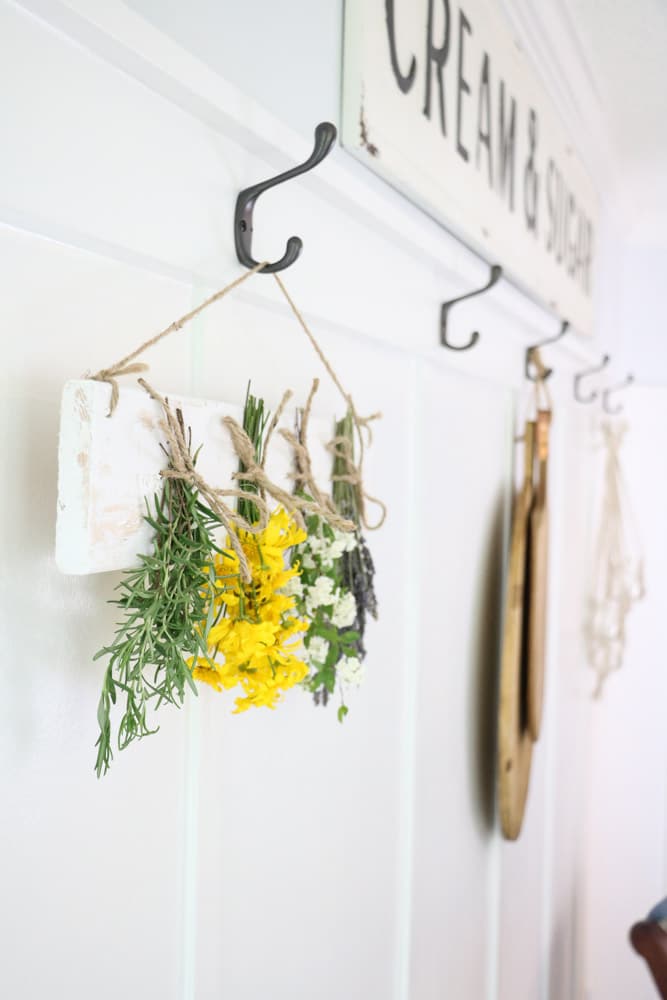
And then my favorite farmhouse-style decorations like these wooden bread and cutting boards and this DIY dried flower hanger I made.
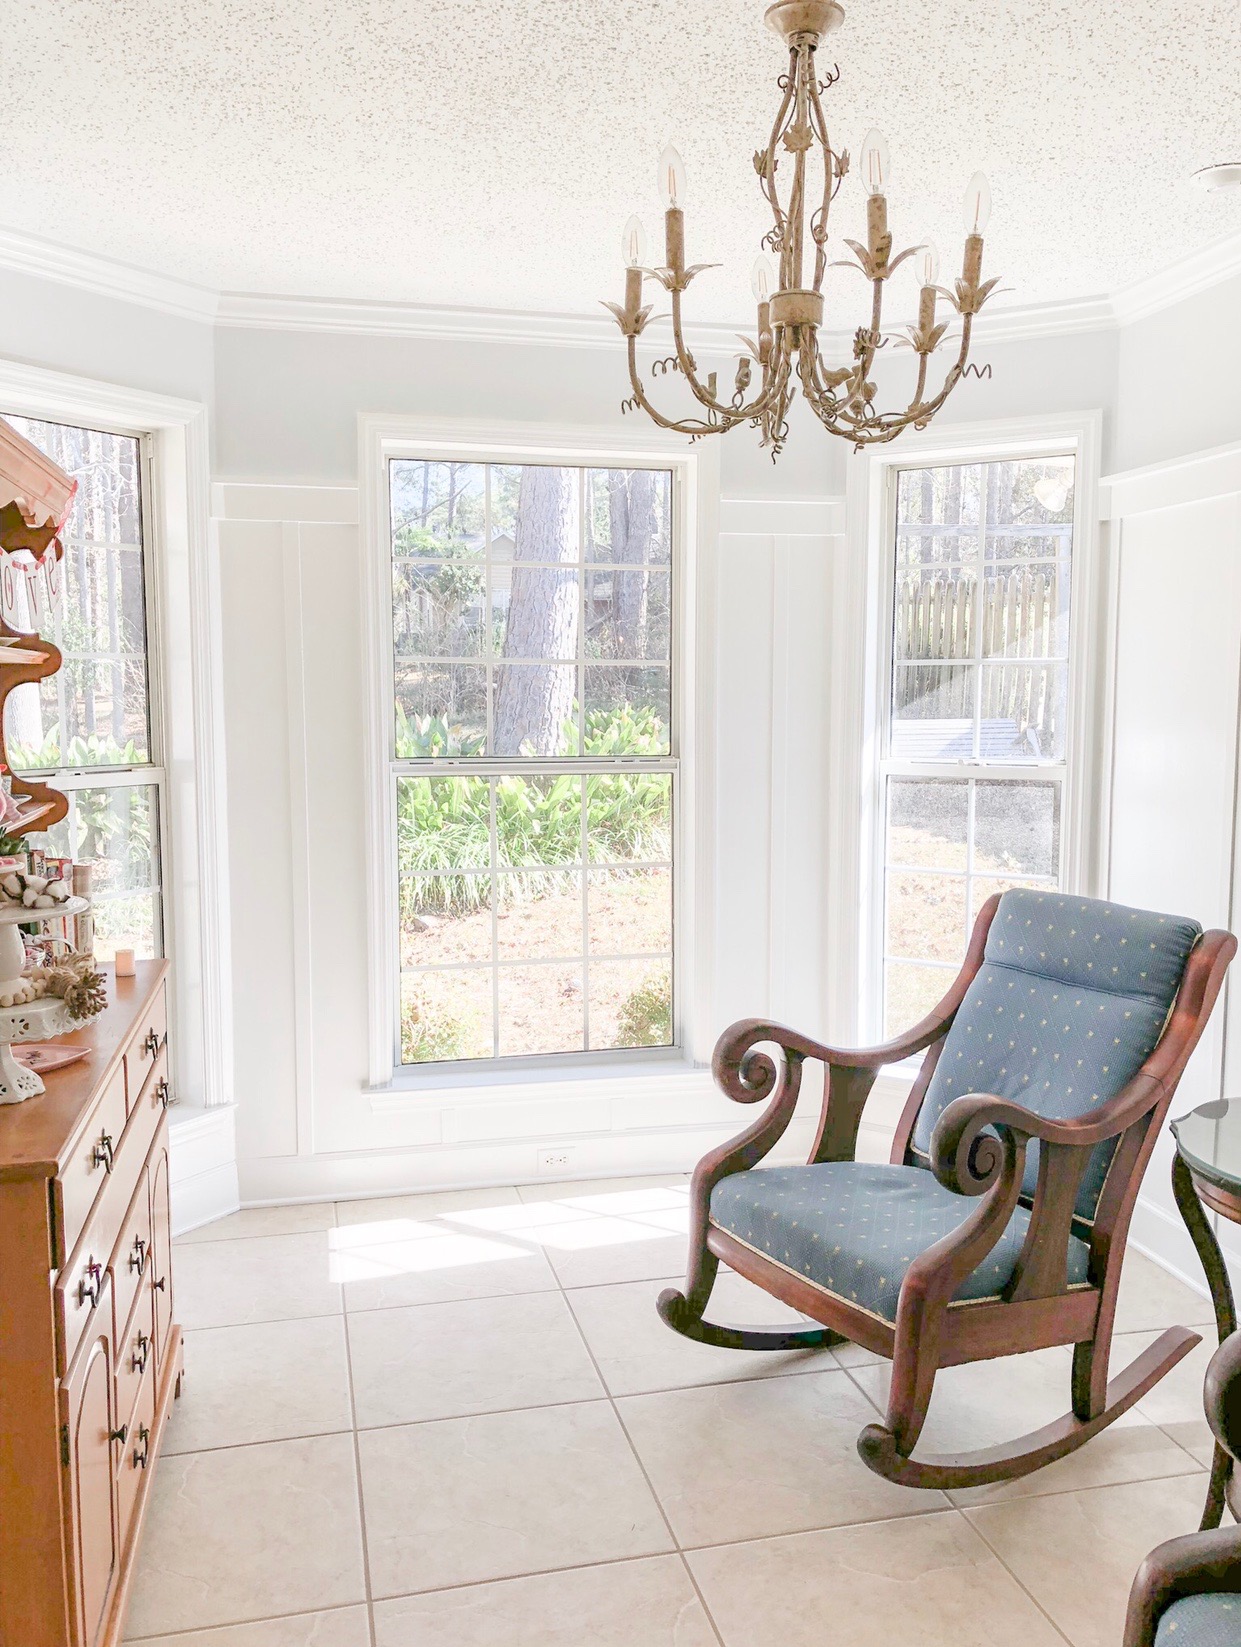
So, I hope this DIY farmhouse style wainscoting encourages you to try this at your house. Here is before and after pictures so you get an idea of where we began.

And this is how the room looks now. Did I mention we painted over the wallpaper and I have a tutorial on how to paint over wallpaper too?
I love trim inside a home. It takes a plain build grade home and gives it character. If you love the look of board and batten then check out my DIY board and batten fireplace. You will love how it turned out and just like my rocking chair room it is super easy to make.
Happy Decorating!

If you enjoyed these ideas, please sign up for emails, so you don’t miss out on more fun decorating tips and ideas HERE.
I love DIY projects…but I am not the handy or creative type. So I solicit the help of some creative and handy souls for my DIY weekend projects. Your project looks cozy. Good job.
Thank you!
Wow, Linda! What a transformation! This turned out fantastic. Feel free to come to my house next! 🙂
Thank you Alyson! Anytime you want me to come just call. 😉
It’s funny we actually spent last summer taking ours down and replacing it with ship-lap (that’s probably not how you spell it). Looks beautiful.
I love it, and what a great way to attain it!
I’m a sucker for tall wainscoting like this. So pretty!
Me too! I love tall wainscoting.
The wainscoting and paint colors makes the room so much calmer and soothing. I was thinking of putting up wallpaper in my bedroom. After seeing the wallpaper in your room, I realize how busy and chaotic wallpaper can look. I will not be putting up wallpaper. Beautiful job with the wainscoting.
Thanks! I am so glad this has helped you with your bedroom. I have a Popular Sherwin Williams Paint Colors post that will help you select a paint color.
It is beautiful. You did a great job!
Thank you! That made my day.
WOW! Beautiful!! What a transformation–turned out great!! Lovely wall color choices…..
Thank you! Glad you enjoyed it.