
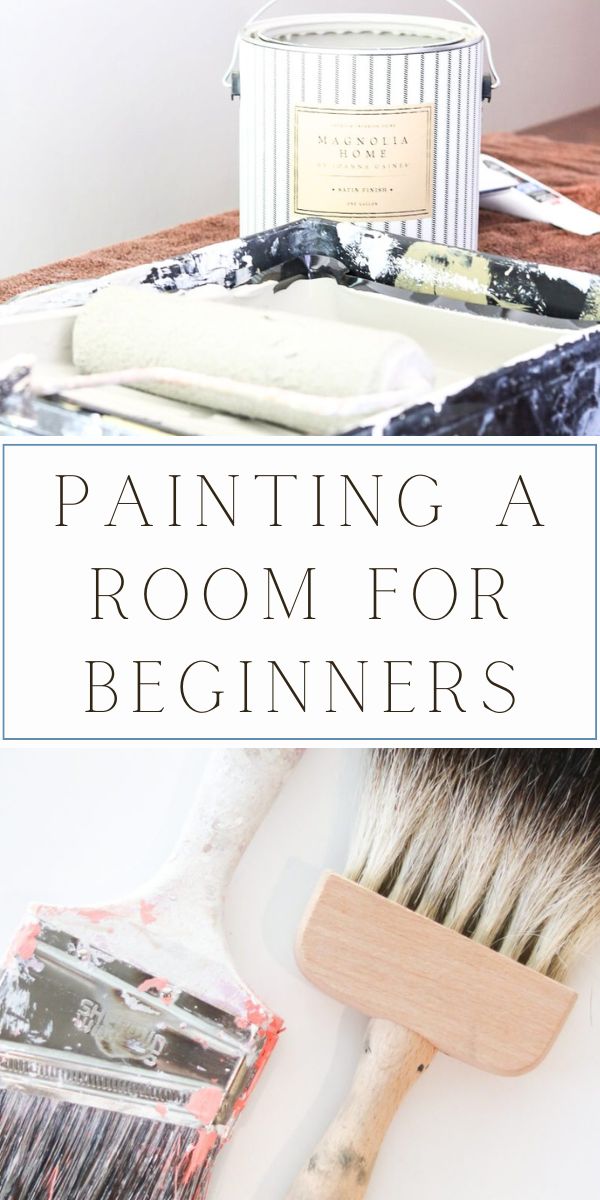
Painting a room the right way and having the right tools can make the process 100 times easier. So, give your room a whole new facelift with these steps on how to paint a room fast and easy.

Painting a room is probably the most significant and cheapest transformation you can make to any place. Color can change the mood, style, and character of a space. And you don't have to be a pro to transform a room with paint.
Which is why I wanted to share my tips on how to paint a room fast and easy.
PAINTING A ROOM
Before you begin your painting project, you will need to do some planning. Read on to learn how to paint a repaint a room and see the steps to transform your space.
Plan Before You Paint
Before we jump into the steps for painting a room make sure you have a paint color you love. If not then how to pick a paint color post is a better place to start.
You can also check out the 2023 color trends that are inspiring. But if you have a color and you want to make sure it is perfect then the best way to test a paint color will answer that question.
If you are looking for paint ideas that are most helpful in making your selection, then popular Sherwin Williams paint colors has a list of what is trending across America in Sherwin Williams paint colors.
Check out my post on finding Magnolia home paint matched to Sherwin Williams.

PAINTING SUPPLIES
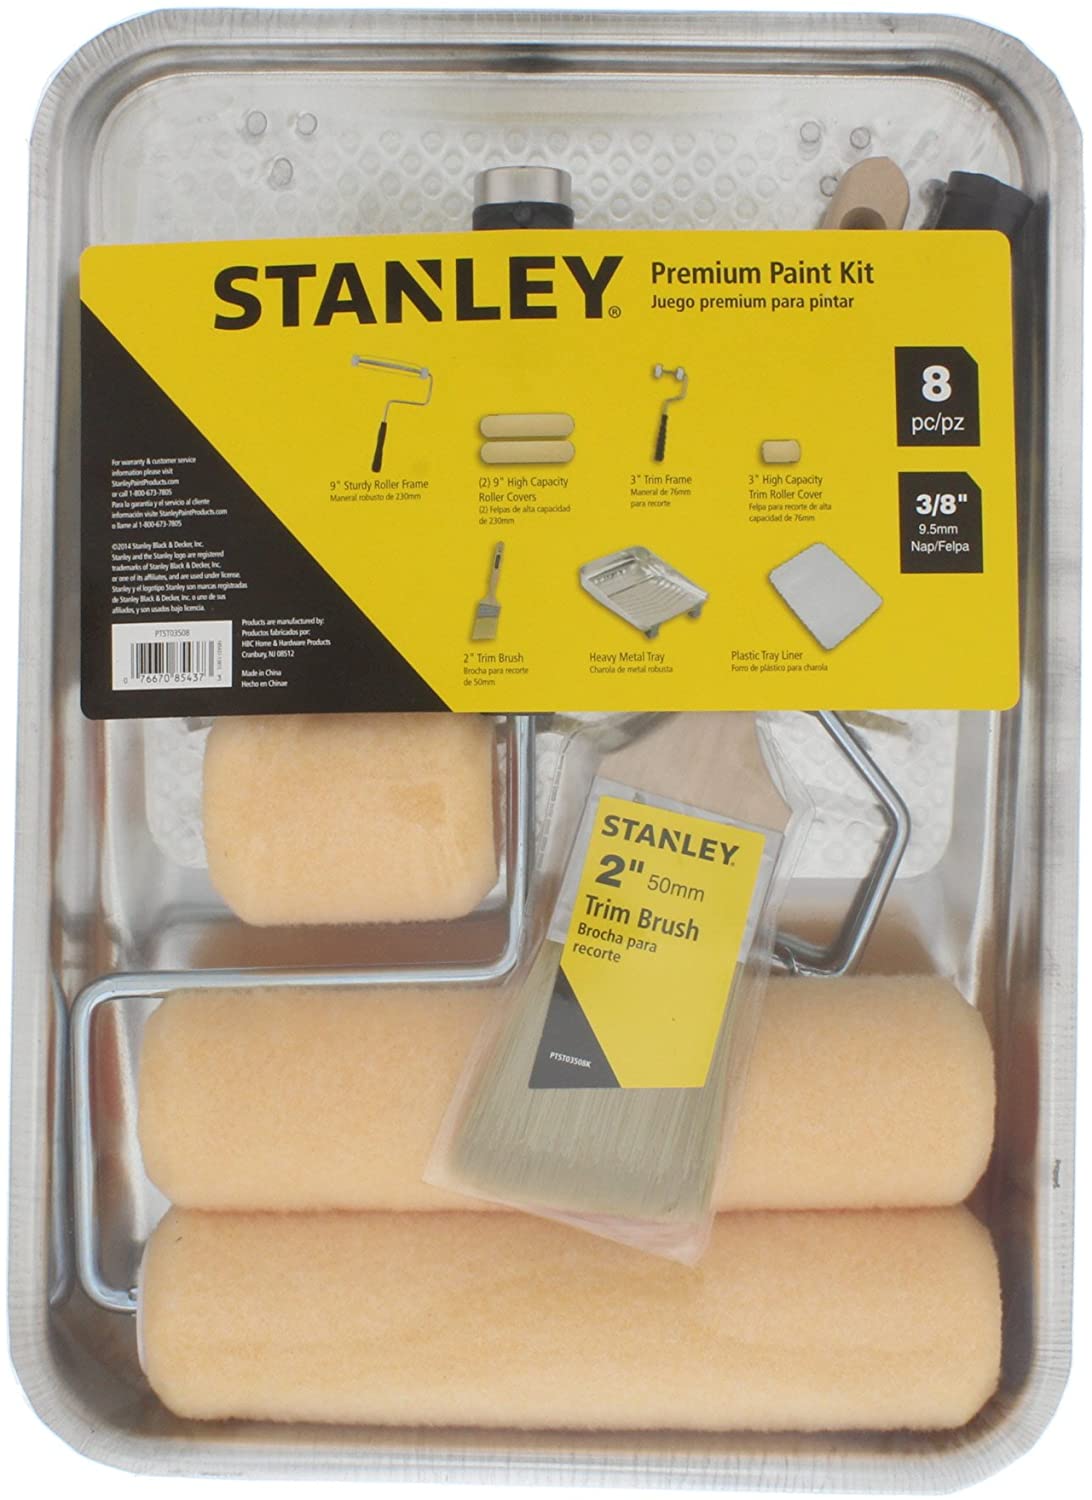
The next step in your painting adventure is to check your supply inventory or if you have never painted before you will need to create your very own paint crate full of supplies. My post What's in my Paint Crate will help you get all the supplies you need to begin.

WHAT IS THE CORRECT ORDER TO PAINT A ROOM?
Now we are getting down to the steps on how to paint a room easy and fast. This is the order you will follow when painting your room.
If you plan to paint the ceiling then start on the ceiling first. Next, do the walls then the trim and last the floors if your floors need painting.
The reason why we start at the top and work our way down is that paint tends to splatter as you roll. Those tiny little droplets end up on what is below.
If you start at the top then you can paint over the droplets as you move your way down.

Remove and Repair
Now begin by removing all switch plates and outlet covers. Place them in a ziplock bag along with the screws, so you don't misplace any pieces while you work.

Next, remove any nails in the wall, patch the holes and cracks with painters caulk or painter putty. Then lightly sand over where you repaired, any trim or areas of the wall that need smoothing down.
How to Clean Walls Before Painting
Once all the walls and trim are ready, make sure all they are clean of any soil, oil, or residue. Look at your walls carefully. Is there anything on the walls that need to be wiped off? Many times I don't have to wash the walls because there is nothing on the walls but kitchens and bathrooms are usually a little different.
If you have a room that needs the walls washed try mixing vinegar and water and wipe down the walls. I use about 4 cups of water to 1 cup of vinegar. Another good product is using a degreaser on the walls. This is particularly helpful in kitchens and baths.
Read the label on a degreaser to see if it has to be rinsed too.
Protect Floors and Furniture
Next, move all furniture out of the room if possible or move them into the center of the room. Here is an easy trick I use when moving furniture while I am painting.
I place furniture sliders under the feet and move pieces away from each wall as you are working around the room.
Now place your drop cloths, old sheets or towels down on the floor to protect your floor from paint spills and drips. And then drape a drop cloth over the furniture to protect it from any splatters.
(If your home is older than the early '80s be mindful of paint with lead in it. You can test for lead paint easily.)
Sand the Walls
Remember when you spackled holes from nails? Well by now the spackle is dry and it is time to sand over them.
Simply take a sanding block and file down the rough edges. After you are finished look back over the walls one more time and see if there is anything else that needs sanding down.

Tape Trim
If you have a steady hand then you may not have to do this step. Simply take painters tape and tape along the bottom of the crown mold, around window trim, and top of baseboards.
If you don't want to spend an hour taping practice edging with a paintbrush on the wall. If you seem to have a good feel for it then I recommend skipping this step and go ahead and start edging the room.
But if you don't want to tape and you haven't gotten the hang of edging with a paintbrush then read another trick I have about paint edging.
Ventilate Your Room for Painting
We are about to start painting the room. It is important to make sure you have ventilation even if the paint says non-VOC. The best thing to do is to open the windows and doors if you have screens.
If for any reason you cannot open your windows then turn on the ac unit so it can be filtering the air. If you are in a bathroom turn on the exhaust fan too. And wear a mask.
The main thing is to protect yourself.
PAINT EDGING
The next step is cutting in the paint along the edges and corners. I like using a brush with an angled end but if you don't have a steady hand try using an edger instead of taping.
Taping a room can have its challenges of its own. So I recommend the edging tool. The key to this tool is just a tiny bit of paint on the bristles. Then place it flat on the wall about an inch away from the edge you want to run it down.
Next, drag it up again the trim or edge and move it along the trim or edge. Here is an additional tip. I find it looks better to edge one wall then roll the wall before going on the next wall.

But give a brush a try. I think a short handle brush with angled bristles is easier to use. Press down on the wall away from the edge and then move towards the edge of the trim and drag the brush along keeping your wrist straight.
After you run one line of paint go back and add more paint above the first row about the width of the brush. Make sure you have extra paint up there so when you roll the paint onto the wall you have plenty of paint along the edge so don't run a chance of hitting the trim with the roller.
Last, use a brush for those inside corners. It works the best.

ROLLING ON THE PAINT
Next, gently dip the roller in the paint tray and roll the excess off at the top. You will have to do this several times to get the paint evenly on the roller.
Once you feel there is an ample amount of paint on the roller but not dripping, then you will be ready to roll it on the wall. Start moving in a v-shape beginning in one corner.
Roll the paint until it runs out of paint then reapply more paint to the roller. You can roll the top half of the room first and then come back and do the bottom but I prefer to roll the top about a third of the way if it is a smaller room and then the bottom.
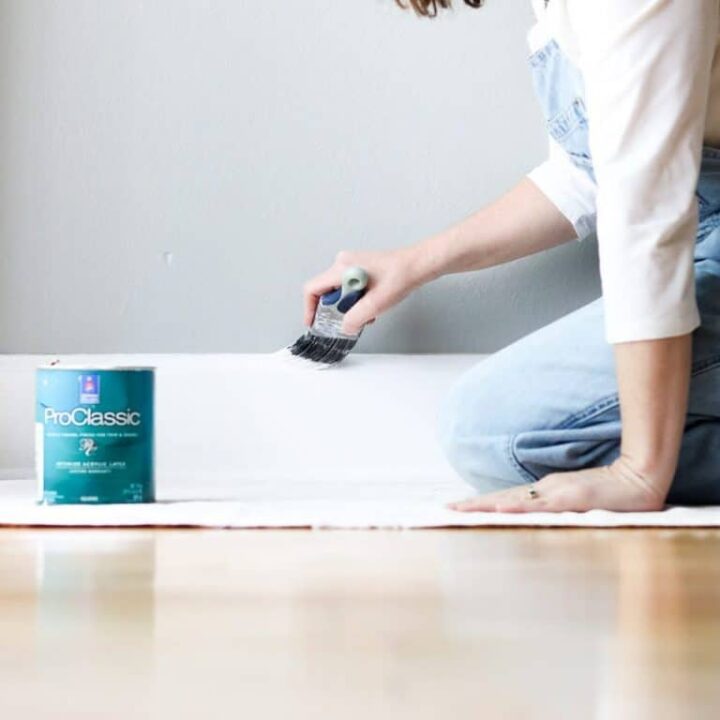
How to Paint Trim
Many times I have painted the walls and not the trim, but honestly, sometimes you will have to paint the trim. To paint the trim I usually us a paintbrush.
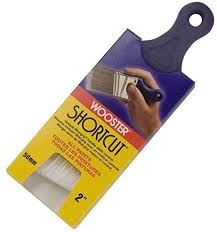
The best tips and tricks on how to do this are to purchase an angled brush and mainly a short handle brush like the Wooster paintbrush.
Next, apply some paint to the tip. Only about half an inch then tap it on the inside of the bucket or paint can. Tapping draws the paint down on the brush instead of up.
Now just drag the brush along the trim holding your wrist stiff. Keeping your wrist stiff helps you to get a straight line when painting. Continue this process until your finished with the room.

Another trick is to place your brush more towards the center of the trim and move towards the edge. When you first hit your brush on the trim it is loaded with paint but by the time you drag it to the edge, you will have more control of the paint inside the brush.
Clean Up After Painting
Once you have finished painting your room, all you have to do is clean up. I recommend going outside to clean your brushes and rollers with soapy water if you used latex. If you used oil-based paint then you will need to clean with mineral spirits.
Rinse your brush where the water is moving down instead of up inside the bristles. It is better for the brush to keep the paint from settling up inside close to the handle.
After you have rinsed out all the paint, place the handle between both hands and twist it back and forth so that the bristles are spinning and the water will move downward.
Next, hang the brush up so as it dries the bristles will lay straight and water will travel down. There is a hole in the top of the handle which makes hanging your paintbrush easy.
As far as the roller I usually trash them but not the frame. Rollers are pretty inexpensive, so I don't mind trashing them after each use. To remove the roller I place a disposable grocery bag around it and then pull it off the frame.
I place the wet roller inside the paint tray liner and then I place another disposable bag around the liner and trash it. Basically the only thing I have to clean are the paintbrushes.

Once you have everything cleaned up grab those drop cloths and fold them and begin moving your furniture back into place.
CONCLUSION
To wrap up painting a room here is a step by step checklist of what you will need to do.
- Plan
- Collect painting supplies
- Move furniture
- Lay dropcloths
- Clean walls
- Remove and Repair
- Sand
- Edge trim and corners
- Roll ceiling then walls
- Paint trim
- Cleanup
Well, we are all finished. Painting a room is an easy weekend project as long as you have all your supplies ready.
Give yourself several days or more to select your paint color and purchase the paint. First-time painters, it may take you a little longer than usual, but after you have painted one room, it will become easier and faster each time.
Now here is the final product and good luck on your painting project.

Happy Decorating!

HOW TO PAINT A ROOM FAST AND EASY
Materials
- Wall paint
- Trim Paint
- Spackle
Tools
- Paintbrush
- Paint roller, frame and tray
- Drop cloth
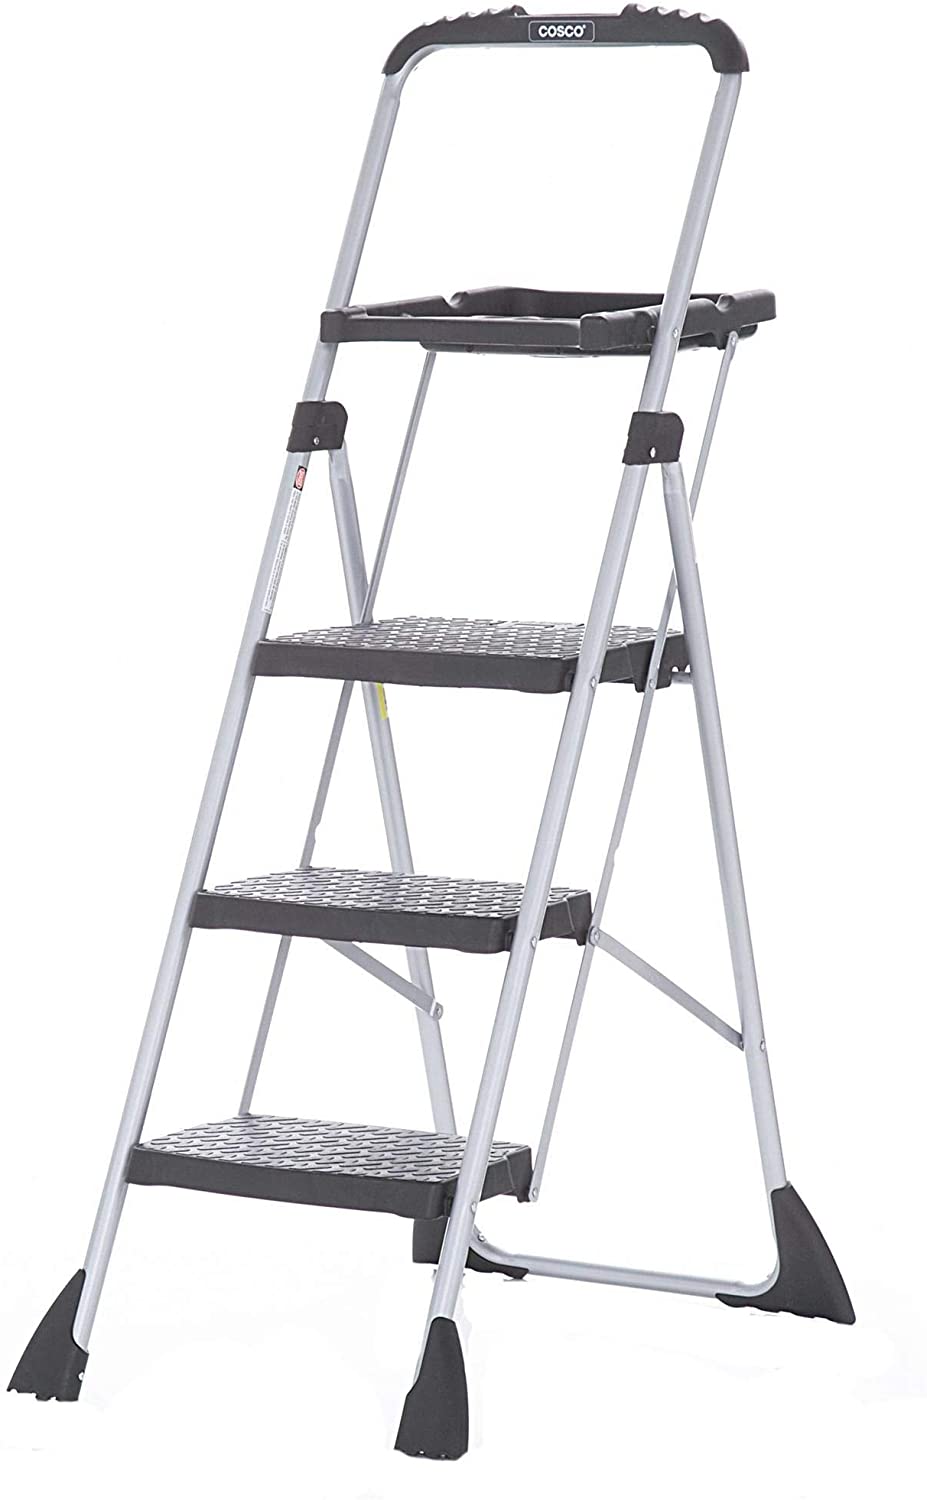
- Ladder
- Edger
- Rags
- Sanding block
- Spackling knife
- Overalls or paint clothes
Instructions
Plan what color you are paining.
Collect painting supplies
Move furniture
Lay drop cloths where you will be painting
Clean walls
Remove and Repair light and electrical switch plates and spackle holes
Sand where you spackled holes
Edge trim and corners with a paint
Roll ceiling then walls
Paint trim
Cleanup all supplies
Notes
The first time you paint a room it will take you twice as long but once you have painted a few rooms you will get faster and faster.
Recommended Products
As an Amazon Associate and member of other affiliate programs, I earn from qualifying purchases.

Love the new color!
You did an amazing job! I love the paint color!!!
Giving a room a fresh coat of paint makes it look like a whole different room. Love the color you used for your wall. Great tip on painting. I think it helps to know how to paint properly is the best way to begin…Your steps are perfect.