Here are directions on how to make a heart shaped wreath. This easy DIY Valentine Dollar Tree wreath is cheap to make and looks amazing.
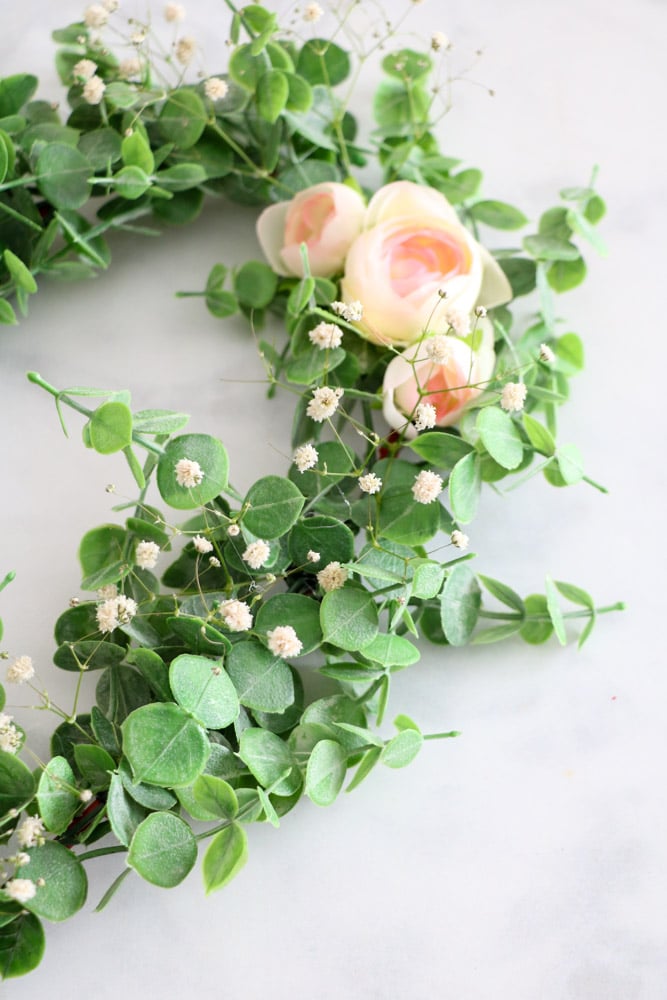
I love adding holiday wreaths to our small front porch door and after finishing this wreath I couldn't wait to show you how to make a heart shaped wreath using Dollar Tree items. All you need is a few craft supplies and you can make your own heart-shaped wreath.
HOW TO MAKE A HEART SHAPED WREATH
I am so excited to share this DIY Dollar Tree Valentine wreath. I had so much fun making this DIY heart wreath and it is an easy craft for beginners so don't worry if it's your first time attempting something like this. Let's grab a few supplies and get started. I found my heart wreath at the Dollar Store but you may find one at your local craft store.
WHAT DO YOU NEED TO MAKE A HEART SHAPED WREATH?
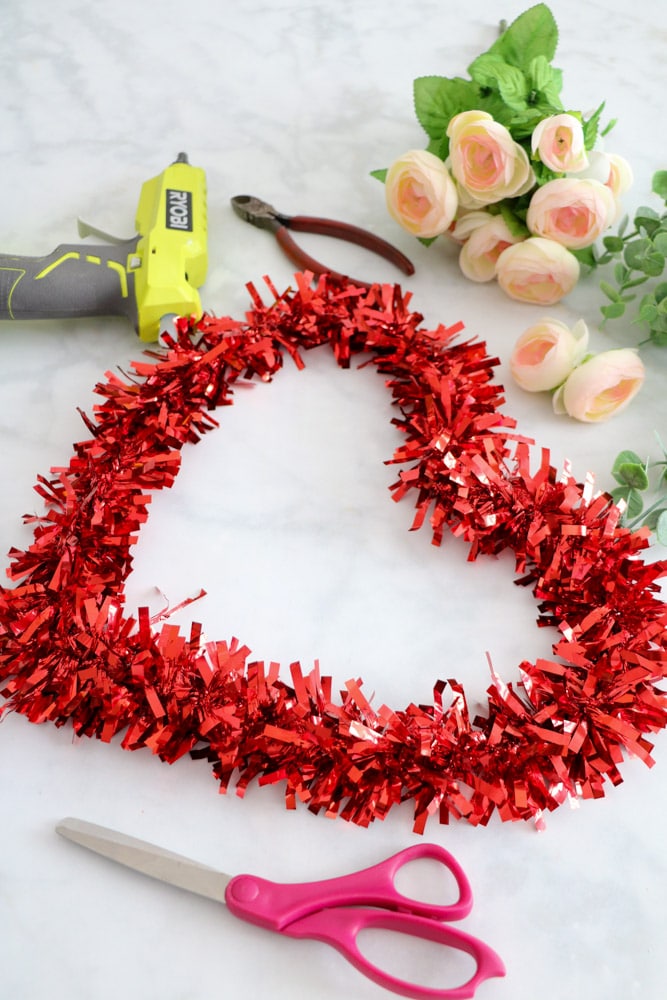
- Dollar Tree heart wreath
- Scissors
- Greenery (I found this artificial eucalyptus at Walmart in the floral section but I found these eucalyptus stems on Amazon)
- Mini Peonie Flowers (I found these small peonies at Walmart in the floral section. I could not find any just like these online but there are lots of options on Etsy, Amazon, and Michaels)
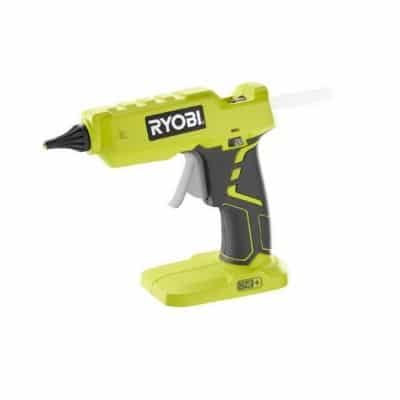
- Hot Glue gun and glue
- Zip ties
DIY DOLLAR TREE VALENTINE WREATH
Now that you have all your supplies begin by cutting all the foil stuff off of the frame of the heart-shaped wreath form.
1. CLEAN DOLLAR TREE HEART WREATH FRAME
Take your scissors and start cutting around a small area of the foil. Once you are down to the frame cut the wire piece that the foil is attached to.
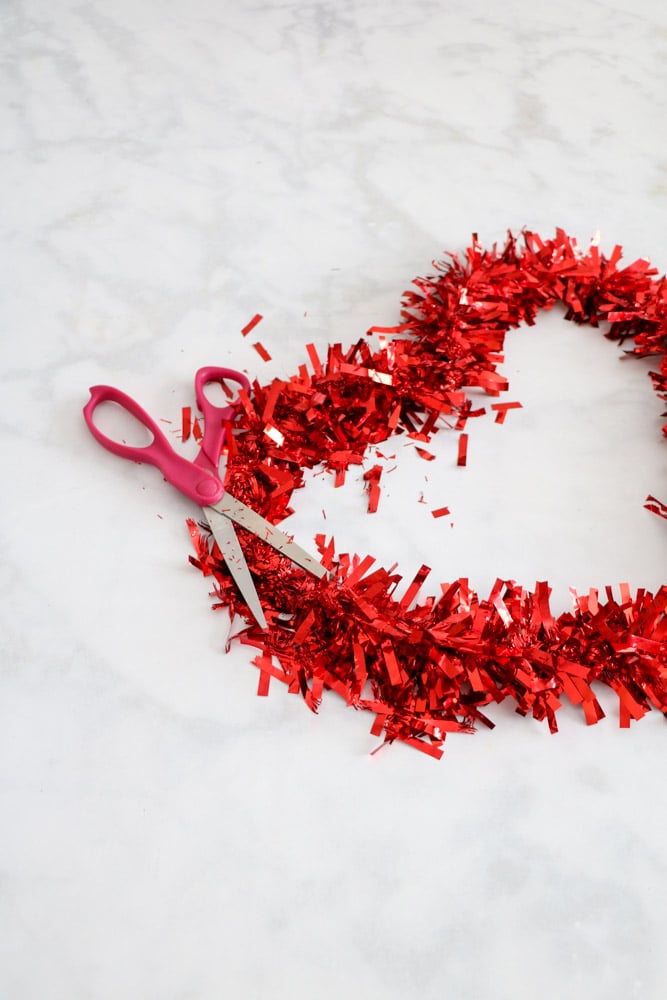
Now that the tiny wire has been cut start unwinding the foil garland from around the frame.

I discovered that this frame was plastic, pink, and had teeth on it. I removed the stuff sticking out after I made the wreath. But learn from me, I would remove the teeth before I started adding greenery. It will save you a hard time to only have the heart form.

Another thing that will be pretty is to paint the frame gold or silver with spray paint. The pink looks nice but I think gold would be very pretty.
2. ATTACH GREENERY TO HEART WREATH
Now take a piece of greenery and use the wire cutters to snip off the end close to where the branches shoot off. Then lay the greenery piece on the frame starting at the bottom of the heart and zip tie it to the frame.
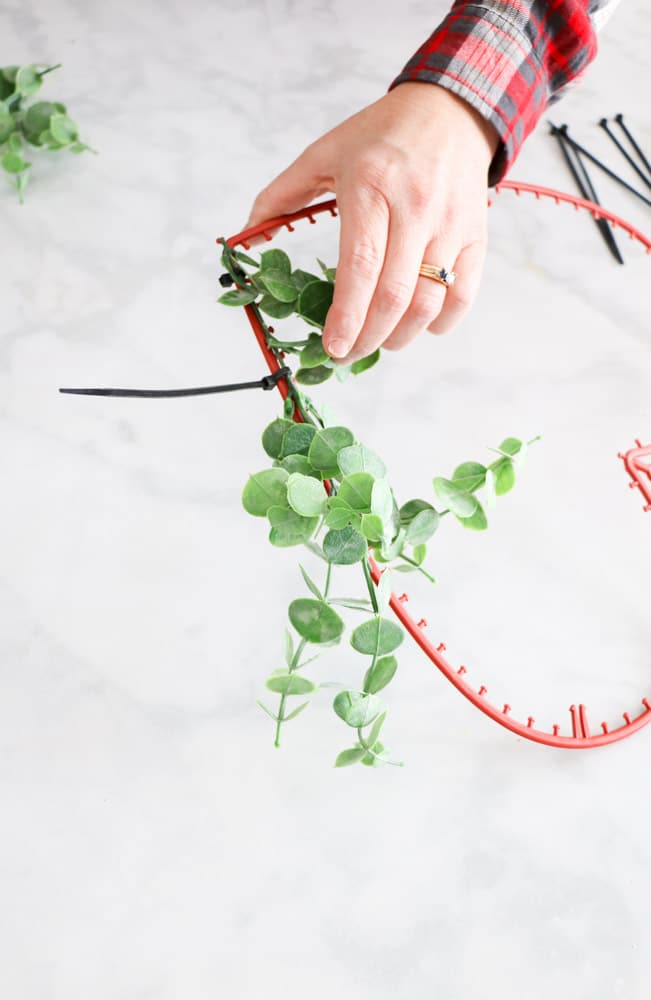
Repeat this process moving around the heart shape and tucking the next sprig of greenery that you can cut under the last piece of greenery.
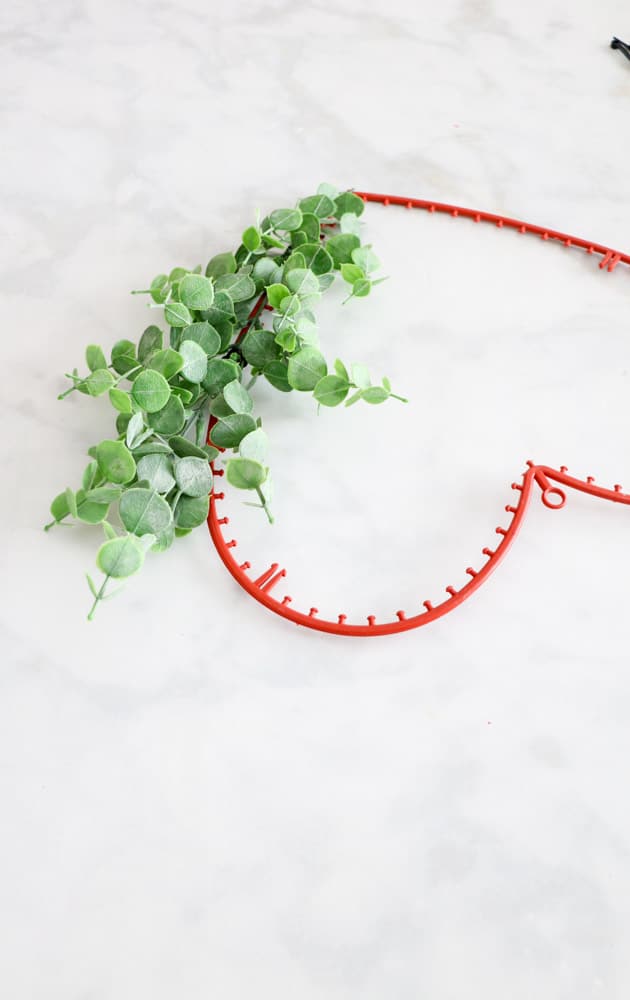
Continue moving around the heart and zip tieing wherever the greenery needs help curving with the frame.
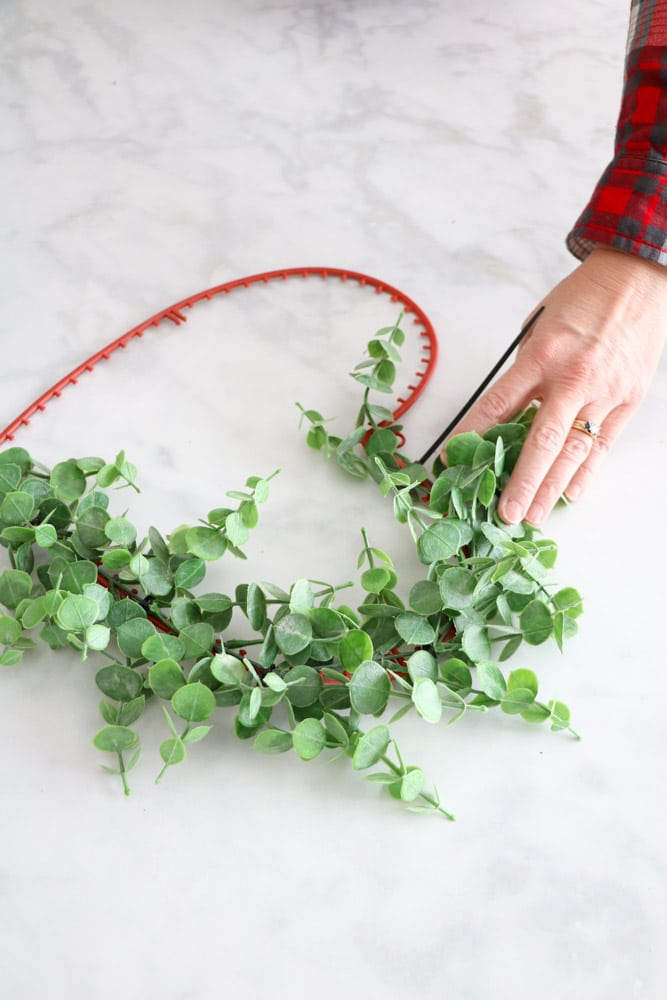
When you get to the bottom make sure you place the greenery in such a way so that you do not see the end. Tuck it under where you began.
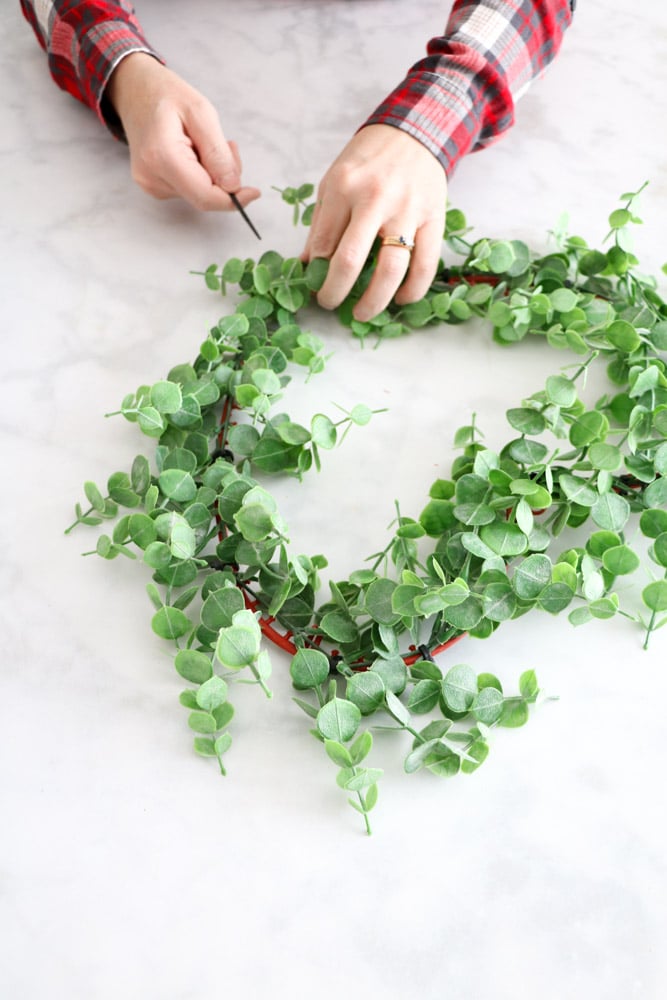
If you are loving this Dollar Tree DIY try my Dollar Tree DIY indoor herb garden decoration too.
3. ADD FLOWERS TO THE VALENTINE WREATH
Next start pruning and positioning the flowers. Simply cut the stem off of the flowers. I love how real faux flowers look today, amazing!
Then add glue along the base and stick it into the greenery. I started with the larger flower first.
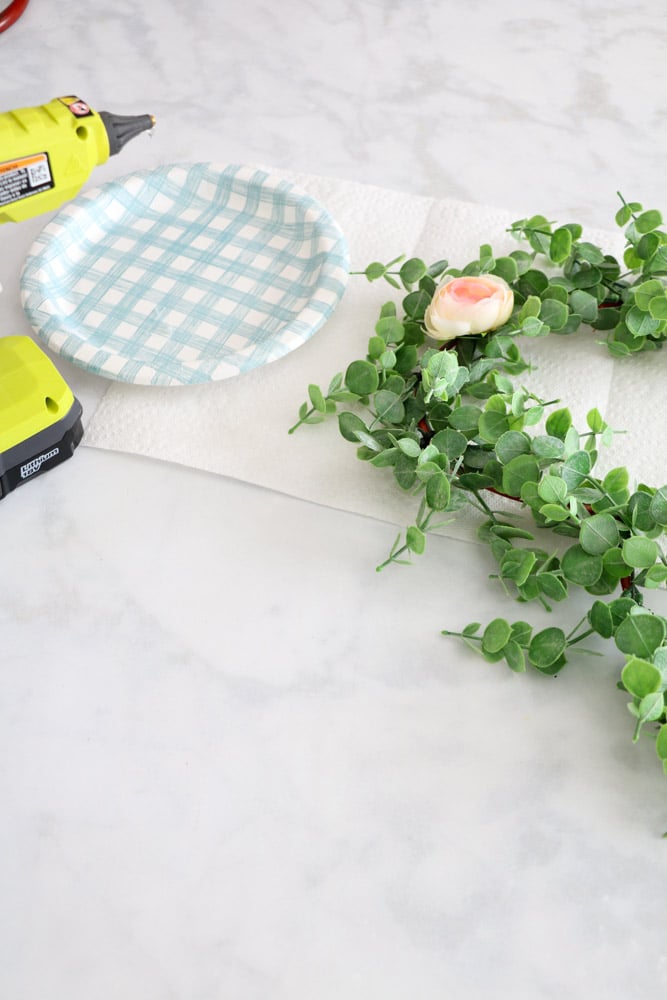
Then added the smaller peonies on the side with three peonies in total. Look at those pretty pink flowers!
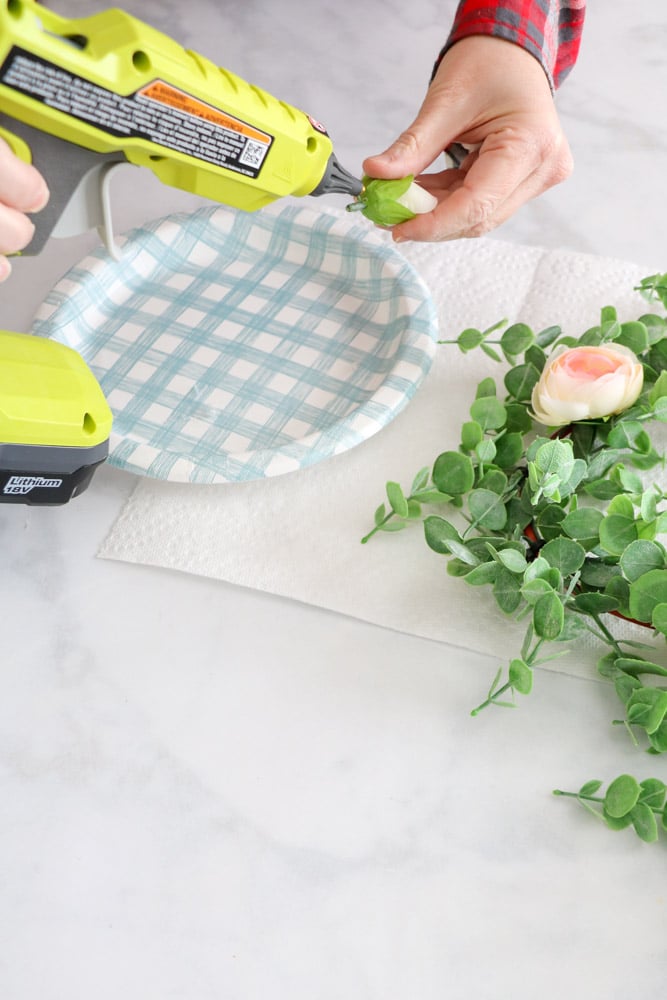
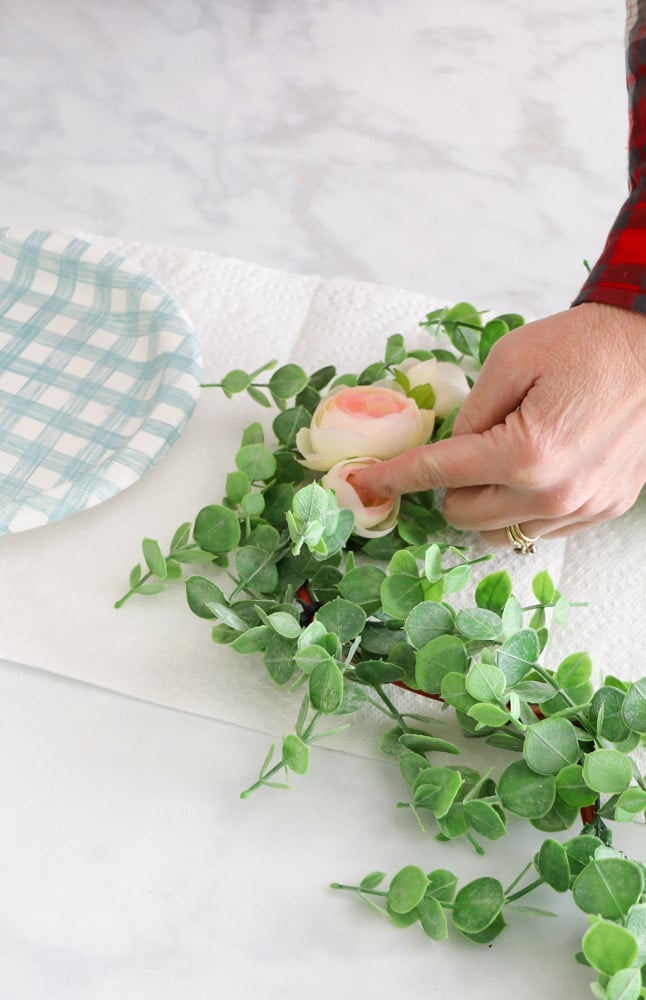
Next, I added short stems of baby breath dipping the end into some glue from the glue gun on the plate then tucking it under the artificial flowers. Remember, a little bit of glue is all you need.
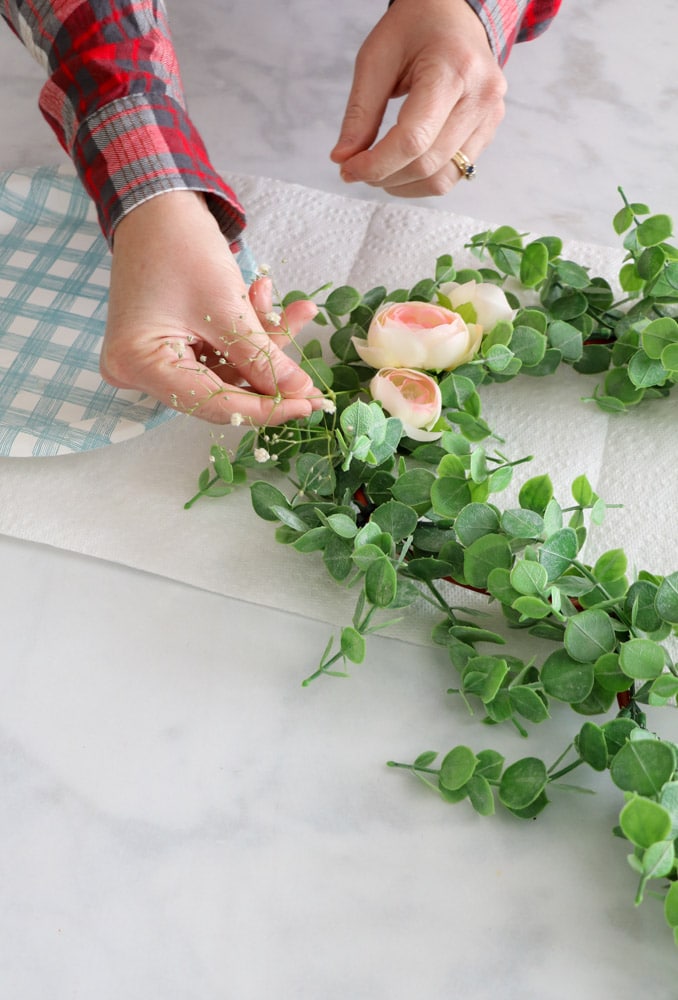
Once I had a few stems under the flowers I started repeating this step moving my way up the side of the heart and down under the peonies.
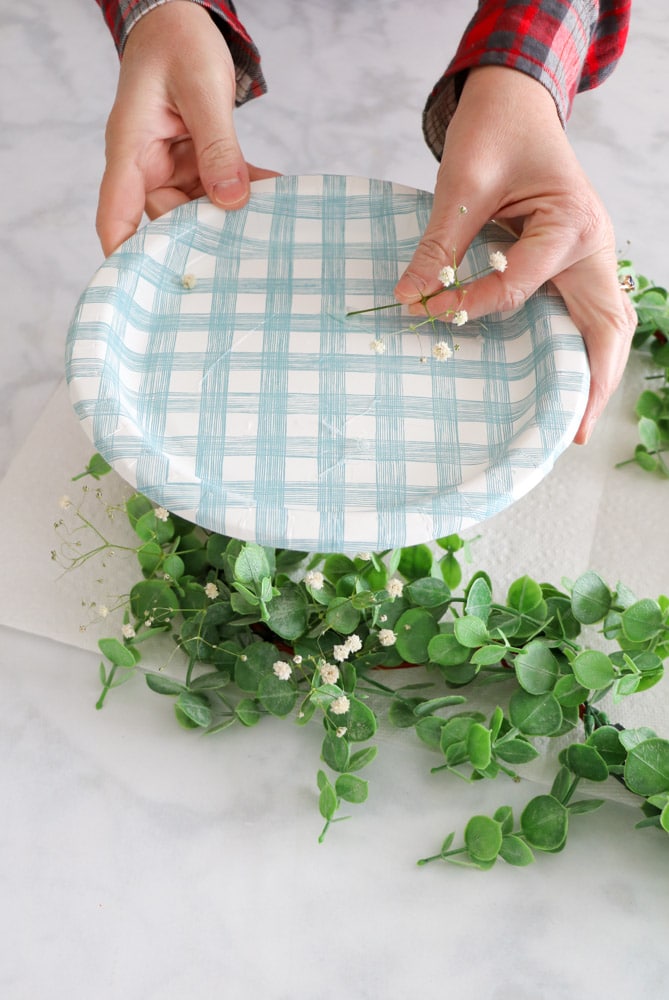
I did not add any flowers to the other half of the heart wreath.
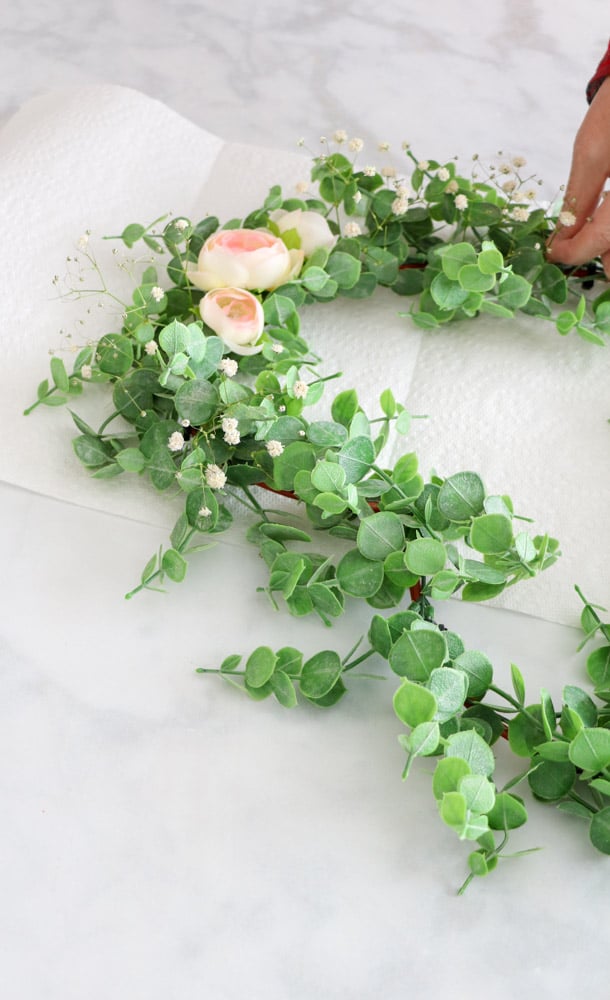
Last take any pieces of greenery or cut leaves from stems and glue them over any zip ties that are showing.
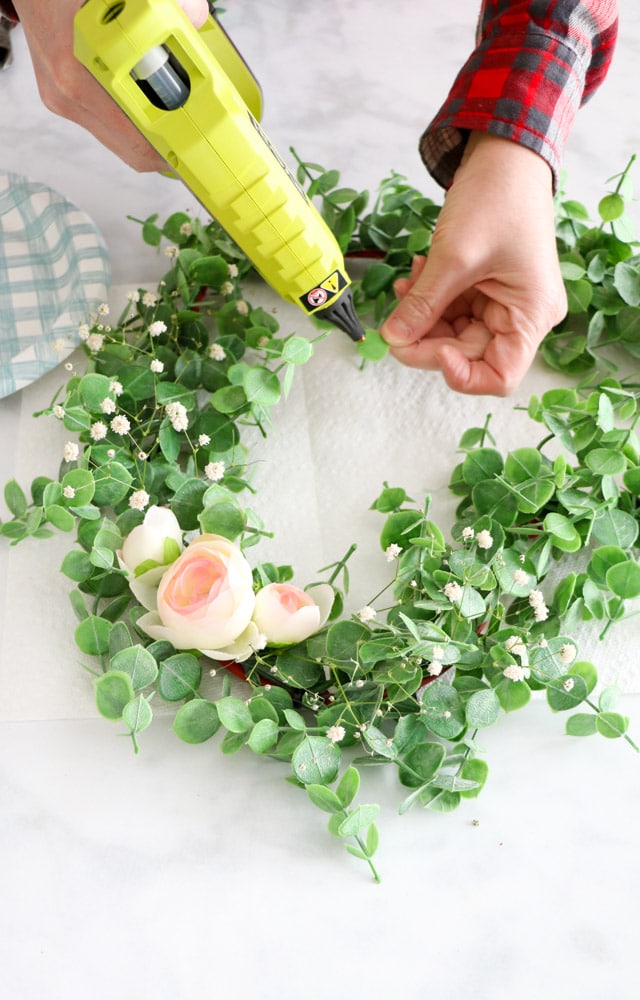
Guess what? The wreath is finished! I think this is such a pretty wreath. The best part is when you get to hang it and admire your accomplishment.

HOW TO HANG YOUR VALENTINE WREATH
Last, it just happened there was a hole for hanging this DIY Dollar Tree Valentine wreath on the top of the heart in the middle. So I simply ran white ribbon through the hole and hung it with my how to hang a wreath with ribbon technique. This technique is an easy way to hang all your cute wreaths using a long piece of ribbon.
You can also make more than one and hang them on your windows using my how to hang wreaths on windows technique.
Shop Wreaths: tap on images below to shop
CONCLUSION
Now that you know how to make a heart wreath using Dollar Tree or dollar store items here is where I hung our wreath.
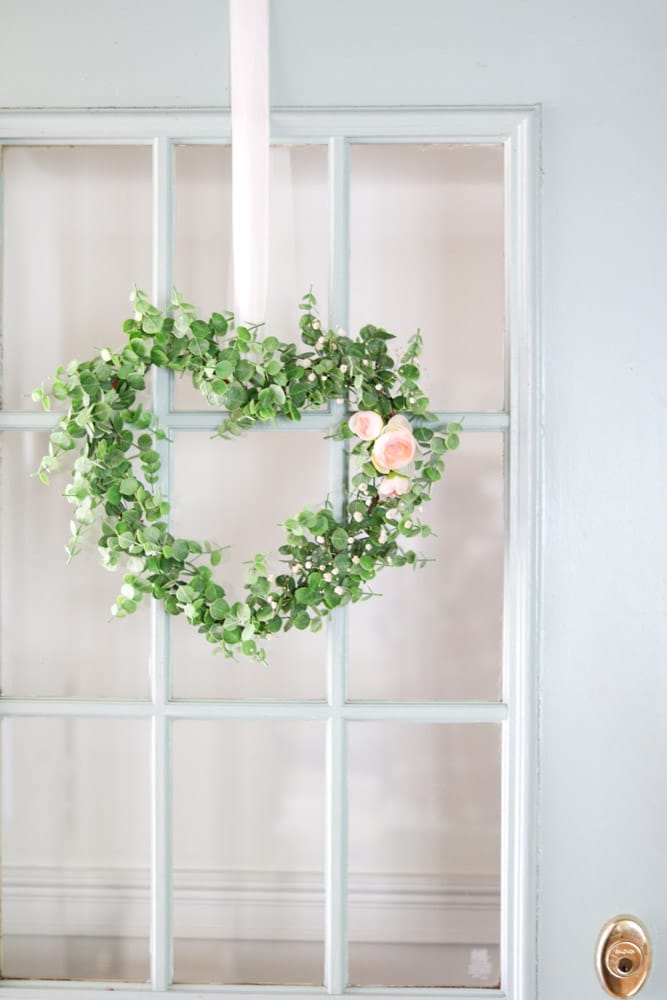
I love how this DIY Dollar Tree Valentine wreath turned out!! I planned to put it on my front door but honestly, after I finished it I knew the perfect place was on my blue door.
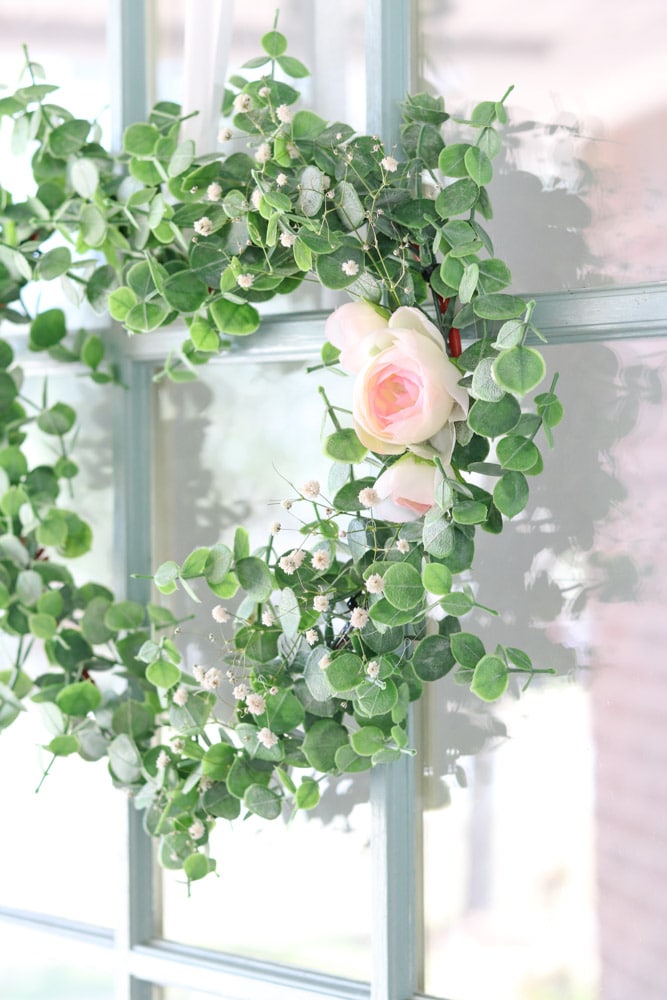
Now I need to finish decorating my small front porch with Valentine's day decorations. Update: I finished decorating our porch and here are the Valentines porch decor ideas. I think you'll love my Valentine’s Day crafts and decor.
I hope you have enjoyed this Valentine DIY. If you make this wreath I would love to see how it turned out.
For more fun Valentine DIY projects try these:
- How to Make a Tea Cup Candle
- How to Make a Airdry Clay Heart Bowl
- How to Make a Airdry Clay Heart Garland
Happy Decorating!


How to make a Valentine Dollar Tree Wreath
How to make a Valentine heart shaped wreath using Dollar tree supplies. Easy step by step instructions for this DIY dollar store wreath that you can hang on your front door or inside your home.
Materials
- Heart wreath from Dollar Tree
- Artificial greenery stems (I used eucalyptus)
- 3 peony flowers
- Zip ties
- White ribbon
Tools
- Glue sticks and glue gun
- Wire cutters
Instructions
- Cut foil and unwrap it from a Dollar Tree heart wreath
- Trim anything on the frame that needs to be removed
- Remove one stem from the bushel with the wire cutters by cutting close to the make stem.
- Lay the stem starting at the bottom of the heart and zip tie it to the frame
- Repeat this step by tucking the next piece under the piece you just zip-tied and zip tie the new stem onto the frame.
- Keep adding stems of greenery to the frame moving around the heart and using the zip ties to make it form to the shape of the heart.
- When you get to the end trim any greenery to fit the last section so that it fits nicely.
- Next, cut a peony blossom at the base of the flower.
- Then add a few dabs of glue with the glue gun and stick the flower to the greenery starting with the middle peony.
- Next cut the smaller peonies and glue them on each side.
- Now add cutting of baby breath tucking it under the peonies on each side.
- Then continue to add baby breath above and below the peonies following the shape of the heart.
- Do not go past the center of the heart. The flowers are only on one side of the heart.
- Next, add ribbon and hang your Dollar Tree floral Valentine wreath,
Notes
More details in the blog post on how to hang the wreath.
Recommended Products
As an Amazon Associate and member of other affiliate programs, I earn from qualifying purchases.


No one would ever guess that The Dollar Tree Store had anything to do with the creation of that adorable wreath. So pretty. Making wreaths is one of my favorite things to do. Thanks for sharing
Thank you so much for your kind words!