Container flower gardening for beginners is is fun and beautiful way to create a garden of flowers in a pot. Follow along as we talk about large garden planters, and take you step by step on planting plants into one pot.
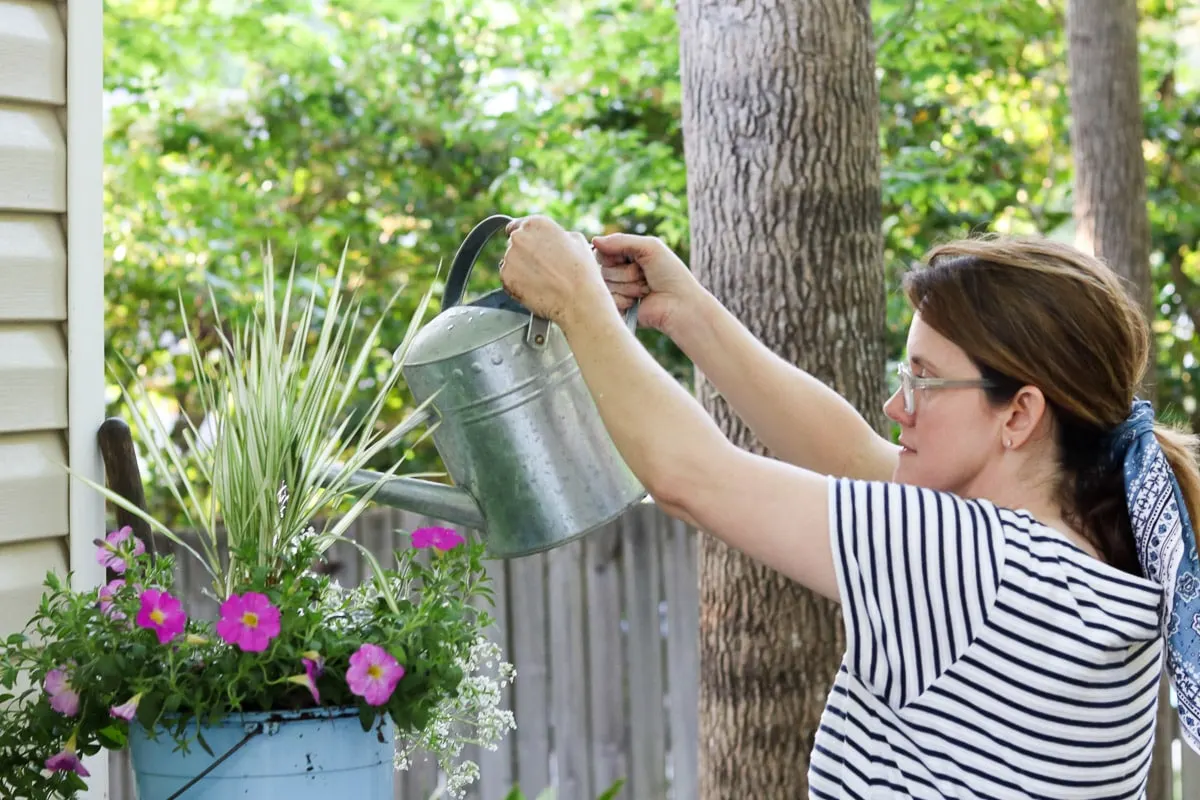
After you purchase your plants and flowers this next container flower gardening for beginners tutorial will show you how planting plants is so easy. You can usually find room for a container garden even if your outdoor space is primarily small spaces.
CONTAINER FLOWER GARDENING
With so many options at the local nursery to choose from, it can be overwhelming to know which flower to select for your container garden. Fear not because my last “how to” post on container flower gardening will help your trip to the garden center be so much easier.
Before you know it, you will have a basket full of flowers to place into your large garden planters. I love using large containers to create beautiful arrangements that vary in color and height.
So now that you have your flowers, it is finally time to water and plant them! Let's talk about planting flowers in pots for beginners.
This post contains affiliate links, which means I receive a commission if you make a purchase using the links below. All opinions are all my own.
LARGE GARDEN PLANTERS HOLES
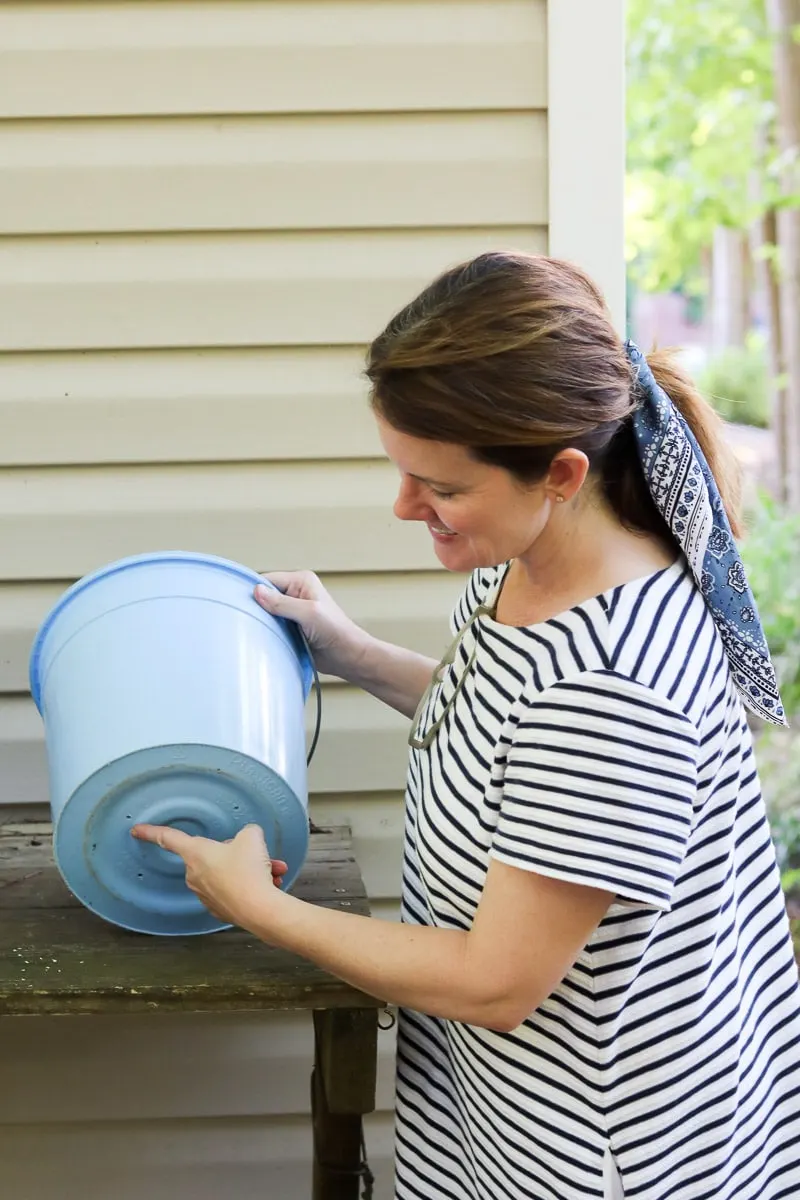
Make sure before you begin that there are holes in your pot. Drainage holes are important in your large pots. Proper drainage ensures the flower roots don't get root rot from excess water.
Notice that I am using a bucket instead of a traditional pot from the garden center. Because my planter is pretty deep, I thought this time I would try a deep bucket. You can also find beautiful plastic pots and terracotta pots for your plant selection.
I had to drill some holes into the bottom so the water will drain out and will protect the roots of your plant.
Plants love water, but they don't want to drown! If you know what I mean.
WATER THE PLANTS
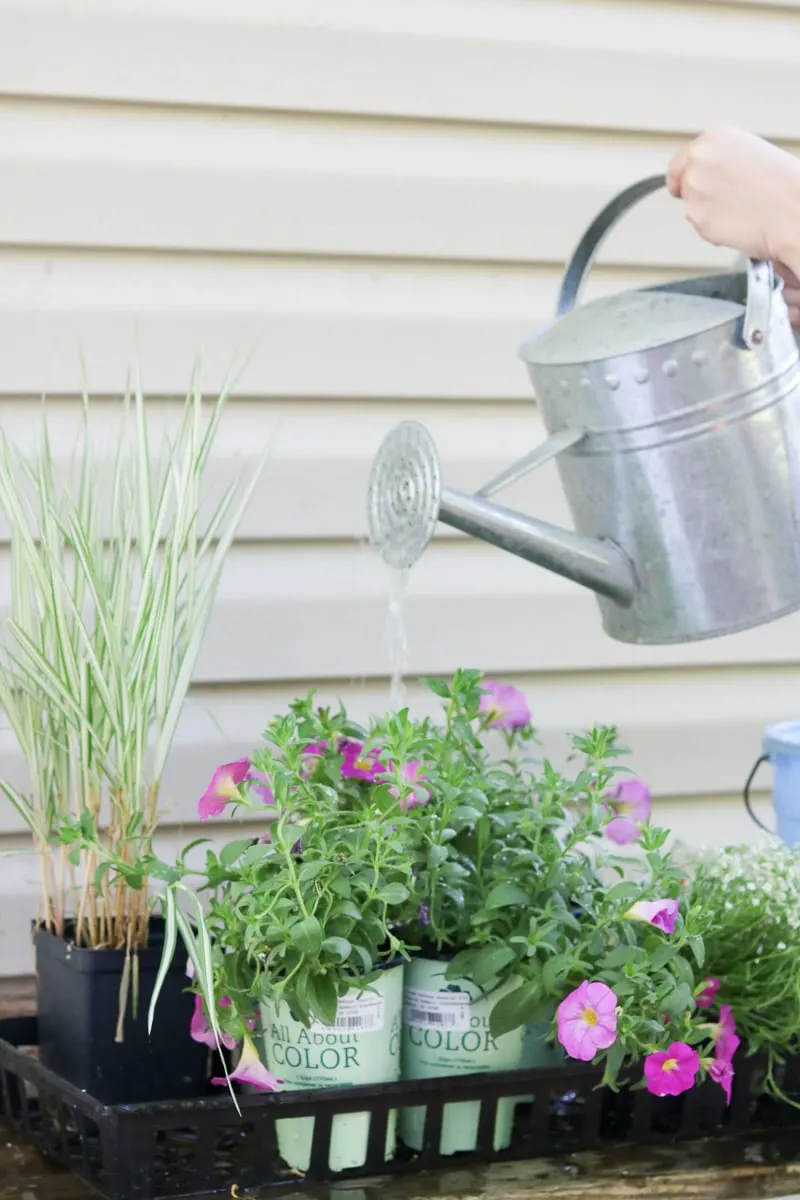
At the beginning, give your plants a proper watering. Water will make the process easier for both them and you because they will be easier to remove and will be happier when you transplant them.
ROCK
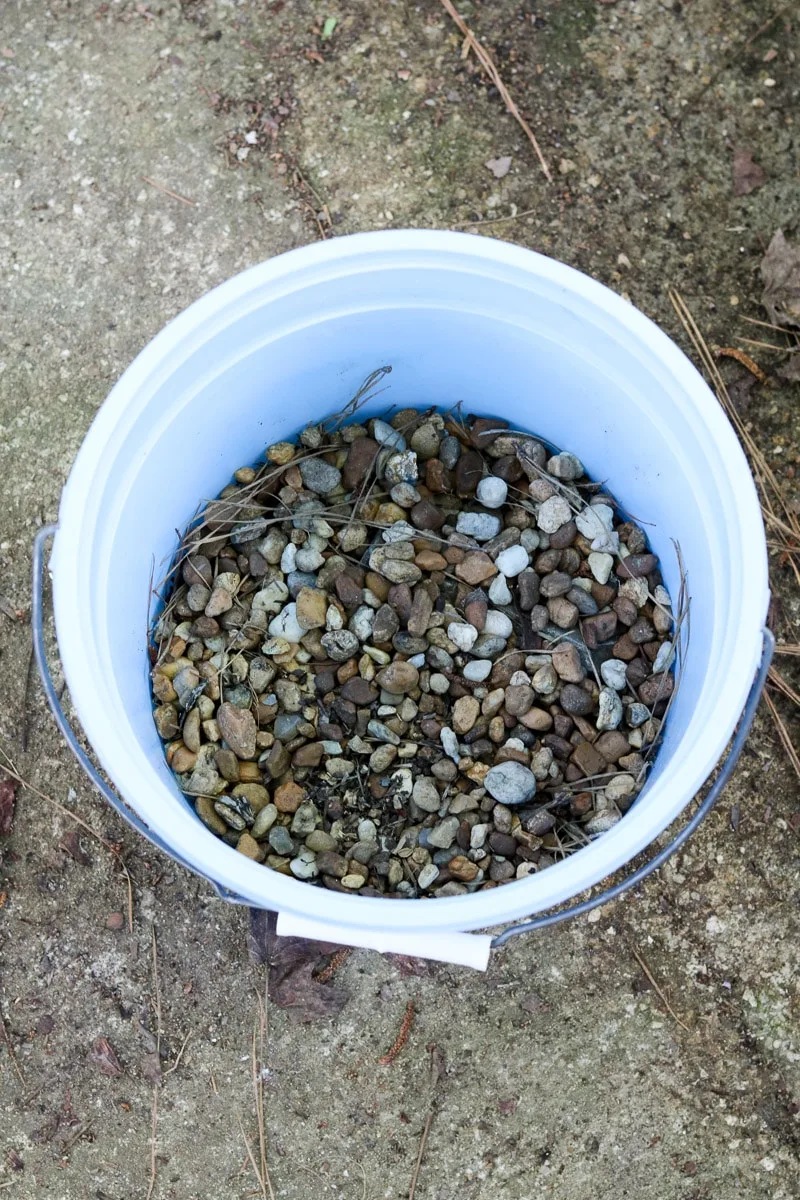
Once you have selected your large garden planter, it is time to work your way from the bottom up.
To begin, I like to place small rocks in the bottom of your pot. It's a simple way to assist with drainage. Rocks allow the roots to not sit in water when I give it a watering each day or so.
You do not have to add rock, but I find it to be agreeable with the plants.
SOIL
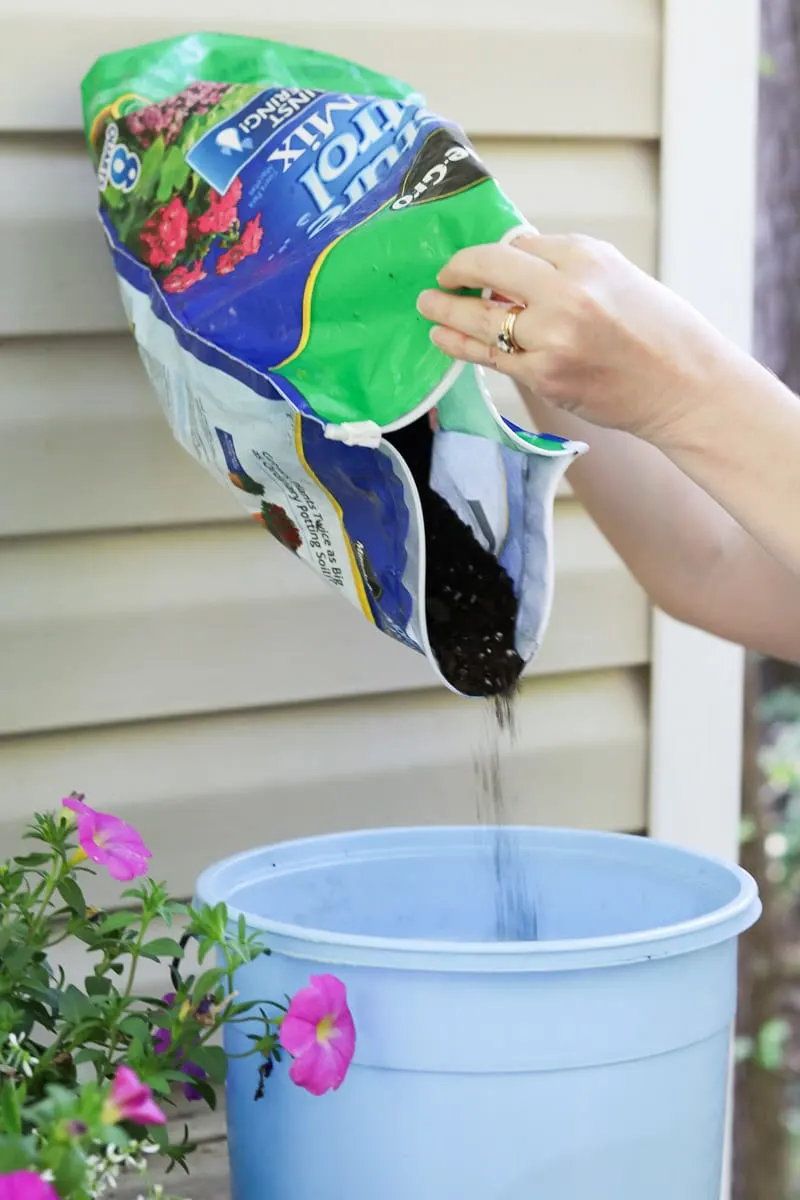
Now it is time to add some garden soil.
I like to use a good moisture control potting mix. With the hot sun beating down on my front porch, these plants need some extra help with moisture.
Next add some organic plant food to the top.
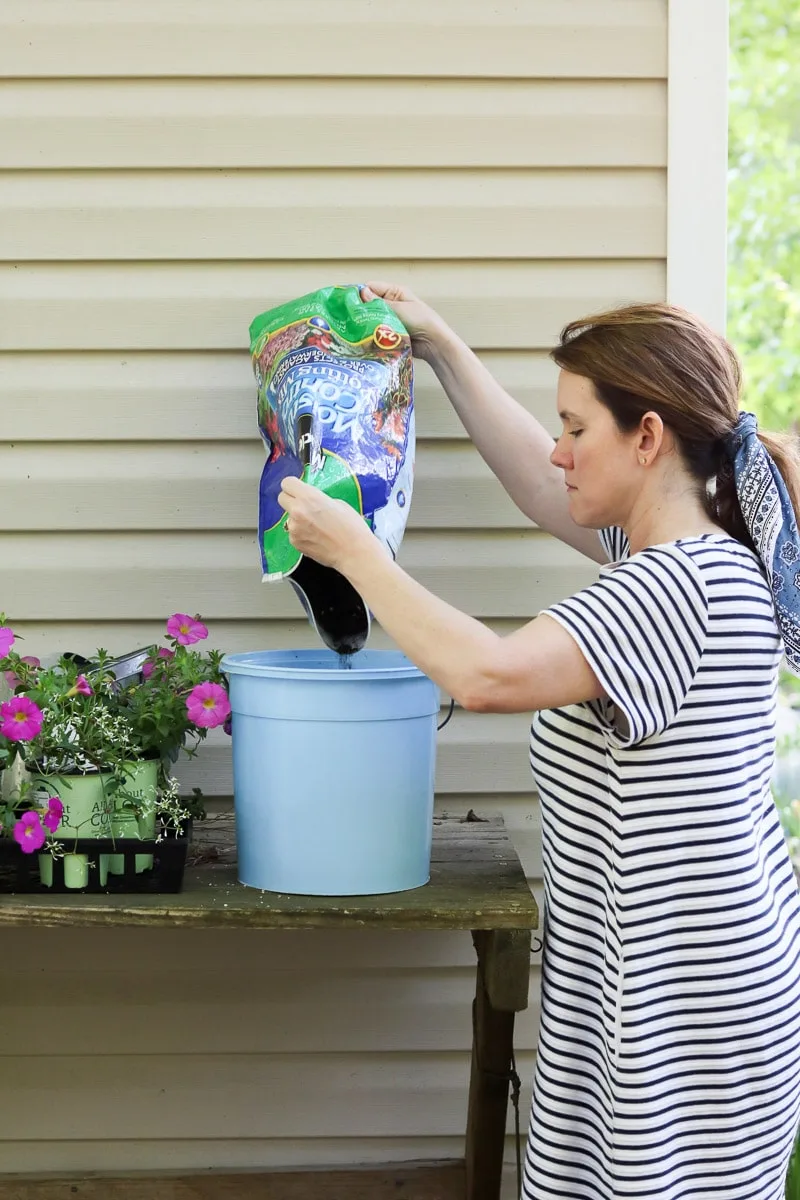
Follow along by assessing the height of the pots of your plants you brought home from the nursery.
Fill up your large garden planters with soil but leave enough room in the top for the base of the plants.
PLACE ONE FILLER PLANT
Large planters are great because you can use a variety of types of plants and flowers.
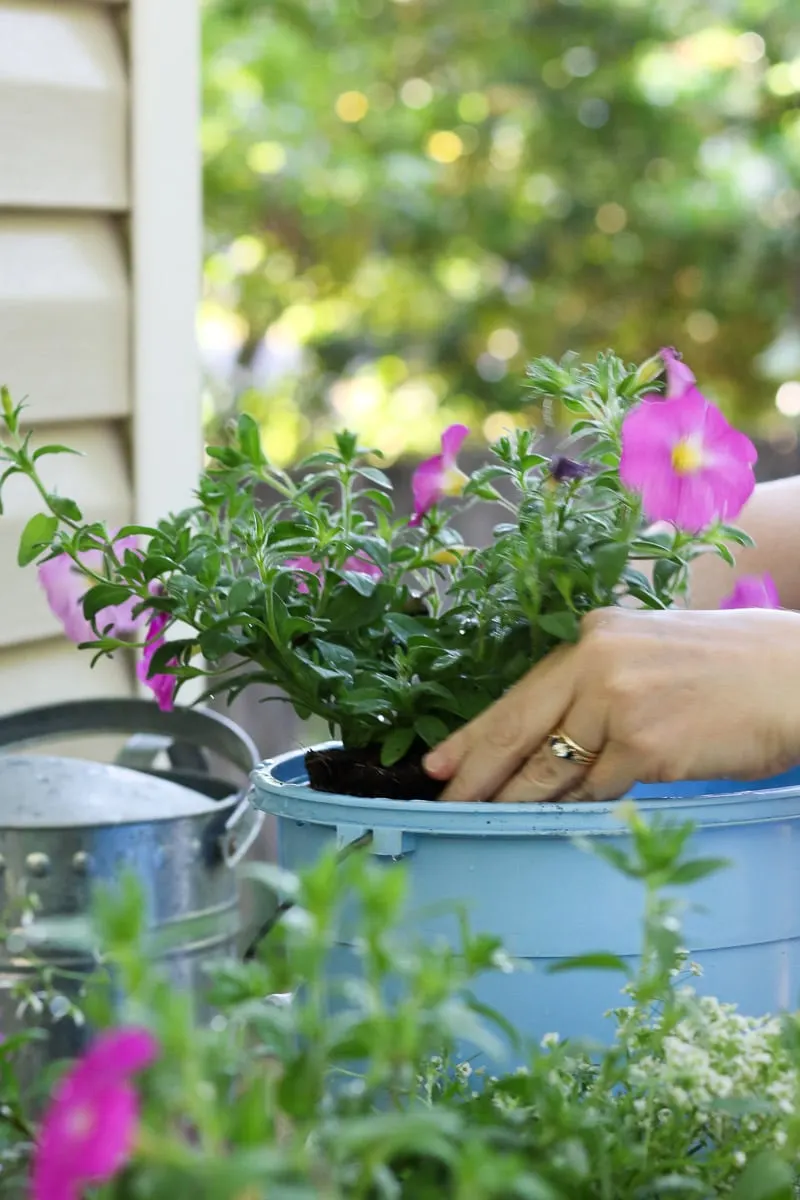
Starting with one filler plant, scoop a little soil inside your large garden container to set that first plant. I like to use a bright flower to add a splash of color.
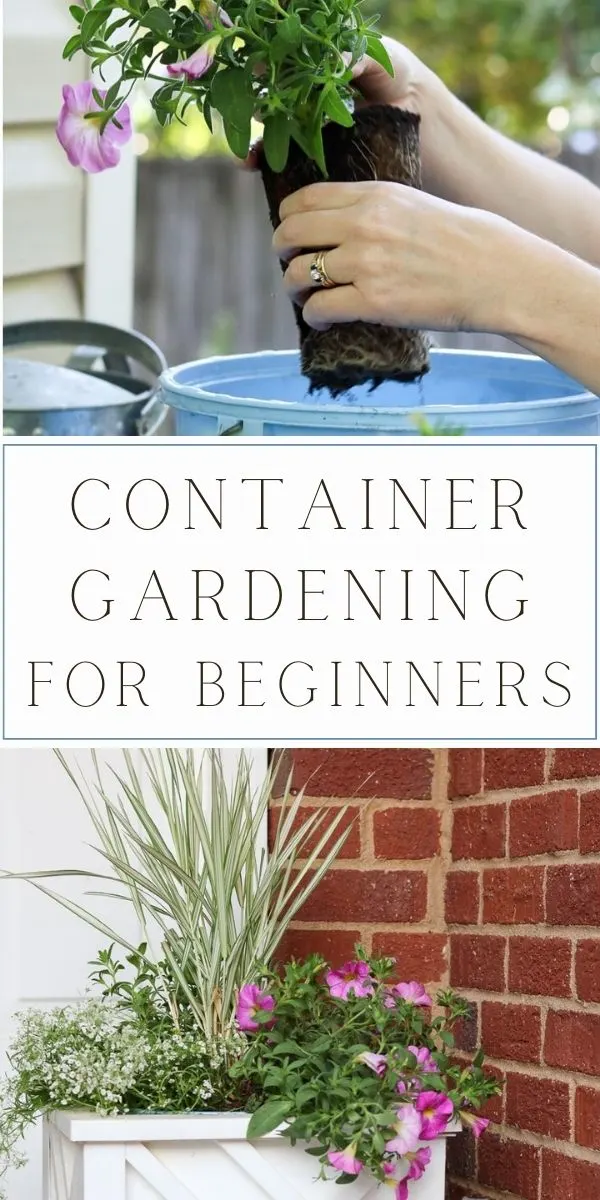
Now take your filler plant in your hand and give the small pot a good squeeze, working around the pot squeezing it. Then grab the base of the plant and wiggle it out.
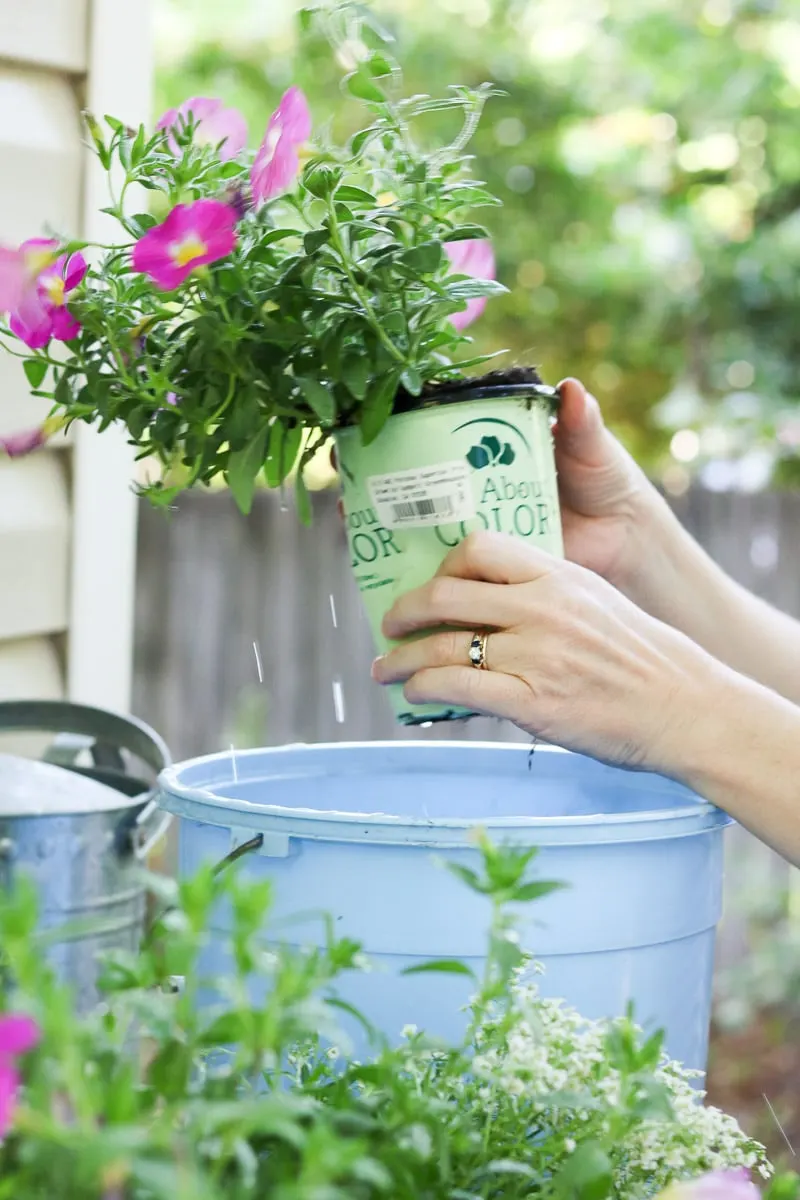
Once you have the plant out of the small pot, squeeze the roots and maybe even dig your fingers into them a little to loosen them up.
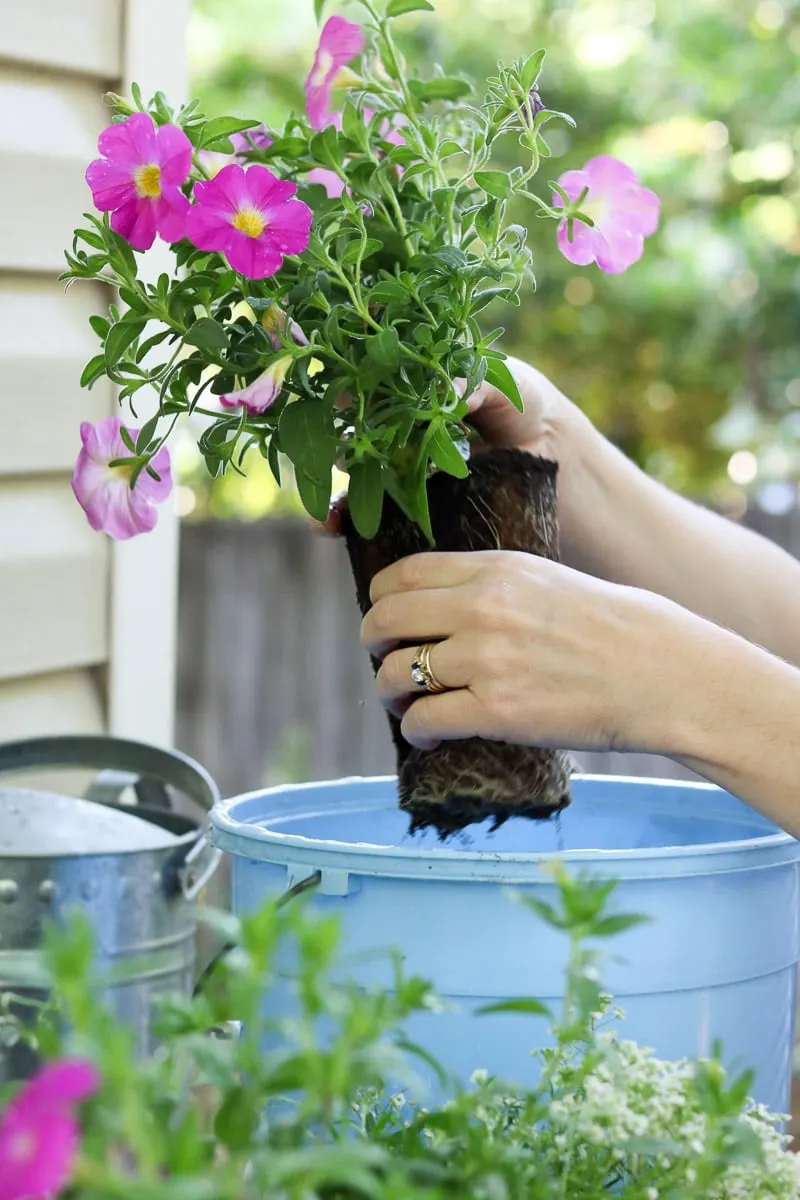
Loosening the plant’s roots will help them to establish in their new environment.
Last, sit your plant down into the soil and press down around it to secure it into place.
PLACE TALL CENTER PLANT
Now for the tall plant.
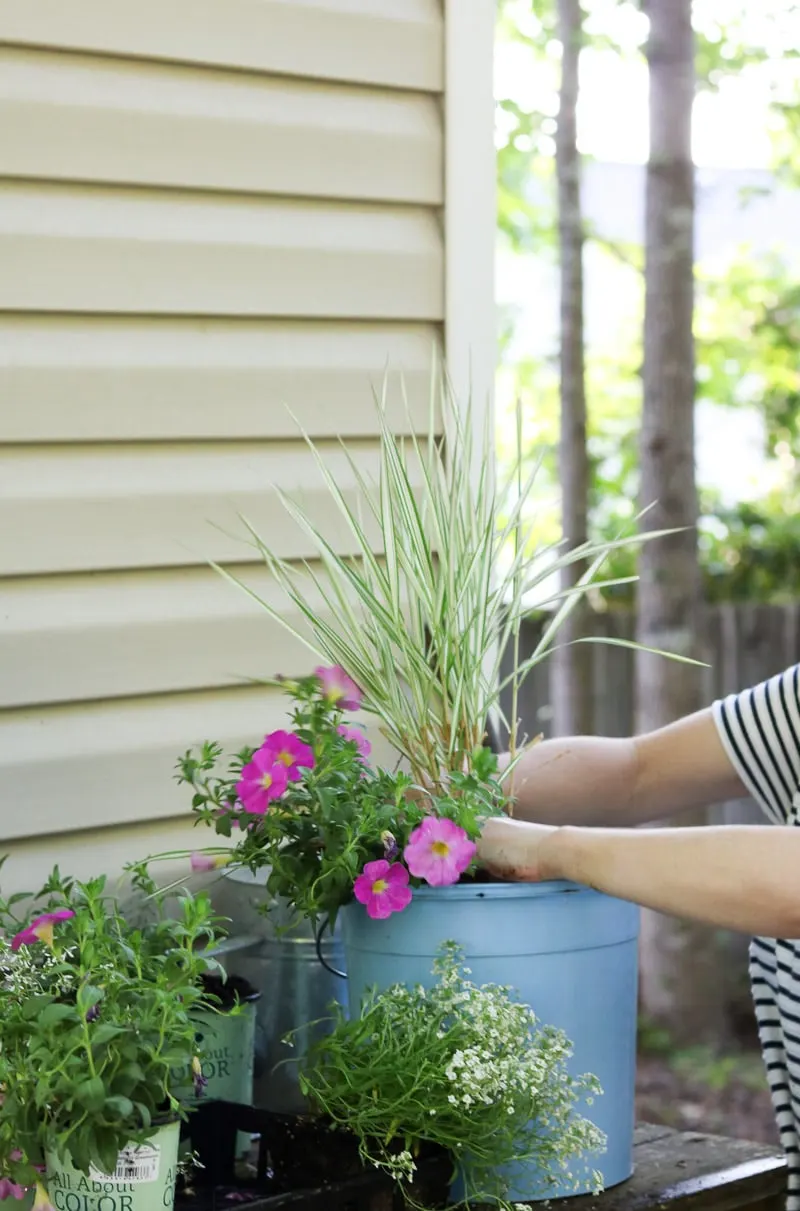
Follow the same process as before and remove it from the pot. Place it in the very center of the pot and give it a good pressing down so it will not move on you. Taller plants will act as a focal point to your arrangement.
The filler plant helps tall plants stay anchored, which is why I like to start with one filler plant first.
PLACE FILLER PLANTS
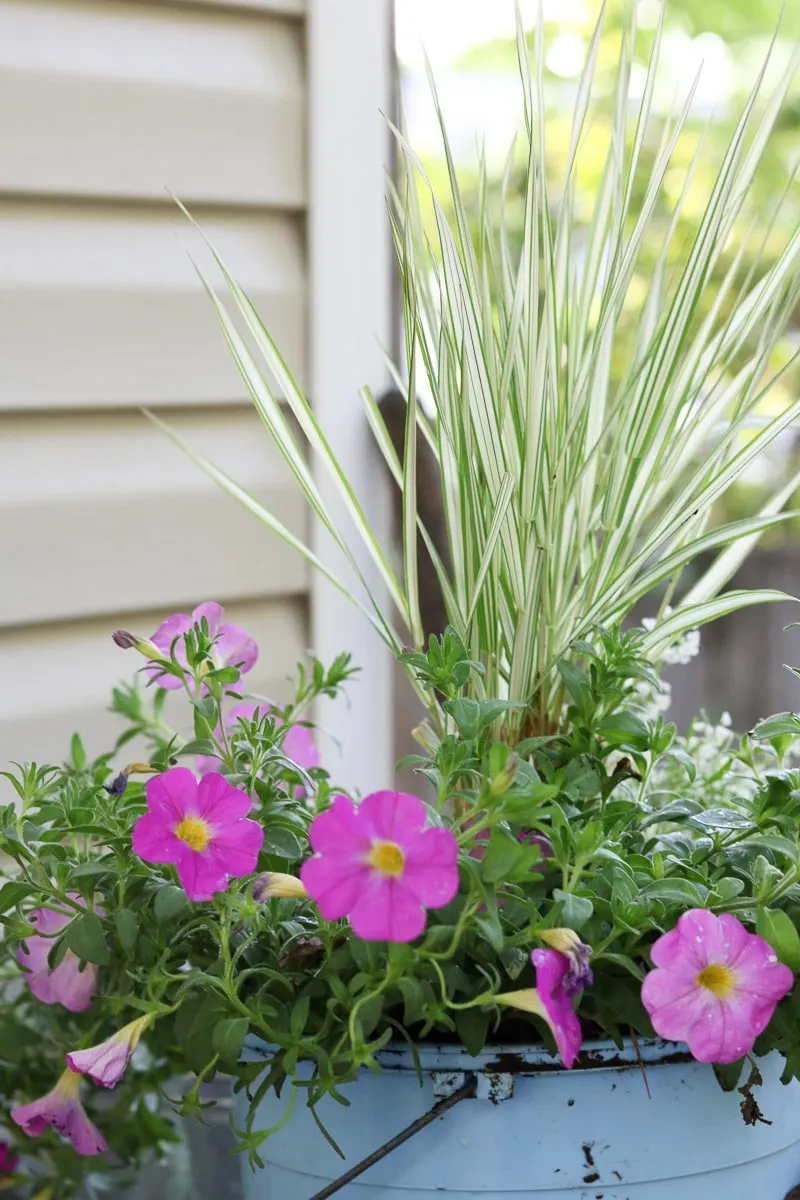
Next, follow the same directions as before and remove the remaining filler plants.
Place them out from each other around the edge leaving room for your trailing plants between them in your large garden container.
PLACE TRAILING PLANTS
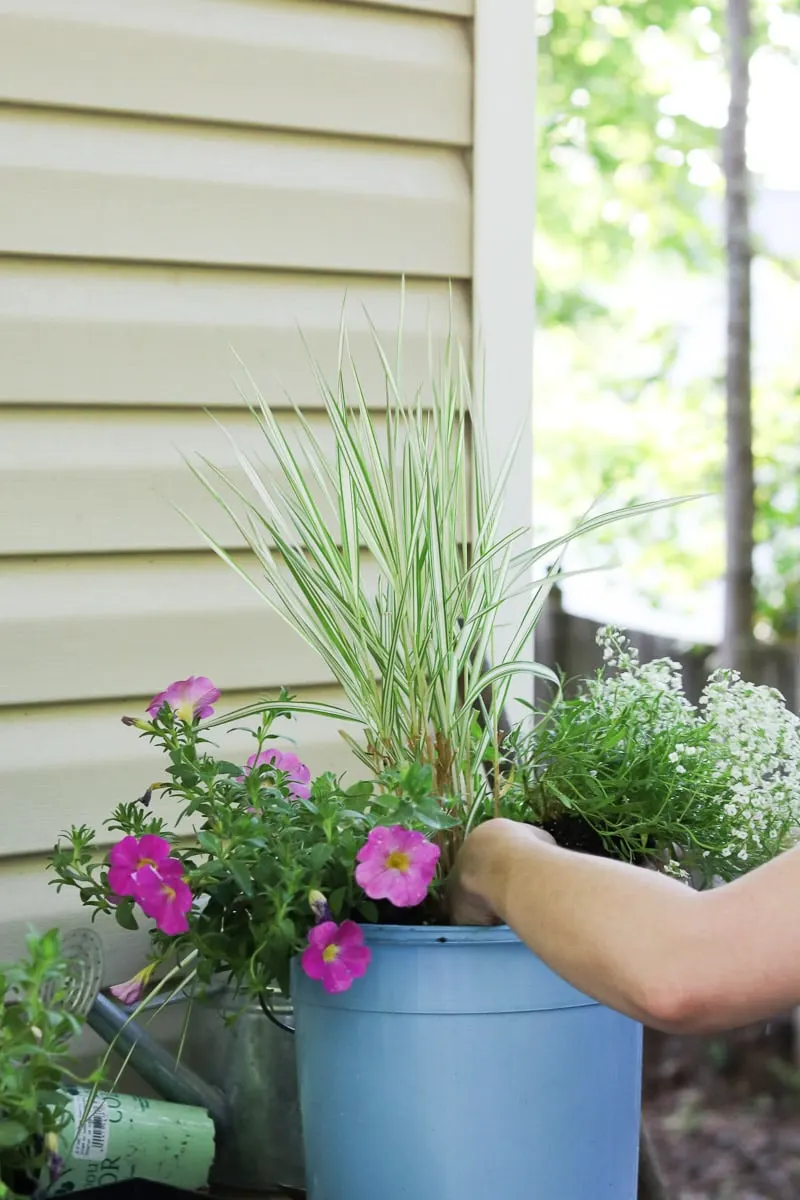
Finally, remove the trailing plants from their small pots and fill in all the areas around the edge. Don't all the different plants look amazing together? The size of the container will determine how many plants you should use. Remember not to overfill your container.
Don't forget to add a hand full of the organic plant food into the holes before you install the new plant.
MORE SOIL AND PRESS
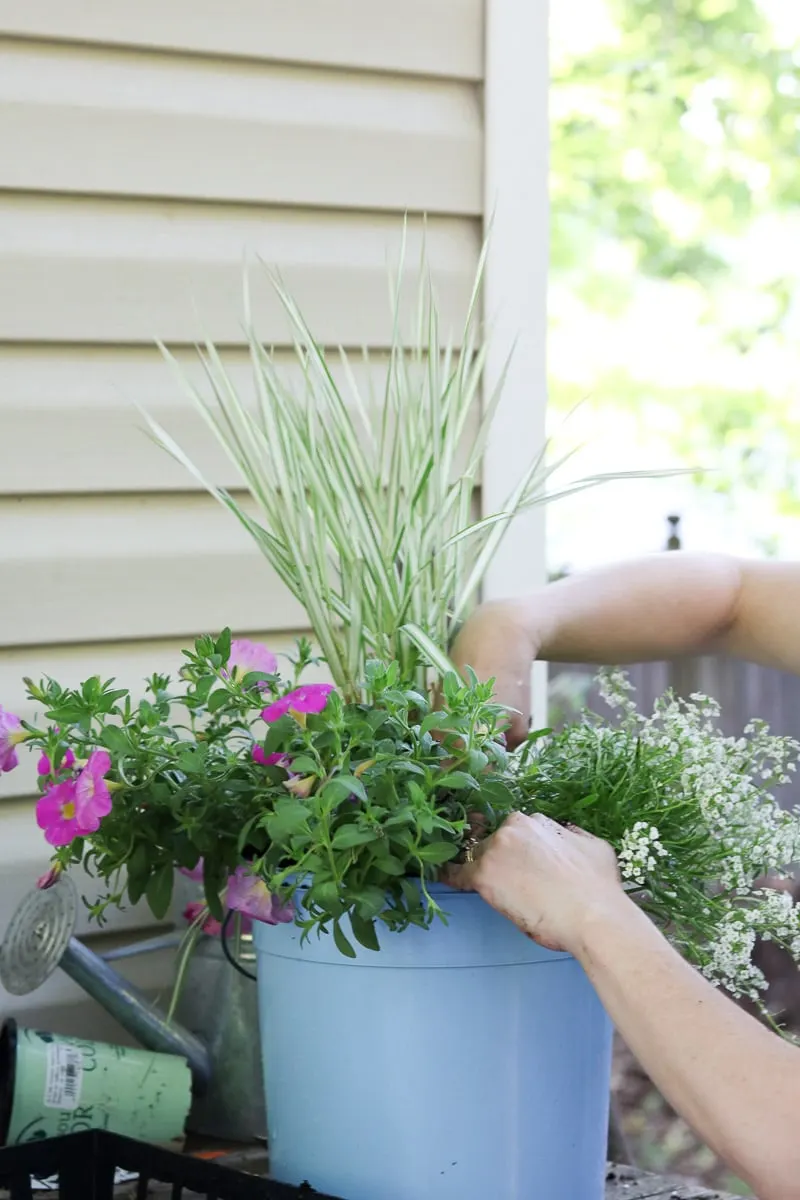
Now add more soil around the top and give it a good pressing down as you go.
This gives the plants security and makes sure they have plenty of soil around them.
WATER
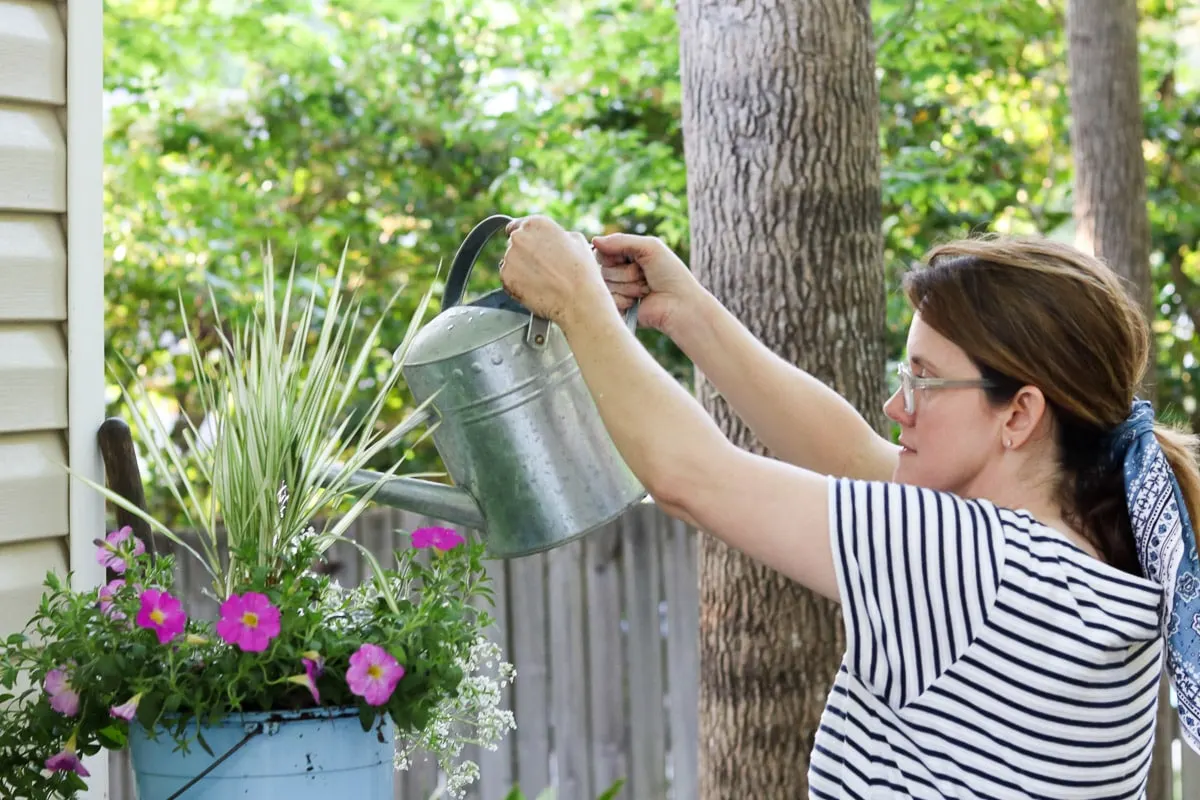
You are almost finished so give the plants another proper watering.
TOPPING
Once you have finished creating your work of art in your large garden container, consider adding something to the top of the soil to polish the look.
I like to use moss purchased at the garden center, but I have used pine straw from my yard as well.
CONCLUSION
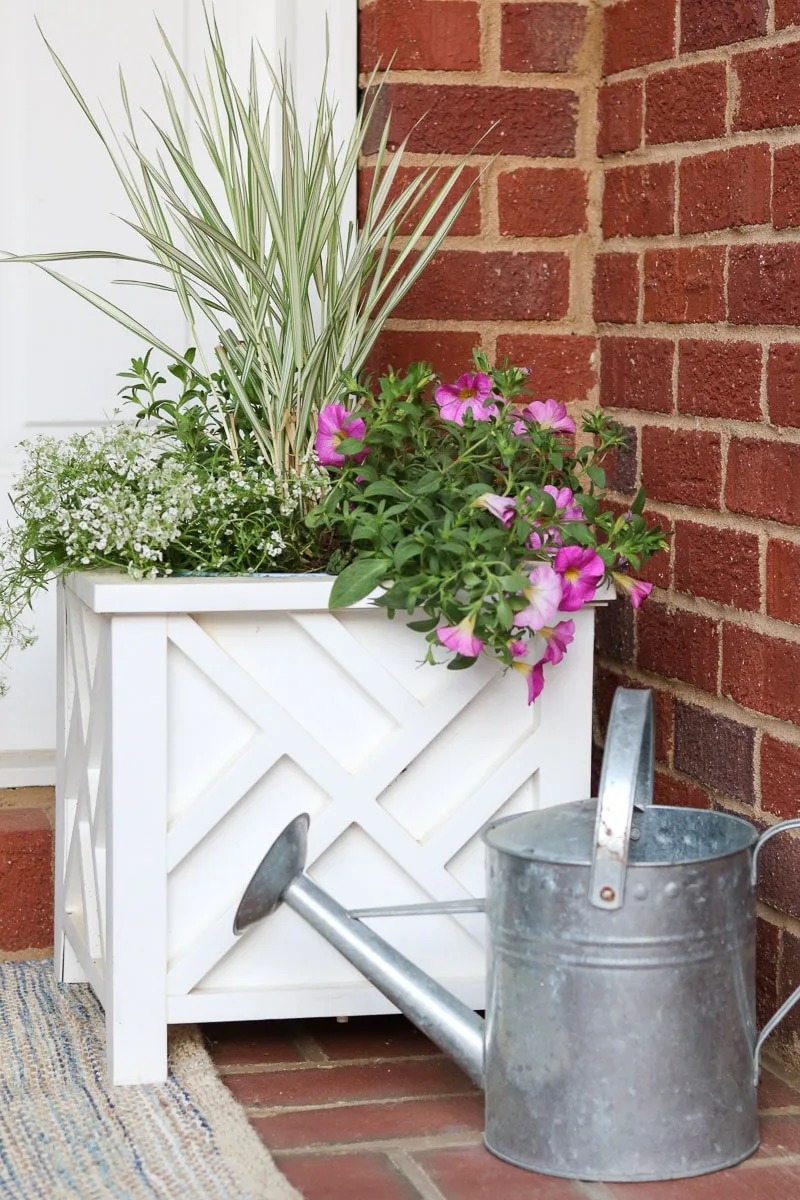
The best part about creating a container flower garden for your large container planters is enjoying all the beautiful flowers for days to come. I love having colorful flowers included for a pop of color on the porch.
Quick Recap of the Steps
Here are the steps again all in one convenient place so you can create your own lovely arrangement:
- Drill holes in the bottom of the pot if needed
- Water plants
- Add rocks to the bottom of the pot
- Place moisture control potting mix about a quarter of the way from the top
- Drop a couple of handfuls of organic plant food
- Add one filler plant along the edge
- Position a tall plant in the middle
- Add remaining filler plants leaving space between them for a trailing plant
- Place trailing plants
- Add more soil around plants and give it a good pressing
- Water again
- Add topping (like moss or pine straw)
It's a good idea to research the growing season in your area to give your container garden the best opportunity to thrive. Your local garden center can help with that and selecting plants and the types of flowers that will thrive in full sun or require a shady spot, depending on your outdoor space. They'll also direct you on how much water your plants and flowers need.
Well, there you have it! Container flower gardening in a few easy steps. A simple, easy, and fun way to create a gorgeous container flower garden for your large container planters. Who knew planting flowers in pots for beginners would be such a breeze? And now that you have a pot of color you might need some ideas on where to place it.
If you have a small front porch check, you will want to check out these ideas. And if you love birds and butterflies you will enjoy this DIY glass bird bath project. It will look adorable on your porch too as well as your garden. Also, if you love lavender, you'll love my post about Decorating with Lavender Flowers.
And last if you want to see what we have been doing inside our garden shed check out how to build a loft in a shed.
Happy Decorating!

If you enjoyed these ideas, please sign up for emails, so you don’t miss out on more fun decorating tips and ideas HERE.
Simple and Easy Small Front Porch Decorating Ideas of 2020
Thursday 17th of June 2021
[…] are more detailed directions on container gardens for beginners and farmhouse planter […]
SPRING FRONT PORCH DECORATING IDEAS | LIFE ON SUMMERHILL
Thursday 4th of March 2021
[…] couldn't resist sharing our spring porch flowers. I love container gardening and share how to create beautiful displays like […]
DOLLAR TREE DIY INDOOR HERB GARDEN DECORATION
Wednesday 24th of February 2021
[…] the plant from the pot and plant your plants. I have more detailed instructions on this part in my container gardening 2 DIY. But basically, after you remove the plant from the pot squeeze your fingers into the roots to […]
Rena
Sunday 20th of May 2018
My husband is the one with the green thumb around here. I stay far, far away.
Rebecca Forstadt Olkowski
Saturday 19th of May 2018
I miss being able to garden especially now that I live in an apartment. But I may be able to put some containers on the patio if I can get my roommate to move his junk off it. LOL Love your pictures.