
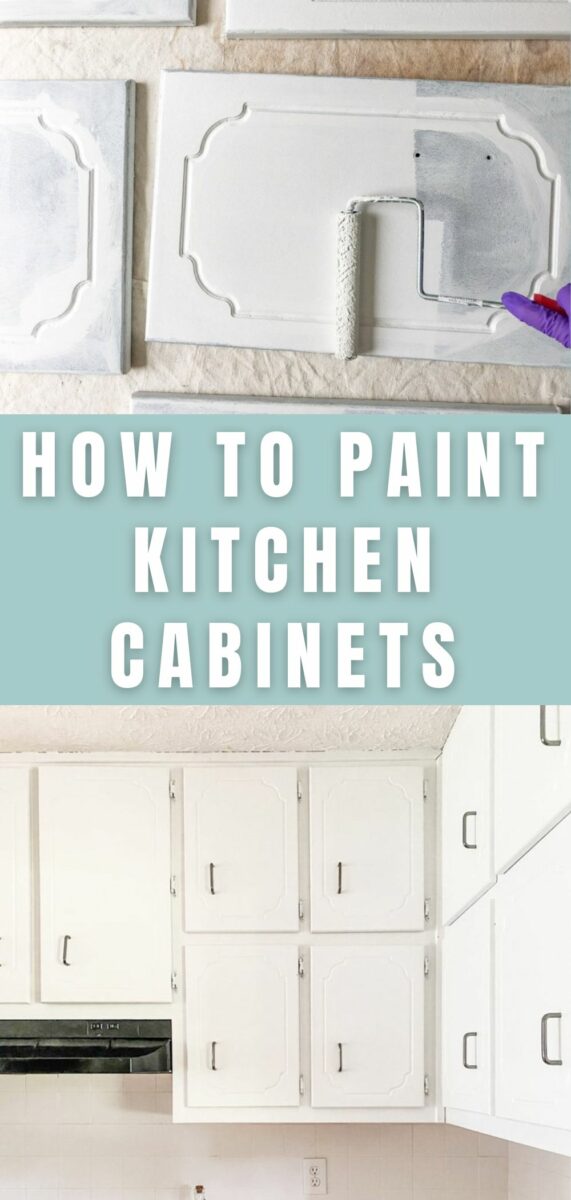
Easy steps on how to paint cabinets without sanding and without removing doors. With a little prep work and technique, you will have a new looking cabinets in no time.
Recently I spoke to a seasoned painter friend about how to paint cabinets without sanding and removing the doors. To my surprise, he said his technique is perfect because he doesn't sand or remove the doors unless he has to repair an area.
So I thought I couldn't keep this good information to myself so here are the steps to painting stained cabinets without sanding.
How to Paint Cabinets without Sanding or Removing Doors
Now before we go shopping you will need to select a paint color. With hundreds of colors to choose from you might need some help on how to pick a paint color.
If you are thinking of using a white color and you have anything that is white in your room then pick a color that is a good match with the countertops, large appliances or backsplash.
We have a post on the best Sherwin Williams white for cabinets colors as a starting point if you are picking white.
There are many white colors too so if you don't have to match a white then some popular Sherwin William white paint colors are Alabaster, Snowbound, and Pure White.
If you are looking for a color then start with my popular Sherwin Williams paint colors post and my popular Sherwin Williams cabinet paint colors post. This is a good place to start.
Now let's grab those supplies and get started.
What supplies do you need to paint cabinets?
- Dropcloths
- Cleaners like Krud Kutter or white distilled vinegar (mainly to clean grease off of cabinets around the stove. The deglosser will do most of the cleaning work)
- Rags
- Paintable caulk if you plan to fill any holes
- Deglosser or lacquer thinner
- Sanding sponge 60 grit (this is for after you paint the primer)
- White Oil-based primer (we recommend Cover Stain)
- 2 1/2″ White hair china bristle paintbrush (for oil-based paint)
- 4″ Wooster mohair shed-resistant roller
- Mini paint try for roller
- Latex paint (we recommend Sherwin Williams Emerald Urethane Trim Enamel Latex) (Use satin sheen for matte finish cabinets or semigloss which has a little sheen)
- Fine bristle paintbrush (Purdy 2 1/2″ sash stiff or Wooster 2 1/2″ sash firm)
- Odorless mineral spirits to clean brush (we trashed our white hair china bristle brush because it cost about the same to buy mineral spirits so why not buy another brush)
- Ladder
- Screwdriver to remove hardware (I use a Ryobi impact driver)
Now that you have all your supplies let's get started.
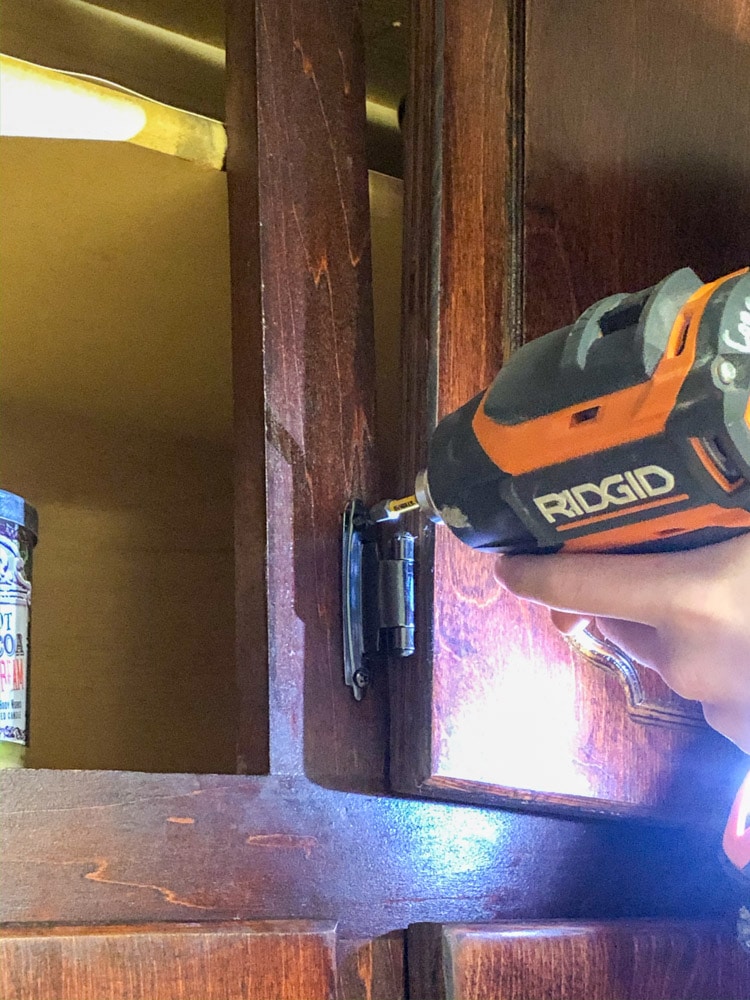
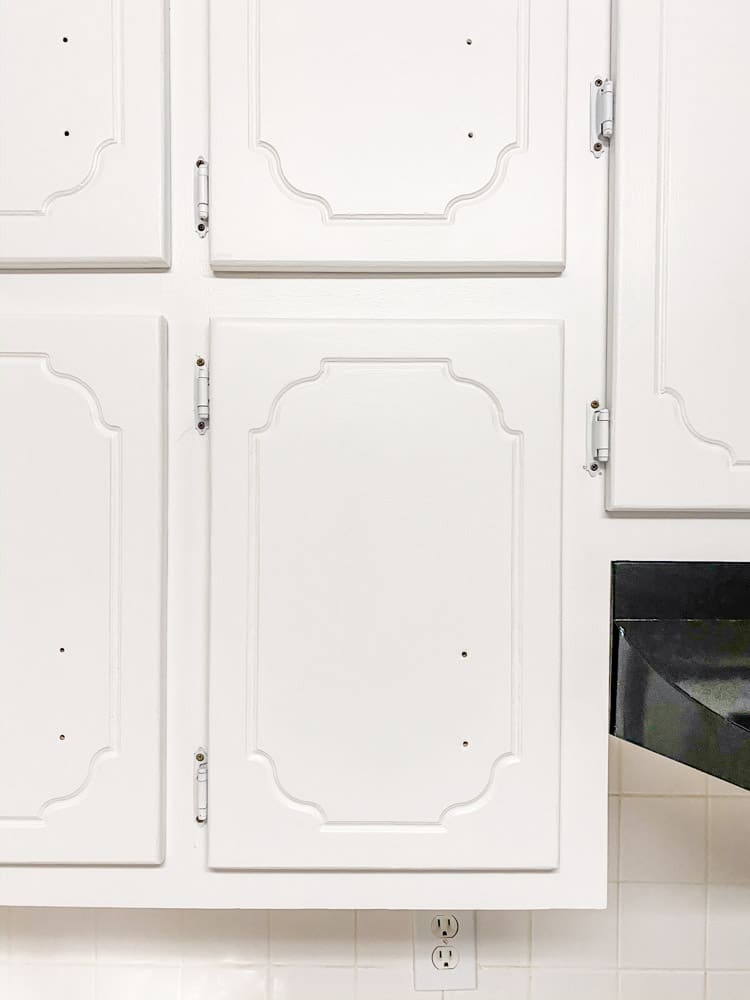
Remove Hardware
Before you begin cleaning, remove all your hardware and pads on the doors. It is much easier to paint over the holes than to paint around the hardware.
If you plan to install new hardware and it is a different size make sure to paintable caulk the holes twice and then smooth it over with sandpaper.
If you plan to remove your cabinet doors make sure to keep them in order from left to right. It also helps to put something under the doors when you paint them laying down, I recommend a drop cloth.
Last, if you plan to keep the same hinges you can spray paint them to make them look new again. If you have exposed hinges and you want then to blend in with the cabinets spray paint them the same color as the cabinets.

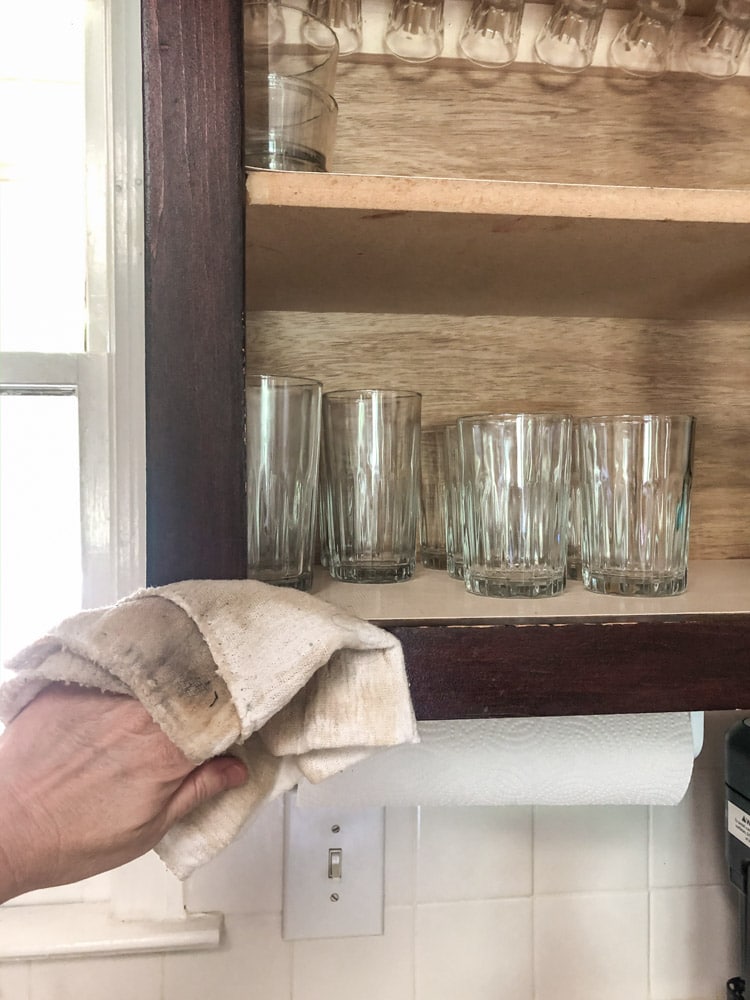
How to Clean Cabinets for Paint
It is important to clean your cabinets, especially where there is grease. Simply use a degreaser like Krud Kutter to clean your cabinets. Another option is white distilled vinegar. Simply wet a rag with full-strength vinegar and wipe down the cabinet. Let it sit for 10 minutes and then rinse it off.
If you use a degreaser like Krud Kutter, take a damp rag and spray the cleaner on the cabinets, then wipe the rag across the cabinets and rinse with clean water.
The deglosser will do most of the cleaning work so mainly focus on anywhere there is grease and remove the grease off the cabinets.
Deglosser or Lacquer Thinner
Your next step needs to be done in small areas. Wipe on the deglosser on one cabinet door or two at a time. Simply wipe the deglosser onto the stained wood and let dry 5 minutes.
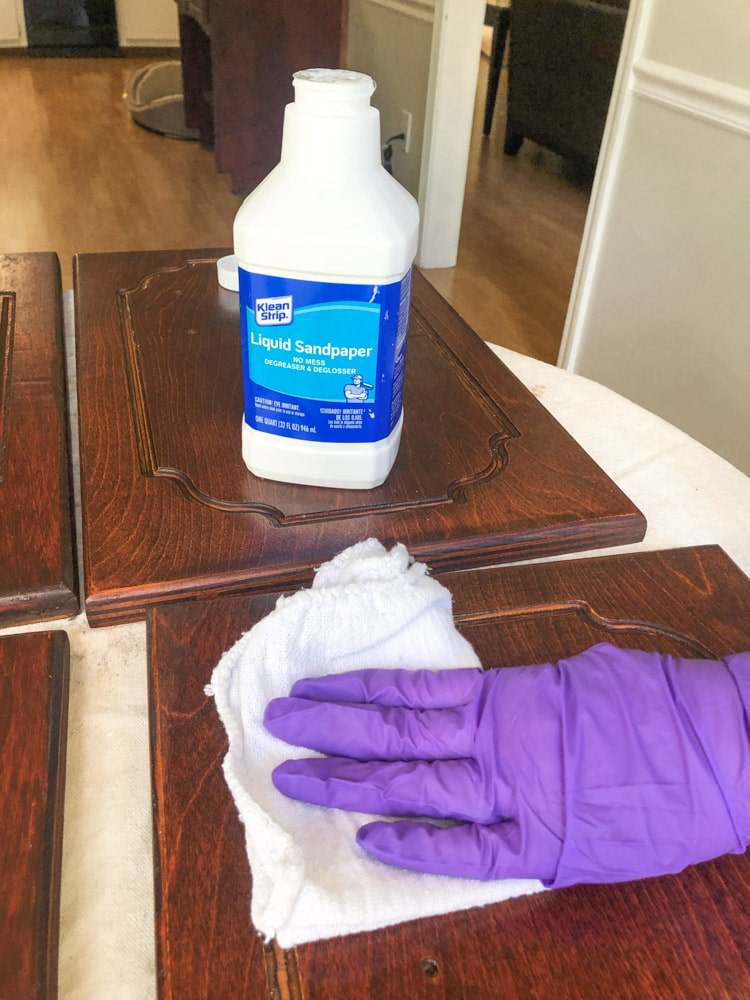
Do not let the deglosser sit more than 5 minutes before starting the next step.
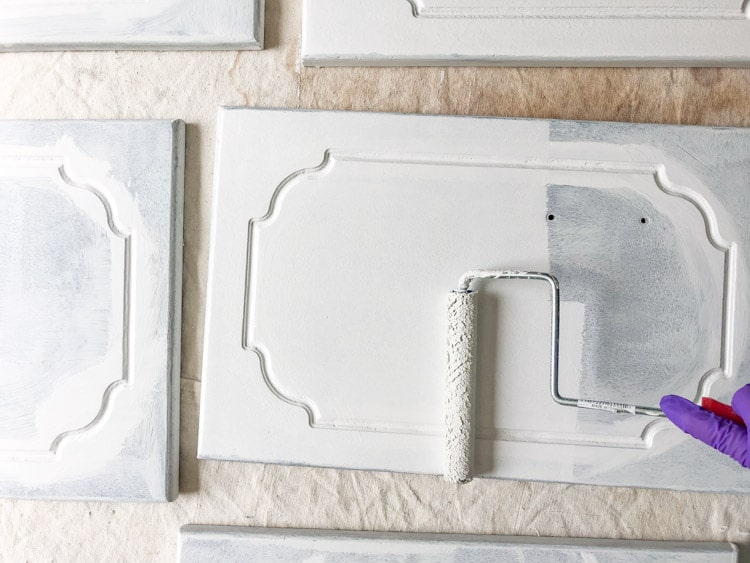
Oil Based Primer
Next, using the mini shed-resistant roller apply a thin coat of the primer. Repeat the deglosser and oil-based primer step on the next door and so on until you have painted all the doors and frames.

If your roller has missed any areas use the white china hair paintbrush to apply the paint thinly. Now, wait two hours before the next step.
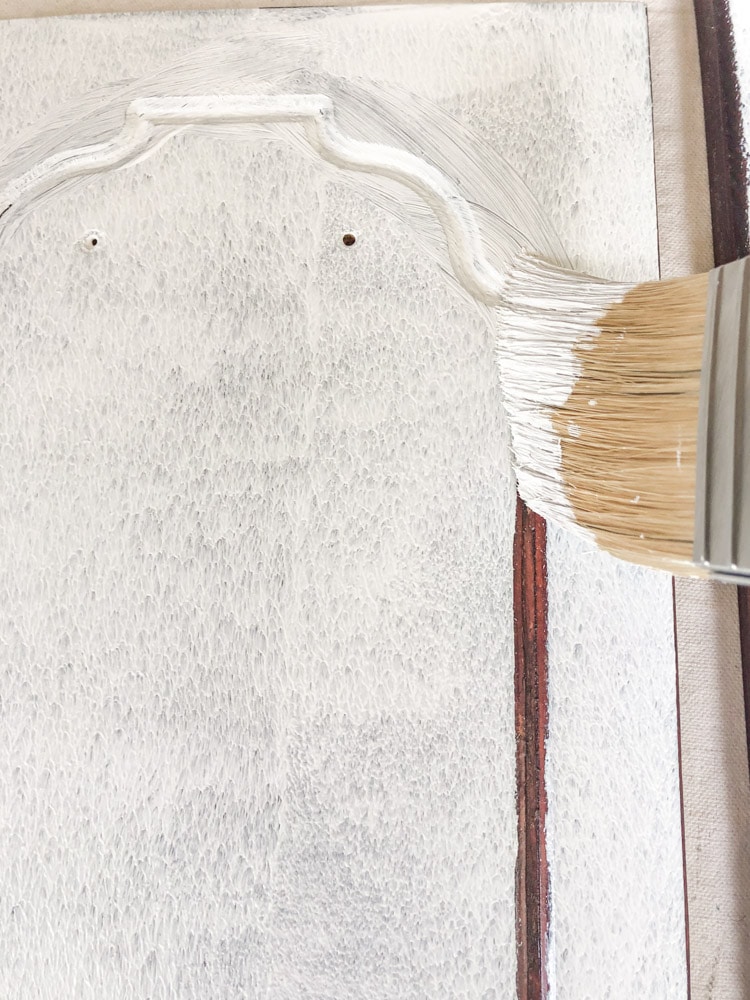
Note: put a fan in a window or door to pull the fumes outside.
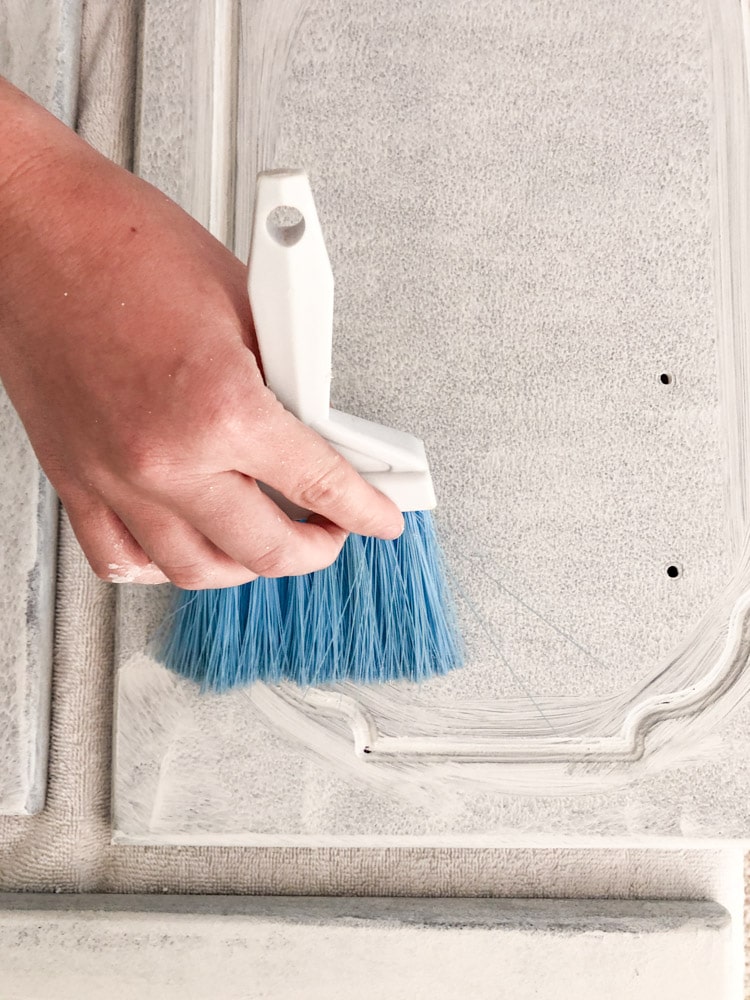
Sanding
Next, grab your 60 grit sanding sponge and lightly sand the primer. This smooths down the primer for the last steps. After you sand it a little brush off any grit.
Latex Paint
The best paint for paint cabinets is Emerald urethane trim enamel latex so grab your 2 1/2″ sash firm paintbrush and start applying the latex paint.
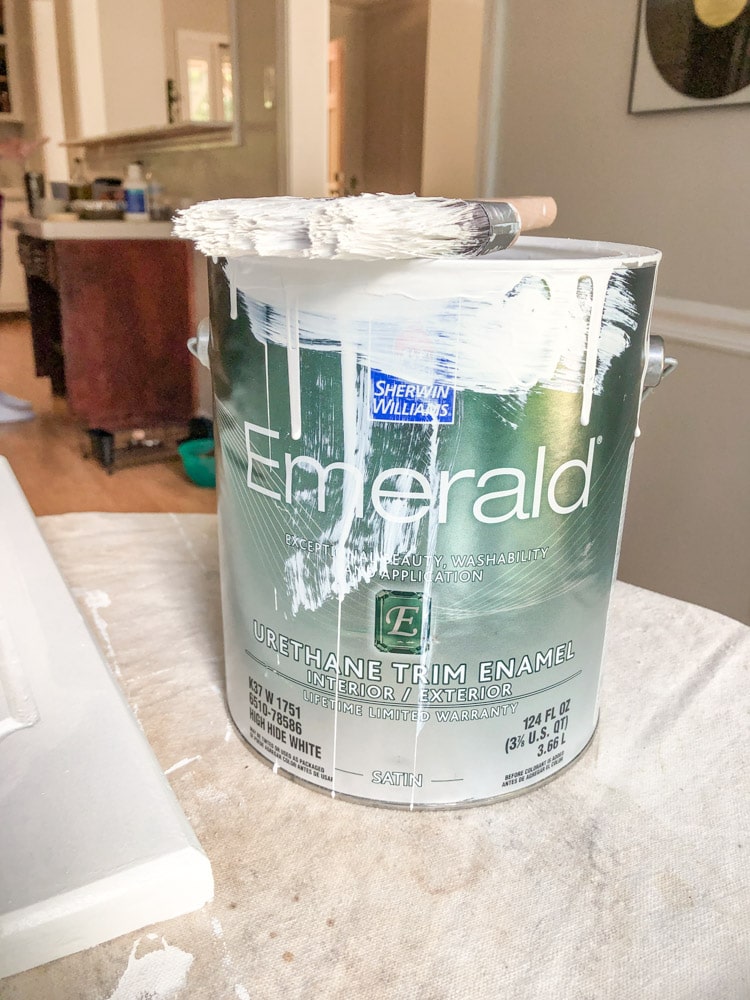
Depending on how dark the stain was under your oil-based paint you will at least need to apply two coats. Maybe even three coats but rarely.
Once you have applied one coat of the latex paint wait two hours at a minimum before applying the next coat and so on.
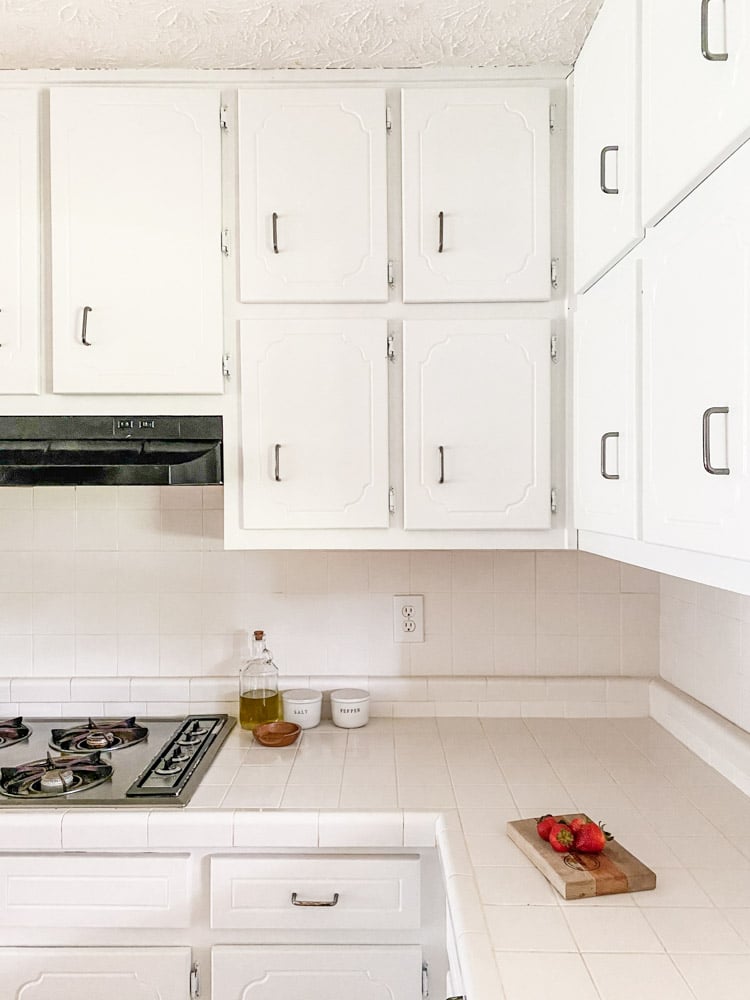
Can you believe that this is all you have to do to get a professional look for painted cabinets? Now we only have to put the hardware back on, clean up, and enjoy the cabinets.
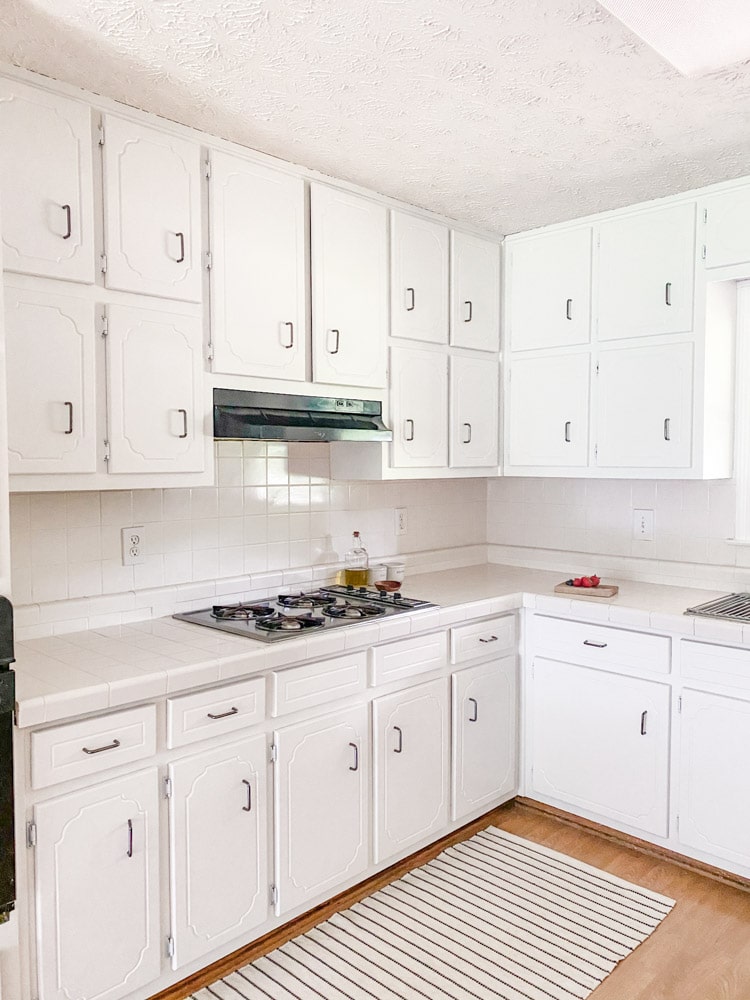
Update: We are absolutely loving the white painted cabinets and the finish is holding up very well. So far there is no paint coming off or even chipping from dings on the paint. This process is very durable.
We have added new hardware and changed out the faucet to a beautiful matte black. I share more about how to choose the best faucet for your kitchen in another post so if you need a faucet this will help you plan and purchase the best one for your home.
If you plan on painting your cabinets, don't miss my post Choosing the Best Paint Brush for Cabinets According to the Pros.
Conclusion
After you have finished painting go ahead and clean up your space. If you plan to clean the china hair bristle paintbrush soak it in mineral spirits. Then move the paint down the brush as the mineral spirit flows through your fingers.
Pour out the mineral spirits and fill the bucket again to repeat the process. Keep doing this until the paint is gone from the brush. To really get the paintbrush clean you'll probably use most of the mineral spirits.
See why I would rather toss the paintbrush and buy another?
Also if you plan to remove the cabinet doors make sure you keep them in order or mark them somehow so you can place them back where they belong.
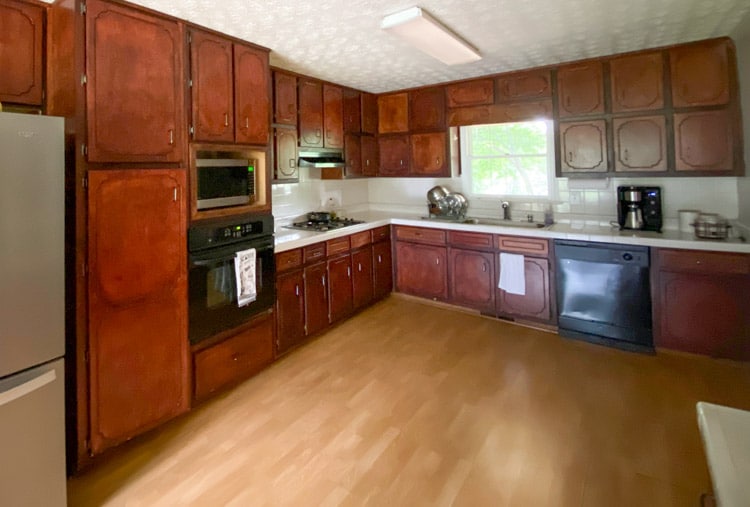
I hope you have enjoyed this tutorial and find it helpful. Here are the after shots.
What cabinets are you planning to paint?
Happy Decorating!

What a stunning transformation! We had our kitchen cabinets painted a few months ago and they turned out beautiful! Now we’re looking to paint our bathroom vanities. We want to try out hand at DIY cabinet painting. Your step by step process was so helpful! Definitely going to bookmark it for future reference.
I am so glad this has been helpful. The painter I have used for many years uses this technique and his clients have wonderful things to say. So far my cabinets are holding up very well. I do keep a small jar of paint under my sink as a backup in case of any nicks along with a small artist brush. I did have to touch up a spot one time and I am not sure why it was nicked. Honestly, it may have been there from when we painted the door and I missed it. But other than that it is doing great. Good luck with your painting project.
This is an awesome tutorial. Thank you so much. Do you think this process would work with a high glass water-based paint?
It should work if replace the latex paint for high gloss latex.
Your step by step process is so helpful! We recently had cabinet painters update out kitchen cabinets and we love how they turned out so we want to try and copy what they did in our kitchen into our bathroom by painting the vanity. I’ve been stressing over what kind of paint to use and how best to tackle this project so your post is a huge help!
Wow, you did such a good job on this project! My family recently moved into an older home, and we decided to reface out kitchen cabinets. It made a huge difference! I’m definitely going to consider painting the cabinets in our guest bathroom. Thank you so much for your post, it’s so helpful!
You are welcome! Good luck!
@Linda McDonald,
Your cabinets look beautiful. I have been wanting to paint mine for the longest time but they are made from fiberboard and everyone tells me the paint will easily chip off since it’s not solid wood.
What do you think?
Hi June! That is a very good question. Without seeing your cabinet, here is my best advice. Pull a drawer out or take down one of the cabinet doors and take it to Sherwin Williams. The people there are so nice and knowledgeable. They will be able to tell you if the paint will hold up. Also, with all the wonderful technology in paints nowadays, I bet there is a way to paint your cabinets where they won’t chip. Don’t give up! I think you will be able to paint your cabinets.